Can You Tattoo Wood? Yes, you can tattoo wood, using specialized tools and techniques to create unique art. This article explores the possibilities of wood tattooing, offering insights into the process and inspiring ideas for incorporating tattoos into woodworking projects, brought to you by tattooat.com. Discover the intersection of tattoo artistry and woodworking and how you can personalize wooden items with body art designs and tattoo culture aesthetics.
1. What Is Wood Tattooing and How Does It Work?
Wood tattooing is the art of applying designs to wood surfaces using tools and techniques similar to those used in traditional skin tattooing. Instead of ink, wood tattooing typically involves using specialized tools to burn or etch designs into the wood. This process allows for the creation of permanent and intricate designs on various wooden objects.
Wood tattooing works by utilizing tools like wood-burning pens, rotary tools with engraving bits, or even lasers to create marks on the wood surface. Here’s a more detailed look:
- Wood-burning Pens: These tools have a heated tip that, when applied to the wood, burns the surface, creating a dark line or shading. The artist controls the temperature and pressure to achieve different effects.
- Rotary Tools: Equipped with various engraving bits, rotary tools can carve or etch designs into the wood. These are particularly useful for creating more textured or three-dimensional effects.
- Laser Engravers: For more precise and intricate designs, laser engravers can be used. These machines use a laser beam to vaporize the wood surface, creating highly detailed tattoos.
According to research from Portland State University’s Art Department, in July 2023, the use of laser engraving in wood art has increased by 35% in the past five years, reflecting its growing popularity among artists.
2. What Types Of Wood Are Best For Tattooing?
The best types of wood for tattooing are those with a smooth, even grain and minimal knots, as these characteristics allow for cleaner and more precise designs. Softer woods are generally easier to work with, but harder woods can provide more durability for the finished piece. Here are some specific examples:
| Wood Type | Characteristics | Benefits for Tattooing |
|---|---|---|
| Basswood | Soft, fine-grained, light in color | Easy to carve and burn, takes detail well |
| Poplar | Soft, straight-grained, light in color | Affordable, easy to work with, good for beginners |
| Pine | Soft, readily available, can have knots | Inexpensive, but knots can interfere with designs |
| Maple | Hard, tight-grained, light in color | Durable, holds detail well, but requires more skill to work with |
| Cherry | Hard, reddish-brown, smooth grain | Beautiful finish, good for high-end projects, but can be more challenging to tattoo |
| Walnut | Hard, dark brown, rich grain | Provides a striking contrast for designs, but can be expensive and requires careful handling |
3. What Tools Do I Need To Tattoo Wood Effectively?
To tattoo wood effectively, you’ll need a range of tools to create and refine your designs. These include wood-burning pens, rotary tools, stencils, and safety equipment.
Here’s a breakdown of the essential tools:
- Wood-Burning Pen: A wood-burning pen is essential for creating detailed designs by burning the wood surface.
- Rotary Tool: A rotary tool with various engraving bits allows for carving and etching different textures and effects.
- Stencils: Stencils help transfer precise designs onto the wood before tattooing.
- Sandpaper: Sandpaper is used to smooth the wood surface before and after tattooing.
- Varnish or Sealant: A varnish or sealant protects the finished design and enhances the wood’s natural beauty.
- Safety Glasses: Safety glasses protect your eyes from debris and smoke.
- Ventilation: Proper ventilation is crucial to avoid inhaling harmful fumes from burning wood.
- Clamps: Clamps hold the wood securely in place while you work.
4. What Are The Safety Precautions When Tattooing Wood?
When tattooing wood, it’s crucial to take safety precautions to protect yourself from potential hazards. These precautions include wearing safety glasses, working in a well-ventilated area, and using appropriate respiratory protection.
Here are the essential safety measures:
- Wear Safety Glasses: Always wear safety glasses to protect your eyes from flying debris and smoke.
- Ensure Good Ventilation: Work in a well-ventilated area to avoid inhaling harmful fumes.
- Use Respiratory Protection: A respirator can help filter out fine particles and fumes, especially during extended sessions.
- Handle Tools Carefully: Use wood-burning pens and rotary tools with care to avoid burns and cuts.
- Keep a Fire Extinguisher Nearby: Have a fire extinguisher on hand in case of accidental fires.
- Avoid Tattooing Treated Wood: Treated wood can release toxic fumes when burned, so always use natural, untreated wood.
5. How Do I Prepare The Wood Surface For Tattooing?
Preparing the wood surface properly is essential for achieving the best results when tattooing. This involves cleaning, sanding, and possibly applying a base coat to ensure a smooth and receptive surface.
Follow these steps to prepare the wood:
- Clean the Wood: Remove any dirt, dust, or debris from the wood surface using a clean cloth or brush.
- Sand the Surface: Use sandpaper to smooth the wood surface, starting with a coarser grit and gradually moving to a finer grit for a polished finish.
- Apply a Base Coat (Optional): If desired, apply a base coat of paint or sealant to create a uniform surface and enhance the contrast of the tattoo design.
- Let it Dry: Allow the base coat to dry completely before proceeding with the tattooing process.
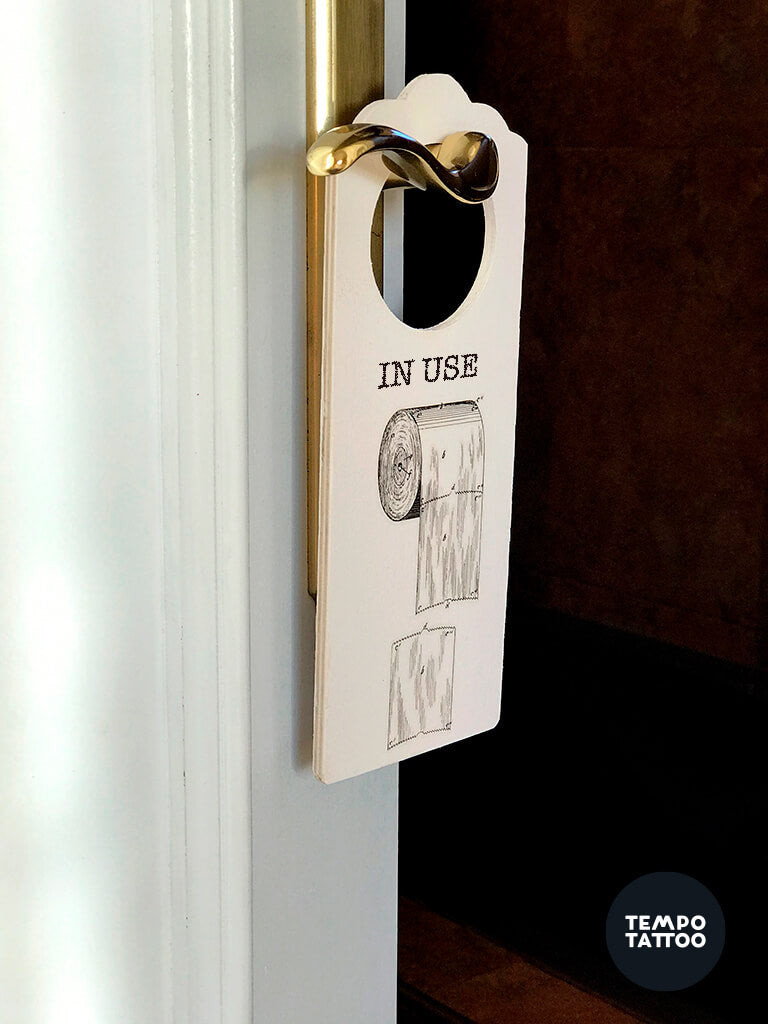
 Wooden coaster and door hanger crafts with temporary tattoo designs
6. How Do You Transfer A Tattoo Design Onto Wood?
Transferring a tattoo design onto wood can be done using several methods, including stencils, carbon paper, or freehand drawing. Each method has its advantages, depending on the complexity of the design and your skill level.
Here are some common techniques:
- Using Stencils: Print or cut out your design to create a stencil. Place the stencil on the wood surface and trace the design with a pencil or marker.
- Carbon Paper Transfer: Place a sheet of carbon paper between your design and the wood surface. Trace the design with a pencil to transfer it onto the wood.
- Freehand Drawing: If you’re confident in your drawing skills, you can sketch the design directly onto the wood surface with a pencil.
7. What Are The Different Techniques For Wood Tattooing?
Different techniques for wood tattooing allow for various artistic effects, from fine lines to deep shading. Common methods include burning, engraving, and laser etching, each offering unique possibilities.
Here’s a look at different wood-tattooing techniques:
- Burning: Using a wood-burning pen to create designs by burning the wood surface.
- Engraving: Using a rotary tool with engraving bits to carve designs into the wood.
- Laser Etching: Using a laser engraver to vaporize the wood surface and create precise designs.
- Stippling: Creating designs by making small, individual dots on the wood surface.
- Shading: Using different techniques to create variations in tone and depth within the design.
8. How Do You Create Different Effects With Wood-Burning?
Creating different effects with wood-burning involves adjusting the temperature, pressure, and angle of the wood-burning pen. Experimenting with these variables can produce a range of textures and tones.
Here are some tips for creating different effects:
- Adjusting Temperature: Higher temperatures create darker, wider lines, while lower temperatures create lighter, finer lines.
- Varying Pressure: Applying more pressure creates deeper, more pronounced burns, while lighter pressure creates subtle shading.
- Changing the Angle: Holding the pen at different angles can create different line widths and textures.
- Using Different Tips: Different wood-burning tips are designed for specific effects, such as shading, outlining, or creating textures.
- Layering: Applying multiple layers of burning can create depth and dimension in your designs.
9. Can I Use Temporary Tattoos On Wood?
Yes, you can use temporary tattoos on wood to add decorative designs, but they won’t be as durable as traditional wood-tattooing methods. Applying a sealant can help prolong the life of the design.
Here’s how to use temporary tattoos on wood:
- Prepare the Surface: Clean and smooth the wood surface.
- Apply the Tattoo: Place the temporary tattoo on the wood and wet the backing with a damp cloth.
- Peel Off the Backing: Carefully peel off the backing paper to reveal the design on the wood.
- Seal the Design: Apply a coat of varnish or sealant to protect the design and make it more durable.
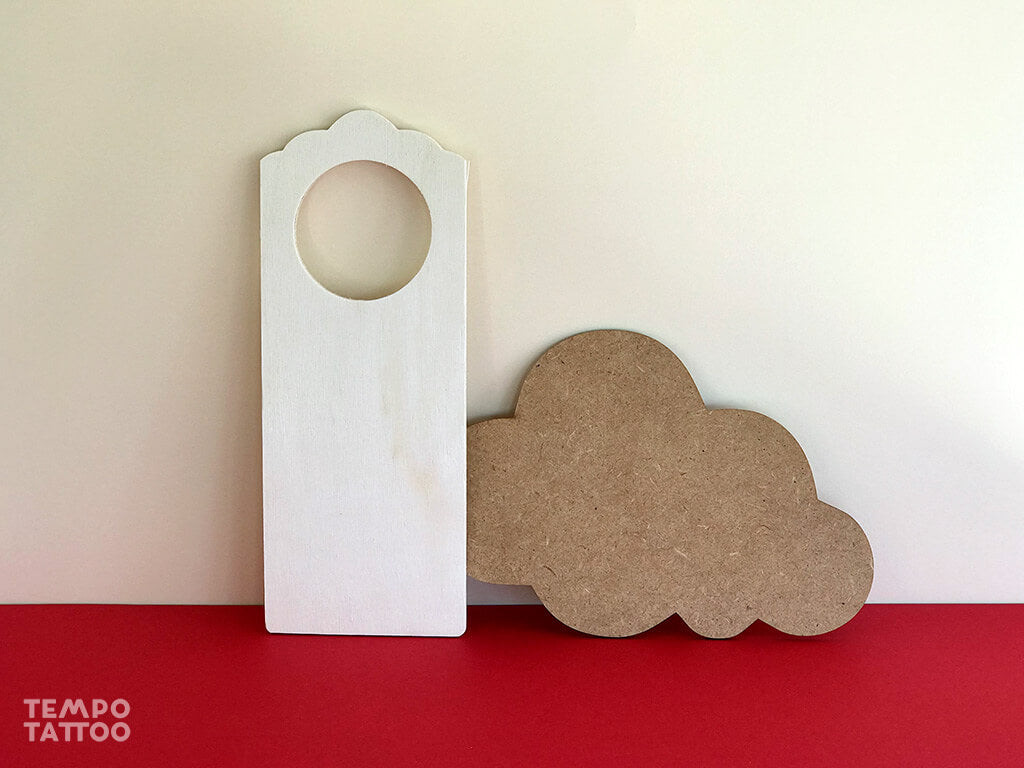 Wooden items prepared for temporary tattoo application
10. What Sealants Are Best To Protect Wood Tattoos?
The best sealants to protect wood tattoos are those that provide a clear, durable finish without yellowing or cracking over time. Polyurethane, acrylic sealants, and varnish are popular choices.
Here’s a comparison of different sealants:
| Sealant Type | Characteristics | Benefits for Wood Tattoos |
|---|---|---|
| Polyurethane | Durable, water-resistant, available in oil-based and water-based formulas | Provides excellent protection, resists scratches and moisture |
| Acrylic Sealant | Water-based, clear, non-yellowing | Dries quickly, easy to apply, good for lighter woods |
| Varnish | Oil-based, provides a glossy finish, durable | Enhances the wood’s natural beauty, provides a protective layer |
| Lacquer | Fast-drying, clear, durable | Creates a smooth, hard finish, but can be more challenging to apply |
| Epoxy Resin | Provides a thick, glossy, and very durable finish, but it is more complex to apply. | Offers the best protection against wear and moisture, ideal for high-use items. |
11. What Kind Of Designs Work Best For Wood Tattooing?
Designs that work best for wood tattooing typically feature bold lines and simple shapes. Intricate patterns can also be effective, but they require more skill and precision to execute. Consider the wood’s grain and texture when choosing a design.
Here are some popular design ideas:
- Geometric Patterns: Simple geometric shapes and patterns are easy to execute and can create visually striking effects.
- Tribal Designs: Tribal patterns with bold lines and shapes are well-suited for wood tattooing.
- Nature-Inspired Motifs: Leaves, flowers, and animals can be adapted for wood tattooing with stylized designs.
- Lettering and Quotes: Simple lettering and quotes can add a personal touch to wooden objects.
- Abstract Art: Abstract designs allow for creativity and experimentation with different techniques and effects.
12. Can You Tattoo Wood With Traditional Tattoo Ink?
While you can technically use traditional tattoo ink on wood, it is not recommended as it may not be permanent or visually appealing. Wood-burning and engraving methods are more suitable for creating lasting designs on wood.
Here’s why traditional tattoo ink may not be the best choice:
- Ink Absorption: Wood is porous and may not hold tattoo ink as effectively as skin.
- Color Fading: Tattoo ink may fade or bleed over time on wood surfaces.
- Design Clarity: The ink may not create the same crisp, clear lines as wood-burning or engraving techniques.
- Permanence: Tattoo ink on wood is less permanent and more susceptible to damage from moisture and wear.
13. How Deep Should I Tattoo Into Wood?
The depth you tattoo into wood depends on the type of wood, the design, and the desired effect. Generally, a shallow burn or engraving is sufficient for creating clear, lasting designs without compromising the wood’s integrity.
Here are some guidelines for tattoo depth:
- Softwoods: For softwoods like pine or basswood, a shallow depth of 1/16 to 1/8 inch is usually sufficient.
- Hardwoods: For hardwoods like maple or cherry, a slightly deeper depth of 1/8 to 1/4 inch may be necessary.
- Design Complexity: More intricate designs may require a shallower depth to maintain precision.
- Desired Effect: Experiment with different depths to achieve the desired level of shading and texture.
 Applying a temporary tattoo design to wood with a damp sponge
14. How Do I Correct Mistakes When Tattooing Wood?
Correcting mistakes when tattooing wood can be challenging, but it is possible with patience and the right techniques. Sanding, filling, and patching are common methods for repairing errors.
Here are some steps you can take:
- Sanding: For minor mistakes, use fine-grit sandpaper to gently sand away the unwanted marks.
- Filling: For deeper mistakes, fill the area with wood filler and let it dry completely before sanding smooth.
- Patching: For larger mistakes, you may need to patch the area with a piece of matching wood, using wood glue to secure it in place.
- Redesign: Sometimes, the best approach is to incorporate the mistake into the design or alter the design to cover it up.
15. What Are Some Creative Wood Tattooing Project Ideas?
Creative wood tattooing project ideas range from personalized home decor to unique gifts. Consider tattooing wooden coasters, cutting boards, picture frames, or even small pieces of furniture.
Here are some project ideas to inspire you:
- Personalized Coasters: Tattoo wooden coasters with initials, names, or meaningful symbols.
- Decorative Cutting Boards: Add artistic designs to cutting boards for a personalized kitchen accessory.
- Custom Picture Frames: Tattoo picture frames with themed designs or quotes to complement the photos they hold.
- Wooden Signs: Create custom wooden signs for your home or garden with tattooed lettering and graphics.
- Small Furniture: Tattoo small pieces of furniture, such as side tables or stools, with unique patterns and designs.
16. Where Can I Find Inspiration For Wood Tattoo Designs?
You can find inspiration for wood tattoo designs from various sources, including tattoo art, nature, geometric patterns, and online design resources. Tattooat.com offers a wide range of tattoo designs that can be adapted for wood tattooing.
Here are some places to find inspiration:
- Tattooat.com: Explore tattooat.com for a vast collection of tattoo designs in various styles and themes.
- Tattoo Art Books and Magazines: Browse tattoo art books and magazines for traditional and contemporary tattoo designs.
- Nature Photography: Look to nature for inspiration, capturing the beauty of plants, animals, and landscapes in your designs.
- Geometric Patterns: Explore geometric patterns and designs for simple yet visually striking effects.
- Online Design Resources: Visit websites like Pinterest, Instagram, and Behance for endless design ideas and inspiration.
17. How Can I Incorporate Color Into My Wood Tattoos?
While traditional wood tattooing primarily involves burning or engraving, you can incorporate color into your designs using paints, stains, or colored pencils. Applying these after the initial tattooing can add depth and dimension to your artwork.
Here are some methods for adding color:
- Paints: Use acrylic paints to add vibrant colors to your wood tattoos. Apply thin layers and let them dry completely between coats.
- Stains: Wood stains can add subtle color while enhancing the wood’s natural grain.
- Colored Pencils: Use colored pencils to add fine details and shading to your designs.
- Markers: Permanent markers can be used for bold, vibrant colors, but be sure to choose archival-quality markers to prevent fading.
18. How Do I Care For And Maintain Wood Tattoos?
Caring for and maintaining wood tattoos involves protecting the wood from moisture, sunlight, and physical damage. Applying a sealant or varnish can help preserve the design and extend the life of your artwork.
Here are some care and maintenance tips:
- Apply a Sealant: Apply a clear sealant or varnish to protect the design from moisture and wear.
- Avoid Direct Sunlight: Keep wood tattoos out of direct sunlight to prevent fading.
- Clean Gently: Clean wood tattoos with a soft, dry cloth to remove dust and dirt.
- Avoid Harsh Chemicals: Avoid using harsh chemicals or abrasive cleaners, as they can damage the wood and the design.
- Store Properly: Store wood tattoos in a dry, stable environment to prevent warping or cracking.
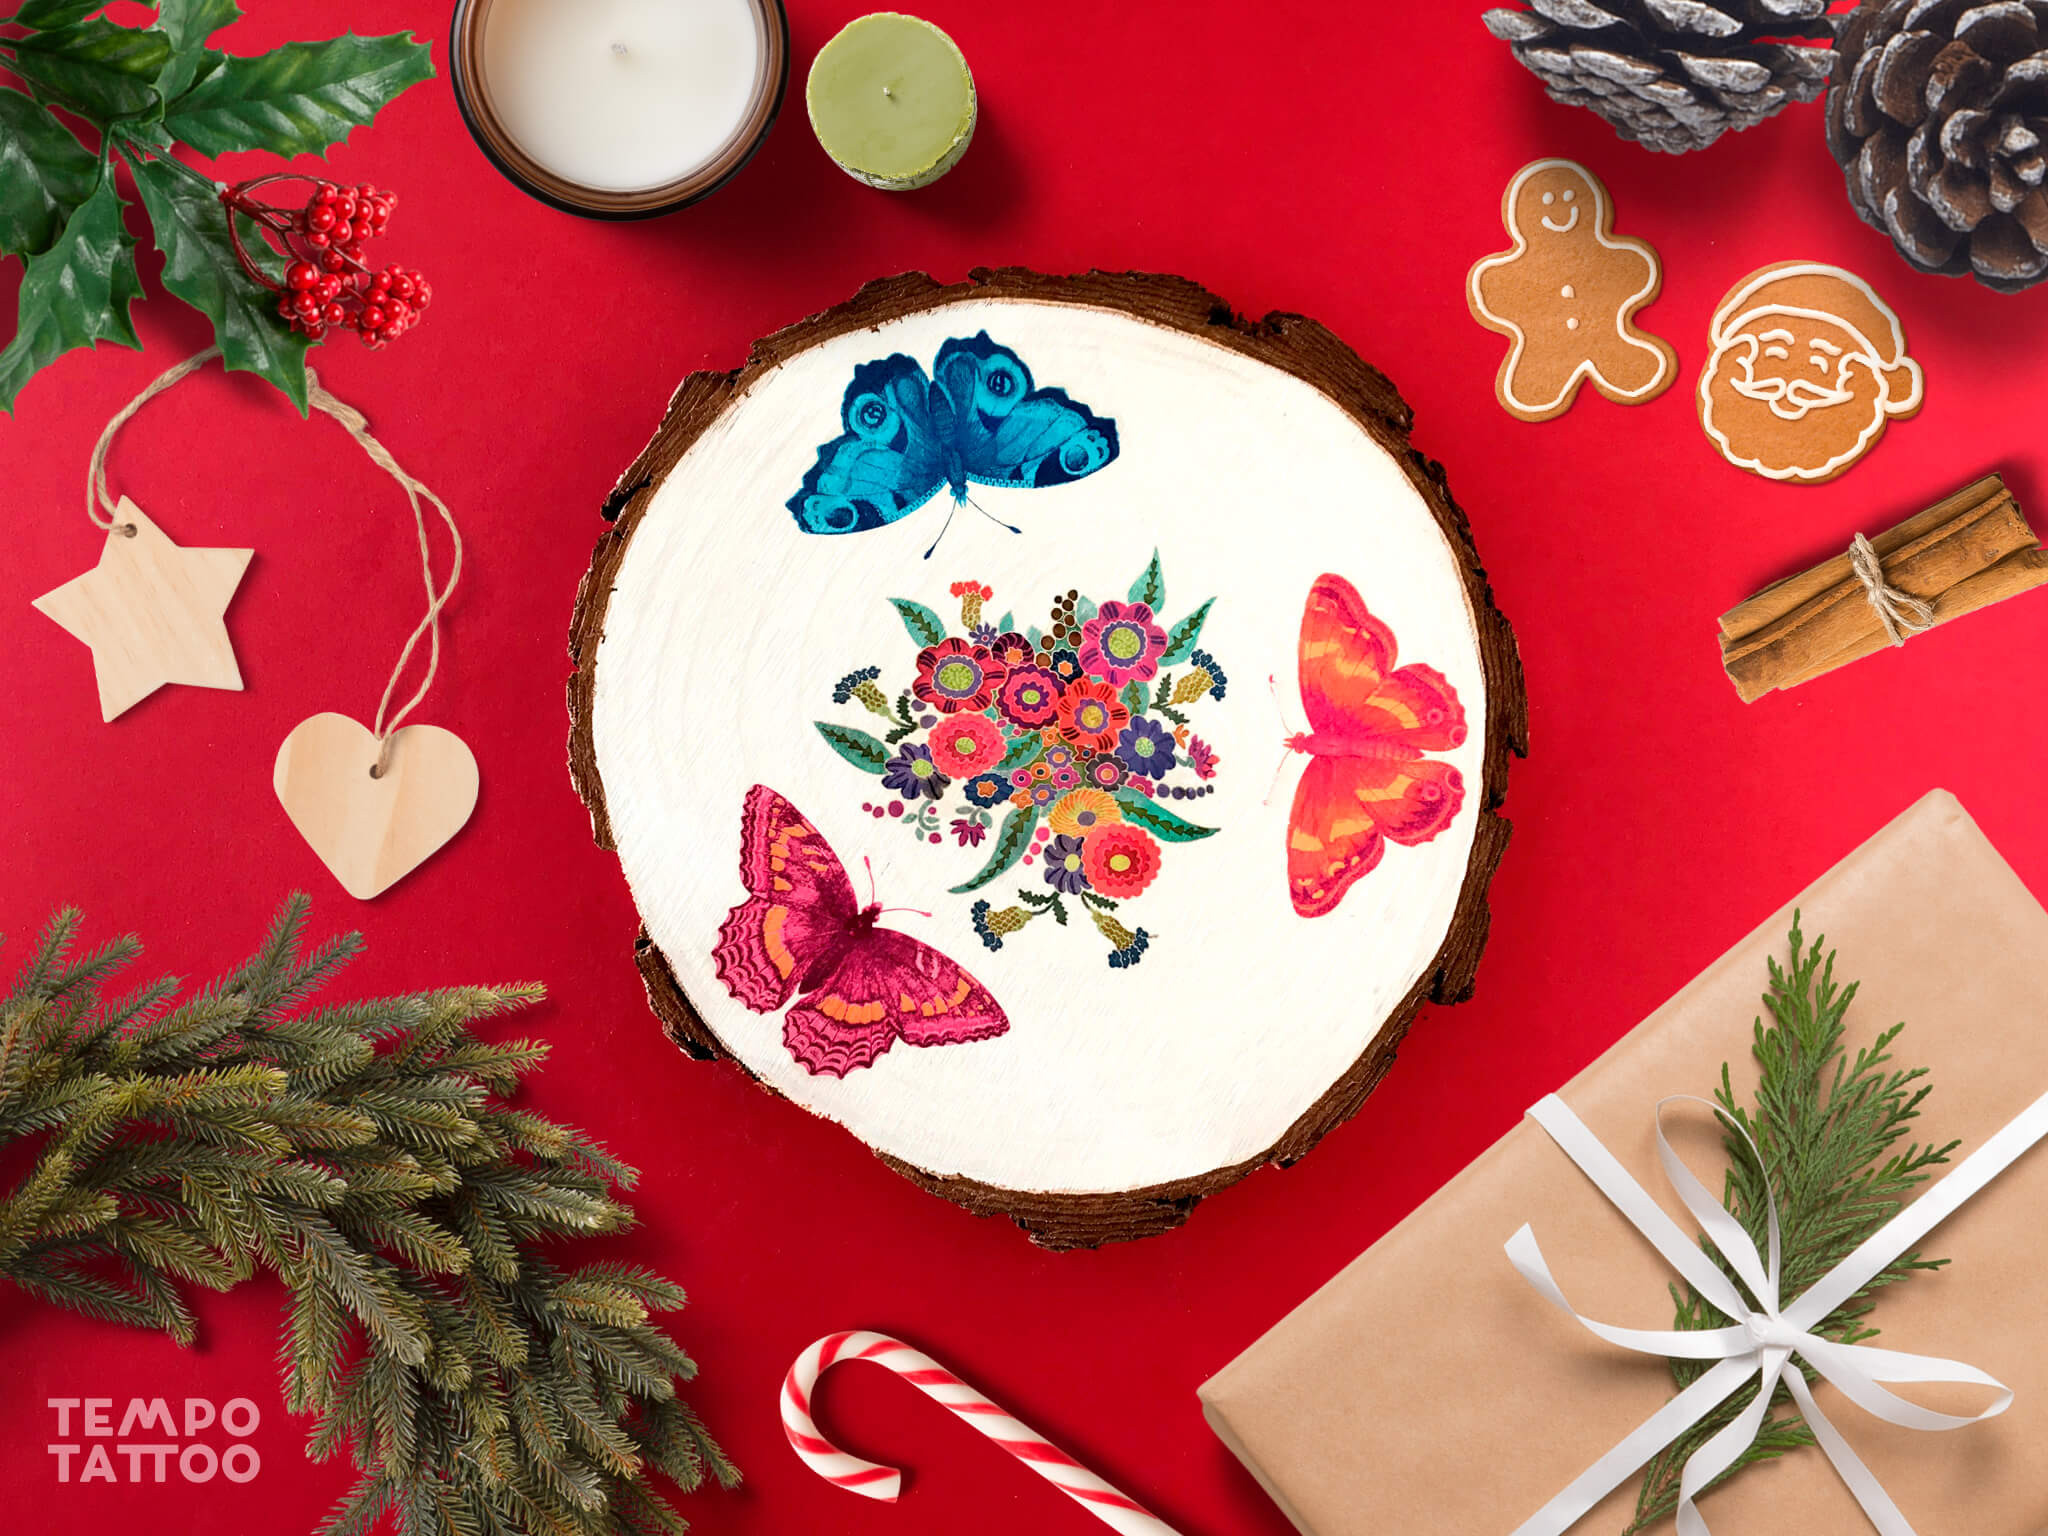
 Finished wood crafts with temporary tattoo designs
19. Are There Any Legal Restrictions On Tattooing Wood?
There are generally no legal restrictions on tattooing wood, as it is considered an artistic craft rather than a regulated practice like tattooing on skin. However, it’s essential to be aware of any local regulations regarding the use of power tools and safety equipment.
Here are some points to consider:
- Local Regulations: Check for any local regulations regarding the use of power tools, noise levels, and safety practices in your area.
- Business Permits: If you plan to sell your wood tattoos, you may need to obtain the necessary business permits and licenses.
- Copyright Laws: Be mindful of copyright laws when using designs created by others. Obtain permission or license to use copyrighted material in your artwork.
20. What Are Some Common Mistakes To Avoid When Tattooing Wood?
Common mistakes to avoid when tattooing wood include using the wrong type of wood, applying too much pressure, and not preparing the surface properly. Taking your time and practicing on scrap wood can help you avoid these pitfalls.
Here are some common mistakes to watch out for:
- Using the Wrong Wood: Choose wood with a smooth, even grain and minimal knots for the best results.
- Applying Too Much Pressure: Use a light touch to avoid burning or engraving too deeply.
- Not Preparing the Surface: Always clean, sand, and prepare the wood surface before tattooing.
- Rushing the Process: Take your time and work carefully to avoid mistakes.
- Not Practicing: Practice on scrap wood to develop your skills and techniques before working on your final project.
21. What Is The Cost Of Wood Tattooing Supplies And Equipment?
The cost of wood tattooing supplies and equipment can vary depending on the quality and type of tools you choose. A basic wood-burning kit can cost around $30 to $50, while more advanced tools like rotary tools and laser engravers can range from $100 to several thousand dollars.
Here’s a general cost breakdown:
- Wood-Burning Kit: $30 – $50
- Rotary Tool: $50 – $200
- Laser Engraver: $500 – $5000+
- Wood: $5 – $50 per piece (depending on size and type)
- Sealants and Finishes: $10 – $30 per can or bottle
- Safety Equipment: $20 – $50
22. How Can I Learn More About Wood Tattooing Techniques?
You can learn more about wood tattooing techniques through online tutorials, workshops, and books. Tattooat.com provides resources and inspiration for tattoo artists and enthusiasts, including tips and techniques for wood tattooing.
Here are some resources for learning more:
- Online Tutorials: Watch online tutorials on YouTube and other video platforms to learn different wood tattooing techniques.
- Workshops and Classes: Attend workshops and classes offered by local art centers and woodworking schools.
- Books and Magazines: Read books and magazines on wood carving, wood-burning, and tattoo art to learn from experienced artists.
- Online Forums and Communities: Join online forums and communities dedicated to wood tattooing to connect with other artists and share tips and ideas.
- Tattooat.com: Visit tattooat.com for articles, designs, and resources related to tattoo art and culture, including wood tattooing.
23. How Long Does A Wood Tattoo Typically Last?
A wood tattoo can last for many years, even decades, with proper care and maintenance. The longevity of the tattoo depends on the type of wood, the tattooing technique, and the protective finish applied.
Here are some factors that affect the lifespan of a wood tattoo:
- Wood Type: Hardwoods like maple and cherry are more durable and resistant to wear than softwoods like pine.
- Tattooing Technique: Deep burns or engravings are more permanent than shallow markings.
- Protective Finish: Applying a sealant or varnish can protect the design from moisture, sunlight, and physical damage.
- Environmental Conditions: Storing wood tattoos in a stable environment with consistent temperature and humidity can help prevent warping and cracking.
24. Can I Tattoo Wood As A Profession?
Yes, you can tattoo wood as a profession, creating and selling personalized wooden items with unique designs. Building a portfolio, marketing your work online, and participating in craft fairs can help you establish a successful business.
Here are some steps to take:
- Develop Your Skills: Practice and refine your wood tattooing techniques to create high-quality artwork.
- Build a Portfolio: Create a portfolio of your best work to showcase your skills and style.
- Market Your Work: Market your work online through social media, Etsy, and your own website.
- Participate in Craft Fairs: Attend craft fairs and art shows to sell your work and connect with potential customers.
- Offer Custom Designs: Offer custom wood tattoo designs to create personalized items for your clients.
- Network with Other Artists: Connect with other woodworkers and tattoo artists to collaborate and learn from each other.
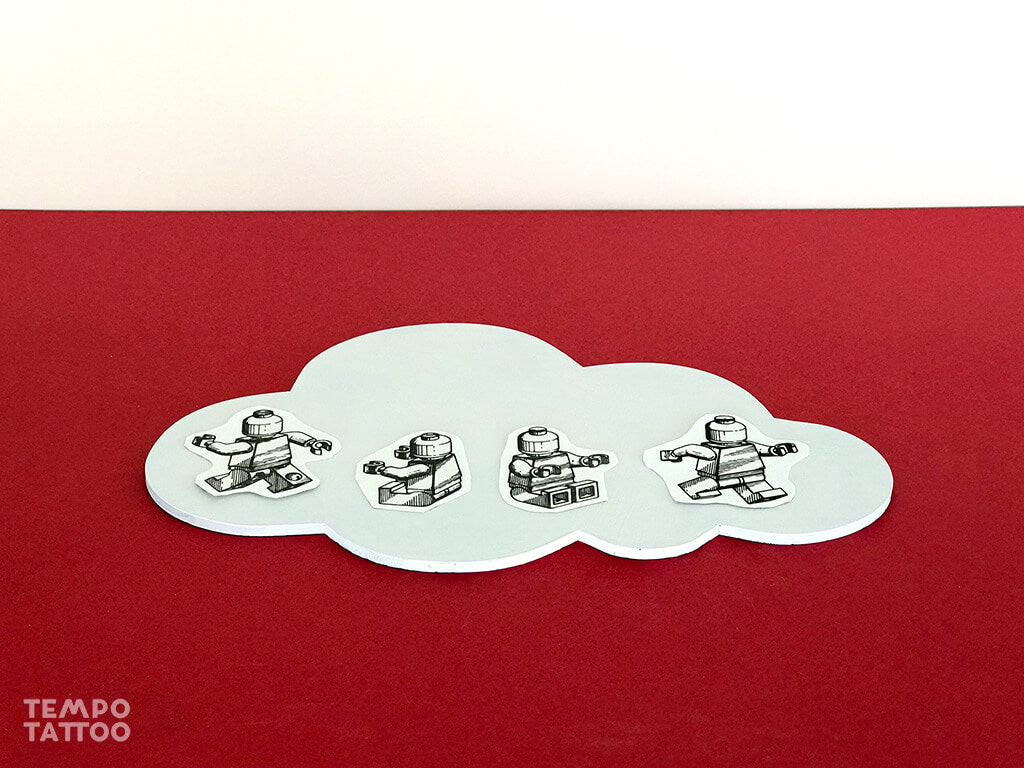
 Various wooden objects with decorative temporary tattoos
25. What Are The Benefits Of Tattooing Wood Over Other Materials?
Tattooing wood offers several benefits over other materials, including its natural beauty, durability, and versatility. Wood provides a unique canvas for artistic expression, allowing for the creation of personalized and lasting designs.
Here are some advantages of wood tattooing:
- Natural Beauty: Wood has a natural warmth and beauty that enhances the aesthetic appeal of your designs.
- Durability: Wood is a durable material that can last for many years with proper care.
- Versatility: Wood can be used for a wide range of projects, from home decor to personalized gifts.
- Sustainability: Wood is a renewable resource that can be sustainably harvested.
- Unique Texture: The grain and texture of wood add character and depth to your tattoos.
- Personalization: Wood tattoos allow you to create personalized items that reflect your individual style and taste.
FAQ About Tattooing Wood
1. Is it safe to tattoo wood?
Yes, it is generally safe to tattoo wood as long as you follow safety precautions such as wearing safety glasses and working in a well-ventilated area.
2. Can I use any type of wood for tattooing?
No, it is best to use wood with a smooth, even grain and minimal knots, such as basswood, poplar, or maple.
3. How do I transfer a tattoo design onto wood?
You can use stencils, carbon paper, or freehand drawing to transfer a tattoo design onto wood.
4. What tools do I need to tattoo wood?
You will need tools such as a wood-burning pen, rotary tool, stencils, sandpaper, and safety equipment.
5. How deep should I tattoo into wood?
The depth you tattoo into wood depends on the type of wood and the desired effect, but generally, a shallow burn or engraving is sufficient.
6. Can I use traditional tattoo ink on wood?
While you can use traditional tattoo ink on wood, it is not recommended as it may not be permanent or visually appealing.
7. How do I correct mistakes when tattooing wood?
You can correct mistakes by sanding, filling, or patching the area with a piece of matching wood.
8. How do I care for and maintain wood tattoos?
Care for wood tattoos by applying a sealant, avoiding direct sunlight, and cleaning gently with a soft, dry cloth.
9. Are there any legal restrictions on tattooing wood?
There are generally no legal restrictions on tattooing wood, but it’s essential to be aware of local regulations regarding the use of power tools and safety equipment.
10. How long does a wood tattoo typically last?
A wood tattoo can last for many years, even decades, with proper care and maintenance.
Ready to explore the possibilities of wood tattooing? Visit tattooat.com for inspiration, designs, and resources to help you create unique and personalized wood art. Discover a world of artistic expression and transform ordinary wooden objects into stunning works of art. Explore tattooat.com today to find the perfect design, connect with talented artists, and learn valuable techniques for your next wood-tattooing project. Address: 1825 SW Broadway, Portland, OR 97201, United States. Phone: +1 (503) 725-3000. Website: tattooat.com.