The art of tattooing involves creating a beautiful, permanent design on your skin. Tattoo aftercare is crucial, especially when you’ve used a Saniderm bandage. At tattooat.com, we’re dedicated to ensuring your tattoo heals perfectly by providing expert guidance on maintaining your fresh ink with the right knowledge and products for proper aftercare. This includes understanding how to clean your tattoo after removing Saniderm, ensuring it remains vibrant and healthy, and employing effective tattoo healing techniques.
1. What is Saniderm and Why is it Used for Tattoos?
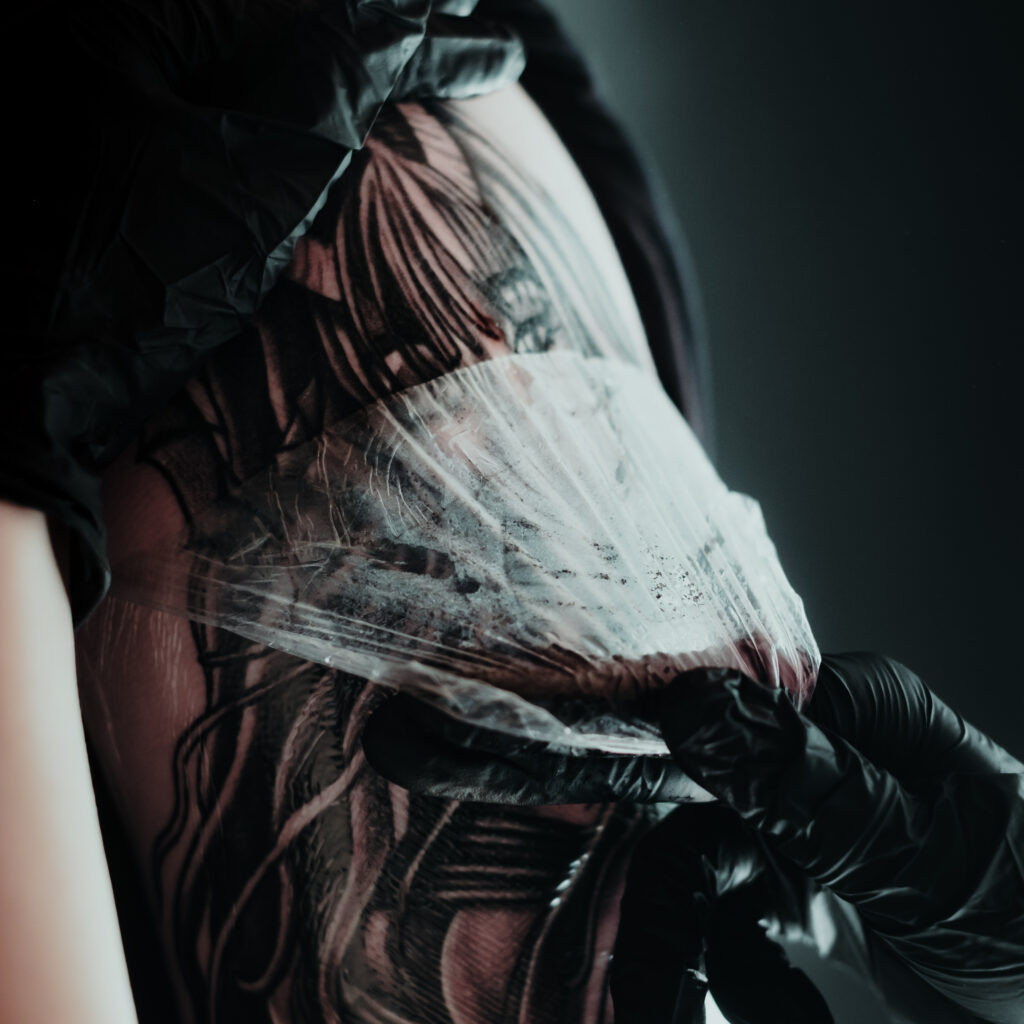
Saniderm is a medical-grade, breathable, waterproof tattoo bandage designed to protect new tattoos and promote faster healing. It acts as a barrier against dirt, bacteria, and friction, creating an optimal environment for your skin to recover. This is achieved through advanced tattoo protection and innovative healing practices.
1.1. Benefits of Using Saniderm
Saniderm offers several advantages over traditional tattoo aftercare methods like plastic wrap:
- Protection: Shields the tattoo from external contaminants.
- Breathability: Allows oxygen to reach the wound, promoting healing.
- Waterproof: Enables showering without compromising the tattoo.
- Reduced Scabbing: Keeps the area moisturized, minimizing scabbing.
- Faster Healing: Creates an ideal environment for skin regeneration.
 Saniderm tattoo bandage application close-up showing the adhesive side being applied to clean skin
2. When Should You Remove Saniderm?
The initial Saniderm bandage typically stays on for 24 hours, depending on the amount of fluid (blood, plasma, and excess ink) that accumulates beneath it. If the fluid buildup is excessive or compromises the bandage’s adhesion, it should be removed and reapplied. The second bandage can stay on for an additional 3-5 days, providing continued tattoo aftercare.
2.1. Signs It’s Time to Remove Saniderm
- Excessive Fluid Buildup: If the “ink sack” is too large, it’s time for a change.
- Compromised Adhesion: If the bandage starts to peel off, contaminants can enter.
- Discomfort: If you experience any irritation or discomfort, remove the bandage.
- Recommended Timeframe: Even without issues, remove the bandage after the recommended 3-5 days.
3. How to Safely Remove Saniderm
Removing Saniderm correctly is crucial to avoid damaging the healing tattoo. Follow these steps for a gentle removal process:
3.1. Step-by-Step Removal Guide
- Warm Shower: The best place to remove Saniderm is in a warm shower. The warm water helps loosen the adhesive.
- Find a Corner: Locate an upper corner of the bandage.
- Peel Slowly: Gently pull the bandage back over itself, similar to peeling a banana from top to bottom. Avoid pulling upwards, which can irritate the skin.
- Warm Water Assistance: Allow warm water to run between the bandage and your skin as you peel. This further loosens the adhesive and minimizes discomfort.
- Complete Removal: Continue peeling slowly until the entire bandage is removed.
3.2. Important Tips for Painless Removal
- Be Patient: Rushing can cause skin irritation and damage.
- Use Warm Water: Ensure the water is warm, not hot, to avoid weakening the adhesive too much.
- Avoid Harsh Pulling: Gentle, consistent pressure is key.
- Listen to Your Body: If you experience significant pain, stop and try again with more warm water.
4. Immediate Aftercare: Cleaning Your Tattoo After Saniderm Removal
Once the Saniderm is off, cleaning the tattoo is the next crucial step. Proper cleaning prevents infection and ensures optimal healing.
4.1. Washing Your Tattoo
- Gentle Soap: Use a fragrance-free, antibacterial soap. Saniderm’s Foam Soap is an excellent choice.
- Warm Water: Rinse the tattoo with warm water.
- Gentle Cleaning: Use your fingertips to gently clean the tattoo, removing any residual ink, blood, or plasma. Avoid using a washcloth, as it can harbor bacteria.
- Thorough Rinse: Ensure all soap is rinsed off completely.
4.2. Drying Your Tattoo
- Paper Towels: Pat the tattoo dry with a clean paper towel. Cloth towels can harbor bacteria.
- Air Dry: Allow the tattoo to air dry for 5-10 minutes to ensure it’s completely dry before moisturizing.
4.3. What to Avoid During Cleaning
- Hot Water: Can weaken the skin and increase sensitivity.
- Harsh Soaps: Fragrances and harsh chemicals can irritate the tattoo.
- Washcloths: Can introduce bacteria.
- Vigorous Rubbing: Can damage the healing skin.
5. Moisturizing Your Tattoo: Keeping it Hydrated
Moisturizing is essential for preventing dryness, cracking, and itching, all of which can hinder the healing process.
5.1. Choosing the Right Moisturizer
- Fragrance-Free: Avoid lotions with fragrances, as they can cause irritation.
- Alcohol-Free: Alcohol can dry out the skin and delay healing.
- Non-Comedogenic: Choose a moisturizer that won’t clog pores.
- Tattoo-Specific Balms: Saniderm’s Tattoo Aftercare Balms are specifically formulated for tattoo healing and provide the best results.
5.2. How to Apply Moisturizer
- Thin Layer: Apply a very thin layer of moisturizer.
- Gentle Application: Gently massage the balm into the skin in small, circular motions.
- Even Coverage: Ensure the entire tattooed area is covered, but avoid over-moisturizing.
5.3. Common Mistakes to Avoid
- Over-Moisturizing: Can lead to clogged pores and bacterial growth.
- Under-Moisturizing: Can cause dryness and cracking.
- Using the Wrong Products: Some lotions can hinder healing.
6. The Importance of Continued Aftercare
Even after removing Saniderm and following the initial cleaning and moisturizing steps, consistent aftercare is crucial for the long-term health and appearance of your tattoo.
6.1. Long-Term Skincare Routine
- Daily Washing: Continue washing the tattoo twice daily (morning and night) with gentle, antibacterial soap.
- Consistent Moisturizing: Moisturize after each wash and whenever the tattoo feels dry.
- Sun Protection: Apply a high-SPF, broad-spectrum sunscreen to protect the tattoo from UV damage once it’s fully healed.
- Avoid Irritants: Steer clear of harsh chemicals, abrasive clothing, and prolonged water submersion.
6.2. How Long to Maintain Aftercare
- Initial Healing Phase (2-4 Weeks): Continue the regular cleaning and moisturizing routine until the tattoo is no longer peeling, dry, or cracked.
- Long-Term Maintenance (Up to 6 Months): Deeper layers of the skin will continue to heal for up to 6 months. Consistent moisturizing and sun protection are essential during this period.
7. Common Issues and Solutions After Saniderm Removal
Even with proper care, some issues can arise after removing Saniderm. Knowing how to address them can prevent complications and ensure your tattoo heals beautifully.
7.1. Irritation and Redness
- Causes: Can be due to adhesive sensitivity, over-cleaning, or improper moisturizing.
- Solutions: Ensure you’re using gentle, fragrance-free products. Apply a thin layer of soothing balm. If irritation persists, consult a tattoo artist or dermatologist.
7.2. Itching
- Causes: Often a sign of healing, but can also indicate dryness or irritation.
- Solutions: Avoid scratching, as this can damage the tattoo. Moisturize regularly and consider using a cold compress to relieve itching.
7.3. Dryness and Peeling
- Causes: Inadequate moisturizing.
- Solutions: Increase moisturizing frequency. Ensure you’re using a high-quality, tattoo-specific balm.
7.4. Signs of Infection
- Symptoms: Excessive redness, swelling, pain, pus, or fever.
- Action: Seek immediate medical attention. Do not attempt to treat an infected tattoo at home.
8. Lifestyle Adjustments to Support Tattoo Healing
Your lifestyle can significantly impact how well your tattoo heals. Making a few adjustments can support the healing process and ensure optimal results.
8.1. Diet and Hydration
- Hydration: Drink plenty of water to keep your skin hydrated.
- Nutrient-Rich Diet: Consume foods rich in vitamins, minerals, and antioxidants to support skin regeneration.
- Avoid Alcohol and Smoking: These can impair the healing process.
8.2. Clothing and Protection
- Loose Clothing: Wear loose-fitting clothing to avoid friction and irritation.
- Sun Protection: Protect your tattoo from the sun with clothing or sunscreen.
- Avoid Submersion: Refrain from swimming or soaking in water for extended periods during the initial healing phase.
8.3. Activities to Avoid
- Excessive Exercise: Can cause sweating and friction, potentially irritating the tattoo.
- Direct Sunlight: Can damage the tattoo and fade the ink.
- Scratching or Picking: Can lead to infection and scarring.
9. Choosing the Right Tattoo Artist and Aftercare Products
The success of your tattoo healing journey starts with choosing a reputable artist and using high-quality aftercare products.
9.1. Selecting a Tattoo Artist
- Research: Look for artists with a strong portfolio and positive reviews.
- Hygiene: Ensure the studio follows strict hygiene practices.
- Consultation: Discuss your tattoo design and aftercare plan with the artist.
9.2. Recommended Aftercare Products
- Saniderm Foam Soap: Gentle, antibacterial soap for cleaning.
- Saniderm Tattoo Aftercare Balm: Specifically formulated for tattoo healing.
- High-SPF Sunscreen: For long-term sun protection.
9.3. Where to Buy Quality Products
- Tattoo Studios: Many studios carry aftercare products.
- Online Retailers: Websites like tattooat.com offer a wide range of products.
- Pharmacies: Some pharmacies carry fragrance-free, antibacterial soaps and lotions.
10. Frequently Asked Questions (FAQs) About Cleaning Tattoos After Saniderm Removal
Navigating tattoo aftercare can bring up a lot of questions. Here are some frequently asked questions about cleaning your tattoo after Saniderm removal:
10.1. Is it normal for my tattoo to be raised after removing Saniderm?
Yes, it’s normal for a new tattoo to be slightly raised immediately after removing Saniderm. This is typically due to mild inflammation, which should subside within a few days.
10.2. Can I use regular soap instead of antibacterial soap?
It’s best to use a fragrance-free, antibacterial soap to minimize the risk of infection. Regular soaps may contain harsh chemicals that can irritate the tattoo.
10.3. How often should I moisturize my tattoo?
Moisturize your tattoo after each wash and whenever it feels dry. Avoid over-moisturizing, which can clog pores.
10.4. What if my tattoo is still sticky after removing Saniderm?
Gently wash the area with warm water and antibacterial soap to remove any residual adhesive. Avoid scrubbing, as this can irritate the skin.
10.5. Can I use coconut oil on my new tattoo?
While some people find coconut oil beneficial, it’s not recommended for everyone. It can clog pores in some individuals. Stick to tattoo-specific balms or fragrance-free, non-comedogenic lotions.
10.6. What should I do if my tattoo starts to scab?
Avoid picking at scabs, as this can cause scarring and ink loss. Keep the area moisturized to minimize scabbing.
10.7. How long does it take for a tattoo to fully heal?
Tattoos typically take 2-4 weeks to heal on the surface, but deeper layers of the skin can continue to heal for up to 6 months.
10.8. Can I exercise after removing Saniderm?
Avoid excessive exercise during the initial healing phase. Light activities are fine, but be sure to clean and moisturize the tattoo afterward.
10.9. What are the best ingredients to look for in a tattoo balm?
Look for balms containing natural ingredients like shea butter, jojoba oil, and vitamin E, which are known for their moisturizing and healing properties.
10.10. How do I know if my tattoo artist used good-quality ink?
High-quality tattoo ink will retain its vibrancy over time. If the ink fades quickly or appears patchy, it may be a sign of poor-quality ink.
Conclusion: Ensuring a Beautifully Healed Tattoo
Proper tattoo aftercare, especially after removing Saniderm, is essential for ensuring your tattoo heals beautifully and remains vibrant for years to come. By following these guidelines, you can minimize the risk of complications and enjoy your new piece of art to the fullest. Remember, tattooat.com is here to support you with expert advice and high-quality products every step of the way.
Ready to take the next step in your tattoo journey? Visit tattooat.com today to explore stunning designs, find talented artists, and discover the best aftercare products to keep your ink looking its best. Whether you’re considering your first tattoo or adding to your collection, we’re here to help you make informed decisions and achieve the perfect results.