Miniatures offer a fantastic canvas for creativity, and adding intricate tattoo patterns can elevate your models to a whole new level. Many hobbyists are looking for ways to personalize their figures, and tattoo designs are a striking way to do it. If you’ve ever admired expertly painted freehand designs and wondered how to achieve a similar look, you’re in the right place. This guide breaks down three distinct Free Tattoo Patterns, offering a step-by-step approach to bring this detailed art form to your miniature painting projects. With the right technique and a little practice, you can easily apply these patterns to your miniatures and achieve impressive results.
Let’s dive into creating these designs, starting with Pattern A, a sharp and dynamic arrow motif.
Pattern A: The Arrow
This pattern utilizes a striking arrow design, perfect for adding a touch of tribal or futuristic flair to your miniatures. It’s particularly effective on darker base colors, allowing the contrasting pattern to truly pop. Here’s how to paint it:
Step 1: Base Coat and Initial Stripe
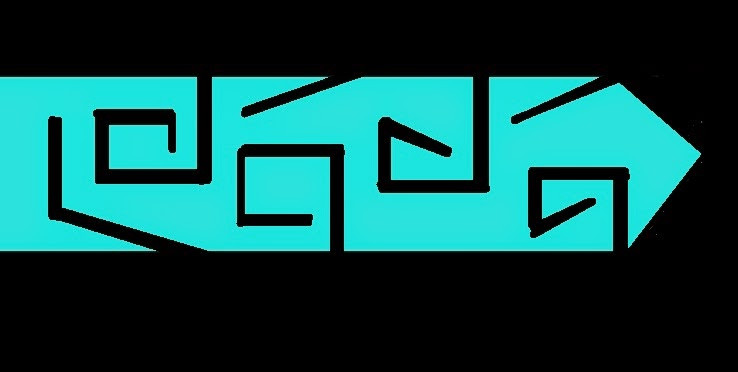
Begin with your miniature base coated in your desired dark color, for example, black, mimicking the Dark Eldar armor style. Using a fine detail brush, like a sharp-tipped Kolinsky sable brush, carefully paint a clean stripe of a contrasting color. Hawk Turquoise is an excellent choice for a vibrant contrast against black. This stripe will form the central element of your arrow pattern.
 First stripe of Hawk Turquoise for tattoo pattern
Step 2: Defining the Arrowhead
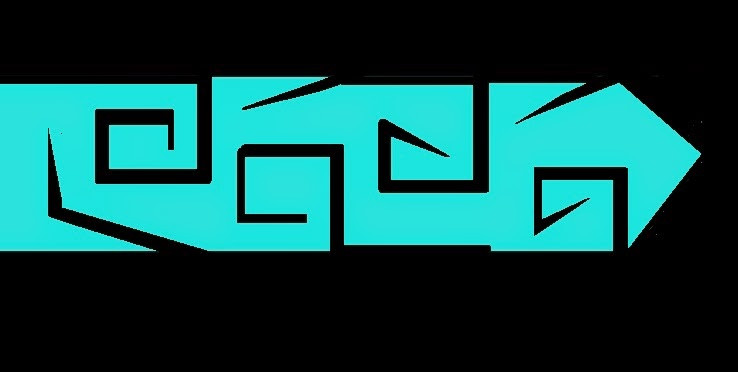
Next, refine the stripe by shaping the arrowhead. Using black paint again, carefully trim one end of the turquoise stripe to create a pointed, arrow-like shape. This step adds definition and begins to establish the pattern’s recognizable form. Precision is key here, so take your time to achieve a sharp, clean arrowhead.
 Arrowhead shaping with black paint for miniature tattoo
Step 3: Painting the Core Design
Now, paint the main body of the design, also using black. At this stage, don’t be overly concerned with perfect lines or staying precisely within the edges. The focus is on establishing the overall shape and placement of the pattern. Any slight imperfections can be corrected in the subsequent touch-up stages.
Step 4: Initial Touch-Up and Edge Trimming
Once the core design is in place, it’s time for the first round of touch-ups. Using black paint, carefully refine the edges of the pattern. Trim away any areas where the paint might have strayed outside the intended lines, ensuring a cleaner and more defined look. This step begins to sharpen the overall appearance of the tattoo pattern.
Step 5: Final Trim and Refinement
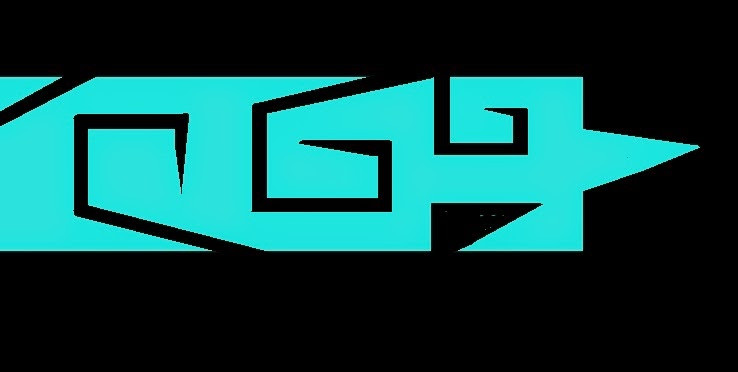
The final step is the most crucial for achieving a crisp and professional finish. Perform a final trim, meticulously cleaning up all the edges with black paint. This stage is where you perfect the lines, ensuring sharp transitions and a polished look for your painted tattoo pattern. With this final refinement, Pattern A is complete, showcasing a simple yet effective design.
 Finished arrow tattoo pattern on miniature figure
Pattern B: Geometric Variation
Building upon the techniques of Pattern A, Pattern B introduces a variation in design while maintaining the same fundamental steps. This demonstrates how easily you can adapt these free tattoo patterns to create diverse looks.
Step 1-5: Repeat and Vary
Follow the same five-step process as outlined in Pattern A. The key difference lies in the shape of the initial stripe and subsequent design elements. Instead of a straight arrow, experiment with geometric shapes, curves, or angular lines. The beauty of this pattern is its versatility. By changing the initial stripe, you unlock endless possibilities for unique tattoo designs.
 Initial stripe variation for geometric tattoo pattern
 Geometric tattoo pattern on miniature figure
Pattern C: The Eldar Classic
Pattern C takes inspiration from a well-known design often seen on Eldar Craftworld Ulthwe miniatures. This pattern is recognizable and provides a classic, elegant touch to your figures. Many experienced painters might already be familiar with this style, but these steps serve as a clear guide for those looking to learn.
Step 1-5: Classic Curves and Refinement
Again, the core steps remain the same. For Pattern C, begin with a curved or wave-like stripe instead of a straight line. Follow the same process of defining the design in black, and then meticulously trimming and refining the edges. The curved nature of this pattern adds a different aesthetic compared to the sharper lines of Pattern A and B, offering another valuable free tattoo pattern to your repertoire.
 Curved stripe for Eldar inspired tattoo pattern
 Eldar inspired tattoo pattern on miniature figure
Mastering the Technique
The secret to successfully painting these free tattoo patterns lies in the trimming and touch-up stages. Don’t be discouraged if your initial attempts aren’t perfect. Practice is essential! The trimming technique allows you to correct any mistakes and achieve sharp, clean lines, transforming a rough sketch into a polished design.
Once you’ve mastered these basic patterns, you can explore further enhancements. Consider adding Non-Metallic Metal (NMM) or True Metallic Metal (TMM) techniques to bring depth and realism to your miniature tattoos. Experiment with different color combinations and pattern variations to truly personalize your miniatures.
So, grab your brushes and start experimenting with these free tattoo patterns. Don’t be afraid to practice and develop your own unique styles. Share your painted miniatures and tattoo designs with the community, and let’s inspire each other to push the boundaries of miniature painting! What other freehand painting tutorials would you like to see? Let us know in the comments!