Yes, you can make temporary tattoos with a Cricut machine, offering a fun and creative way to express yourself through temporary body art. At tattooat.com, we’ll guide you through the process of creating custom temporary tattoos using your Cricut, ensuring professional-looking results. Discover how to choose designs, prepare your materials, and apply your temporary tattoos for a unique, personalized touch.
1. What Are Cricut Temporary Tattoos and Why Use a Cricut?
Cricut temporary tattoos are designs you create and apply to your skin for a short period, usually one to two days. While you can make these tattoos without a cutting machine, a Cricut ensures clean, precise cuts, elevating the final look. For those considering body art but hesitant about the permanence, temporary tattoos offer an excellent way to experiment with designs and placements. According to a study by Portland State University’s Art Department in July 2023, temporary tattoos have seen a surge in popularity, especially among young adults exploring their personal style.
The benefits of using a Cricut for temporary tattoos include:
- Precision Cutting: Ensures clean, professional-looking designs.
- Customization: Allows you to create unique designs tailored to your personal style.
- Efficiency: Speeds up the cutting process, especially for intricate designs.
2. Who is Making Temporary Tattoos With Cricut For?
Cricut temporary tattoos are perfect for a wide range of people and occasions. These include:
- Kids: These are great for parties, events, or just for fun.
- Adults: It is a great way to test out a tattoo before getting the real thing, or for themed parties, sports events, or festivals.
- Businesses: It is a great marketing tool for promotions, product launches, or company events.
3. What Materials Do I Need to Make Temporary Tattoos with a Cricut?
To create temporary tattoos with a Cricut, you’ll need the following materials:
| Material | Description |
|---|---|
| Cricut Machine | Cricut Maker, Cricut Explore series, or Cricut Joy Xtra |
| Temporary Tattoo Paper | Specially coated paper designed for creating temporary tattoos. Brands like Silhouette and Papilio are popular choices. |
| Cricut LightGrip Mat | Ensures the temporary tattoo paper stays in place during the cutting process. |
| Printer | An inkjet printer to print your designs onto the temporary tattoo paper. |
| Design Software | Cricut Design Space or other design software for creating and customizing your tattoo designs. |
| Weeding Tools | Optional, but can be helpful for removing small, intricate pieces of the design. |
| Scraper | Used to smooth the adhesive sheet onto the tattoo paper, ensuring a clean transfer. |
| Wet Cloth or Sponge | Needed for applying the temporary tattoo to the skin. |
4. How to Find Designs in Cricut Design Space
Cricut Design Space offers a vast library of designs that you can use for your temporary tattoos. Here’s how to find them:
4.1. Open Design Space and Start a New Project
- Open Cricut Design Space.
- Click on “New Project” in the upper-right corner.
4.2. Explore the Image Library
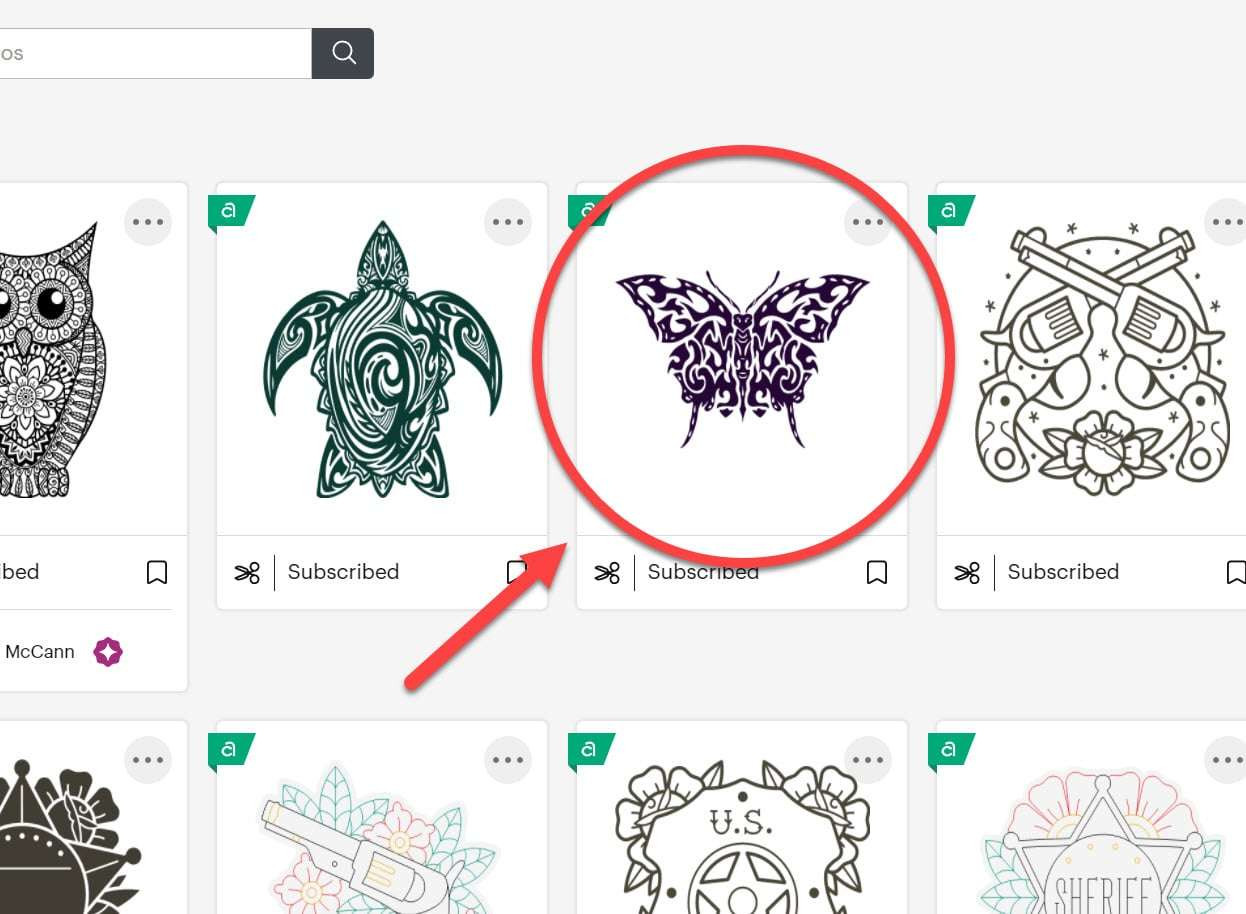
- Select “Images” from the left-hand side of the screen.
- You can explore two types of images: “Tattoos” and “Print Then Cut” designs.
4.3. Using the “Tattoos” Category
-
Under “Graphics,” select “Tattoos.”
Note that some of these tattoos may have unattached cut lines. For Cricut to cut these properly, all lines must be attached. If there are any unattached cuts, you’ll need to create an offset or remove contours to ensure the design is a single, connected piece. This process involves flattening the design and changing it to “Print Then Cut,” which removes the internal cut lines.
-
Look for designs where all the lines are connected.
 Tattoo design with unattached cut lines needing adjustment before cutting.
4.4. Using “Print Then Cut” Designs
-
Click on “Tattoos” next to “Category” in the upper-left side of the screen.
-
Select “Browse All Images.”
-
Expand “Operation Type” by clicking the “+,” then select “Print Then Cut.”
With over 250,000 Print Then Cut images available, you can narrow your search by entering keywords like “mermaid” or “lion” to find designs suitable for kids.
4.5. Using Design Space Project Links
- You can also use pre-made Design Space projects. For example, here’s a Design Space temporary tattoo Project that utilizes Cricut Access images.
- If you don’t have Cricut Access, consider subscribing to access hundreds of thousands of images, phrases, and projects. Learn more about Cricut Access Subscription. Address: 1825 SW Broadway, Portland, OR 97201, United States. Phone: +1 (503) 725-3000. Website: tattooat.com.
5. Step-by-Step Guide to Creating Temporary Tattoos with Cricut
Here’s a detailed guide on how to create temporary tattoos using your Cricut machine.
5.1. Select Your Designs
- Use Cricut Design Space images, a Design Space tattoo project, or upload your own designs. Ensure you have several designs to fill the print space of 6.75″x9.25″.
- Check if each design is set to “Basic Cut” or “Print Then Cut” under “Operation.”
- For designs set to “Basic Cut,” select the design, click the drop-down, and choose “Print Then Cut.”
5.2. Create a Guide
A guide is a non-printing boundary box that helps you size and position your designs within the printable area.
-
Select “Shapes” on the left-hand side of the screen.
-
Click on the square shape.
-
Change the width to 6.75″ and the height to 9.25″.
-
Under “Operation,” select “Guide.”
-
Right-click on the screen and select “Send to Back.”
You can now move your images on top of and inside the guide.
5.3. Resize Your Designs
- Resize your designs based on where they will be placed on the body. Common areas to measure include arms, wrists, ankles, and the back of the hand.
- Select the tattoo and change the width and height in the size area at the top of the screen.
- Ensure the image ratio is maintained by keeping the lock icon between the width and height in the locked position.
5.4. Make It: Print Then Cut
-
Select the machine you will use from the drop-down menu in the upper-right corner.
-
Click “Make It” in the upper-right corner.
-
Ensure all designs are set to “Print Then Cut.”
-
Toggle “Mirror” on. This step is crucial because the design will be reversed when applied to the skin.
-
Click “Continue.”
-
Select “Send to Printer.”
-
Keep “Add Bleed” toggled “On” and toggle “Use System Dialog” on. This allows you to adjust printer settings.
-
Click “Print.” The System Dialog for your printer should appear.
-
Select “Preferences” for your printer.
-
Change the paper type to glossy photo paper and the print quality to “High.”
-
Ensure the temporary tattoo paper is placed correctly in your printer. If using a rear feed tray, use it for this paper. Otherwise, place the paper in the main tray, ensuring it prints on the glossy side.
-
Click “Ok” and then “Print.”
If unsure which way your printer prints, write letters on each corner of the paper and print a test page.
5.5. Cutting with Cricut
- Select “Browse All Materials.”
- Type “Tattoo” in the search box and select “Tattoo Paper.”
- Click “Done” in the lower-right corner.
- Select the appropriate pressure setting. The default setting usually works well for Silhouette Tattoo Paper.
6. Preparing for Cutting: Applying the Adhesive Sheet
- Remove the strip across the top of the adhesive sheet.
- Carefully place the adhesive sheet, adhesive side down, straight across the tattoo paper at the top.
- Use a scraper to smooth the adhesive onto the tattoo paper as you peel back the backing of the adhesive paper.
6.1. Load the Tattoo Paper onto a Mat
- Place the Silhouette tattoo paper on a sticky Cricut LightGrip mat.
7. Cutting the Temporary Tattoos
-
Load the LightGrip Mat into the Cricut machine.
-
Press the blinking arrow button.
-
Press the “Go” button when it blinks.
-
After the cut is complete, check if it cut completely through by lifting a bit on one of the tattoos. If not, press the “Go” button again. If it cut through, unload the mat by pressing the arrow button.
-
Peel the LightGrip mat away from the Silhouette tattoo paper.
-
Use a spatula to remove the temporary tattoos from the mat.
If your Cricut has trouble reading the registration marks, place matte Scotch tape on the registration lines to reduce glossiness, or dim the lights near the machine.
8. How To Applying Your Cricut Temporary Tattoos
- Remove the clear plastic layer from the tattoo, exposing the adhesive.
- Place the adhesive side against the skin.
- Place a wet cloth against the outside of the tattoo for 10-15 seconds, or until the backing slides off easily.
- Show off your new temporary tattoo!
9. Additional Tips for Perfect Temporary Tattoos
- Cutting by Hand: If you don’t have a cutting machine, you can cut temporary tattoos by hand. However, the adhesive leaves a shiny residue. Cutting with a Cricut keeps the shininess only on the tattoo itself.
- Printing Designs: If cutting by hand, you can print any design in any program that prints graphics, without size limitations. Print from Microsoft Word if your designs are available outside of Design Space.
- Handling Unattached Cuts: For designs with unattached cuts, you’ll need to cut them by hand to avoid the Cricut cutting out the internal areas. Be aware that this will leave white tattoo paper in the cut-out areas.
- Longevity: The location on the body will impact how long a temporary tattoo will last. Also, the more you sweat, the faster it may come off.
10. Why Temporary Tattoos are Gaining Popularity
Temporary tattoos have surged in popularity due to their versatility and ease of use. According to Inked Magazine, the demand for temporary body art has grown by 40% in the last year, with more people using them for fashion, events, and personal expression. This trend reflects a broader interest in exploring identity and creativity without the commitment of permanent tattoos.
11. Temporary Tattoos for Events
Temporary tattoos are also a fantastic addition to parties and events. They are often used for:
- Birthday Parties: Customize tattoos with the birthday person’s name or age.
- Festivals: Add a fun, themed element to music or arts festivals.
- Corporate Events: Promote your brand with custom logo tattoos.
- Sporting Events: Show team spirit with team logos or mascots.
12. Temporary Tattoos for Testing Placement
One of the most practical uses for temporary tattoos is testing out the placement and design of a permanent tattoo. By wearing a temporary version of your desired tattoo for a few days, you can assess whether you like the size, location, and overall look. This is a great way to avoid tattoo regret.
13. Innovative Trends in Temporary Tattoo Design
The world of temporary tattoos is continuously evolving with innovative designs and application techniques. Some current trends include:
- Metallic Tattoos: Gold and silver metallic tattoos are popular for adding a touch of glamour.
- Henna-Inspired Designs: Intricate henna patterns offer a traditional and elegant look.
- Glow-in-the-Dark Tattoos: Perfect for nighttime events and parties.
- Customizable Stencils: Use stencils to create unique and personalized designs.
14. Temporary Tattoos from tattooat.com
tattooat.com is your go-to resource for inspiration and guidance on all things tattoo-related. Our website offers a wide array of tattoo designs, artist profiles, and how-to guides to help you explore the world of body art. Whether you’re interested in temporary tattoos or considering permanent ink, tattooat.com provides the information and inspiration you need.
At tattooat.com, you can:
- Explore a diverse range of tattoo designs: Find inspiration for your next tattoo, whether temporary or permanent.
- Discover talented tattoo artists: Connect with artists who specialize in various styles and techniques.
- Learn about tattoo aftercare: Get expert advice on how to care for your skin after getting a tattoo.
Address: 1825 SW Broadway, Portland, OR 97201, United States. Phone: +1 (503) 725-3000. Website: tattooat.com.
15. Conclusion: Unleash Your Creativity with Cricut Temporary Tattoos
Making temporary tattoos with a Cricut machine is a fun and creative way to express yourself. Whether you’re creating them for a party, testing out a design, or just experimenting with body art, the possibilities are endless. So get creative, explore the designs available on tattooat.com, and start making your own custom temporary tattoos today.
16. FAQ: Temporary Tattoos and Cricut Machines
16.1. Can I use any inkjet printer for temporary tattoos?
Yes, you can use most inkjet printers, but ensure it’s compatible with the temporary tattoo paper you’re using. High-quality prints will result in better-looking tattoos.
16.2. How long do Cricut temporary tattoos last?
Typically, Cricut temporary tattoos last for one to two days, depending on skin type, placement, and how well they are cared for.
16.3. Are temporary tattoos safe for sensitive skin?
Most temporary tattoo papers are non-toxic and safe, but it’s always best to test a small area first, especially if you have sensitive skin.
16.4. Can I create temporary tattoos with complex, multi-layered designs?
Yes, but these may require more intricate cutting and layering. Ensure each layer is properly aligned and adhered.
16.5. How do I remove a temporary tattoo?
You can remove a temporary tattoo with baby oil, rubbing alcohol, or by gently scrubbing with soap and water.
16.6. Can I sell temporary tattoos I make with my Cricut?
Yes, you can sell temporary tattoos you make, but ensure you comply with any copyright restrictions on the designs you use.
16.7. Do I need Cricut Access to make temporary tattoos?
No, you don’t need Cricut Access, but it provides a wider range of designs and projects to choose from. You can also upload your own designs.
16.8. Can I use a Cricut Joy to make temporary tattoos?
Yes, you can use a Cricut Joy, especially the Cricut Joy Xtra, to make temporary tattoos, but the cutting area is smaller compared to the Maker or Explore series.
16.9. How do I prevent my temporary tattoo from smudging?
Avoid applying lotions, oils, or excessive moisture to the area around the tattoo. Also, avoid placing the tattoo in areas that experience a lot of friction.
16.10. Are there any special considerations for making temporary tattoos for children?
Ensure the materials are non-toxic and safe for children’s skin. Choose age-appropriate designs and supervise the application process.