Are you curious if your Cricut machine can create temporary tattoos? Yes, a Cricut can absolutely make temporary tattoos that are both fun and professional-looking, offering a fantastic way to explore body art without the commitment, and at tattooat.com, we’re excited to guide you through the process. This article dives into how to use your Cricut to craft custom temporary tattoos, covering everything from design selection to application, ensuring your temporary body art looks stunning. Let’s explore the creative possibilities together, and discover inspiration, connect with talented artists, and gain the knowledge you need to create amazing temporary tattoos.
1. What Exactly Are Cricut Temporary Tattoos?
Cricut temporary tattoos are designs created with a Cricut cutting machine and special temporary tattoo paper, made to be applied to the skin for short-term wear, typically lasting a day or two. Think of them as sophisticated stickers for your skin, perfect for parties, events, or just experimenting with different looks. The process uses Cricut’s “Print Then Cut” feature, similar to making Print Then Cut stickers, allowing you to print a design and then precisely cut around it with your Cricut machine.
 Cricut Temporary Tattoos Unattached Cut Lines
These tattoos offer a creative way to test out designs, celebrate special occasions, or add a touch of flair to your everyday look. Plus, with resources like tattooat.com, you’ll find inspiration and the right artists to make your permanent tattoo dreams a reality.
2. What Materials Do I Need To Make Temporary Tattoos?
To create temporary tattoos with your Cricut, you’ll need to gather a few essential materials:
- Cricut Machine: Any Cricut Maker, Cricut Explore, or Cricut Joy Xtra series machine will work.
- Temporary Tattoo Paper: This special paper is designed for printing and transferring designs onto the skin.
- Inkjet Printer: To print your designs onto the tattoo paper.
- Cricut LightGrip Mat: This mat will hold the tattoo paper in place while the Cricut cuts the design.
- Design Software: Cricut Design Space or other design software to create or upload your tattoo designs.
- Scraper Tool: To smooth the adhesive sheet onto the tattoo paper.
- Wet Cloth: For applying the tattoo to your skin.
Having these materials on hand will set you up for a successful temporary tattoo-making experience with your Cricut. You’ll have everything you need to bring your unique designs to life.
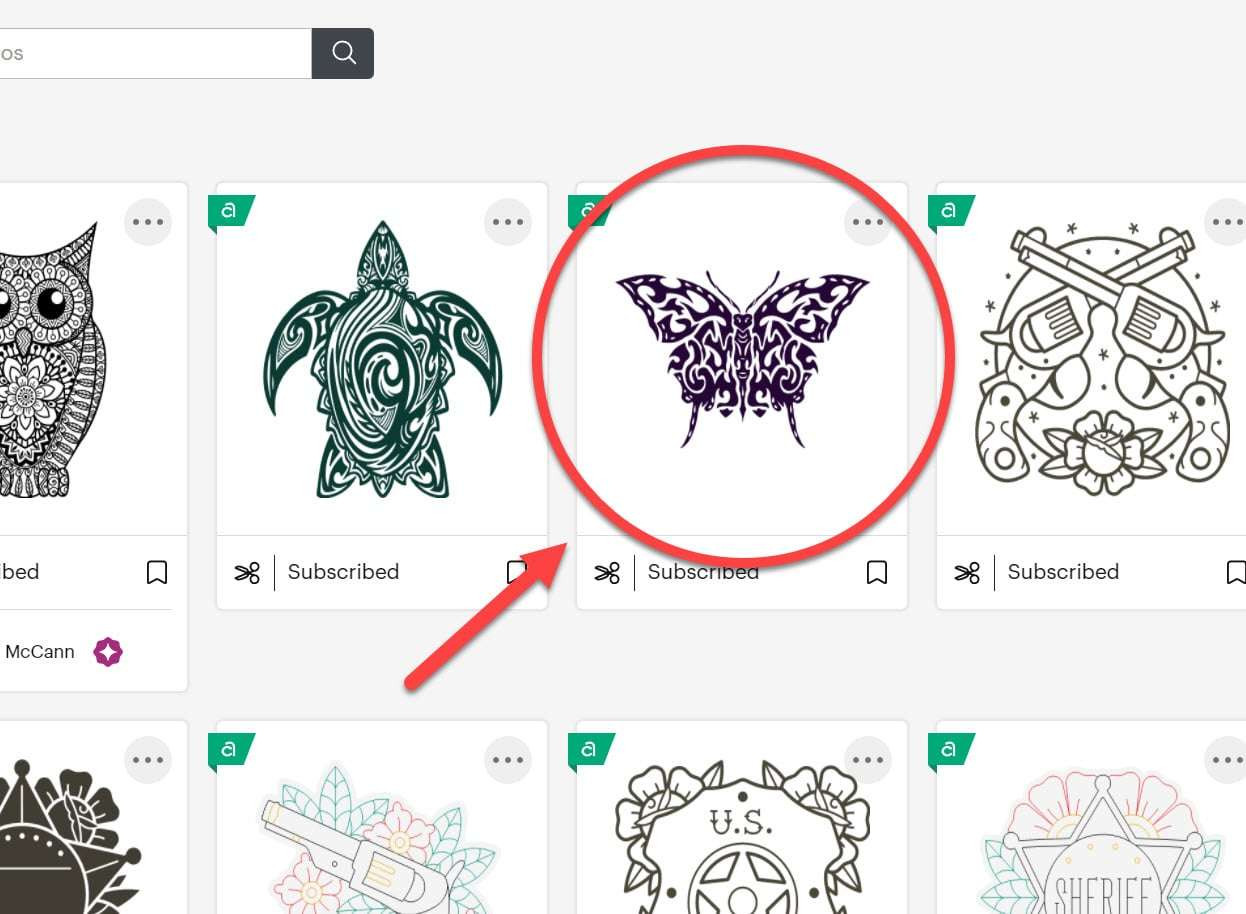
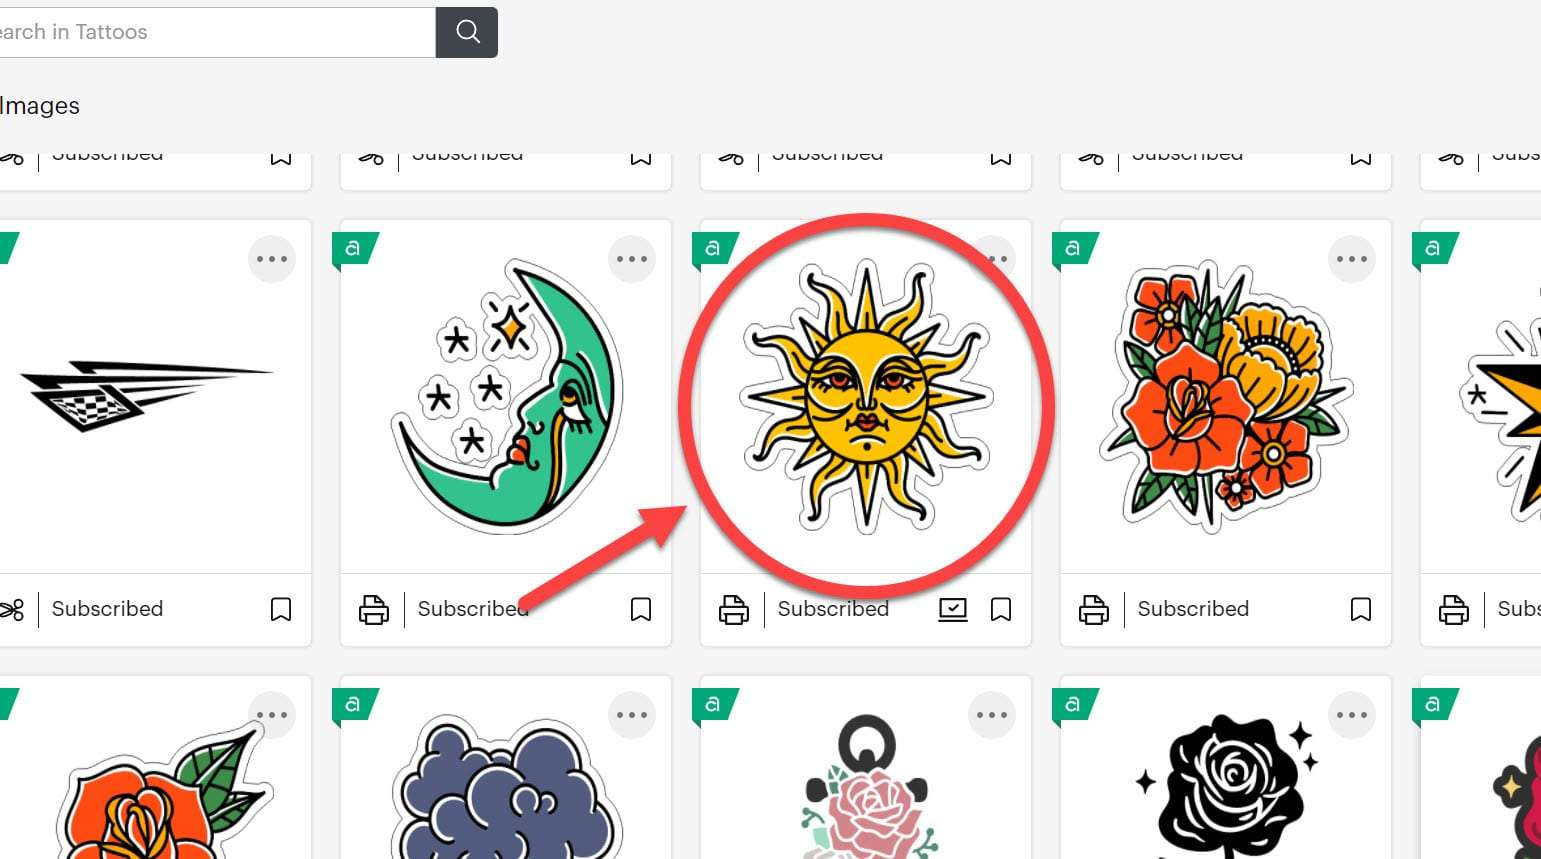
3. How Do I Find Designs In Cricut Design Space?
Cricut Design Space offers a variety of designs suitable for temporary tattoos, with options ranging from simple graphics to more intricate patterns. You can find these designs by:
-
Opening Cricut Design Space and starting a new project.
-
Selecting “Images” from the left-hand menu.
-
Browsing the “Tattoos” category under “Graphics” for pre-designed tattoo images.
-
Using the “Print Then Cut” filter to find designs specifically made for this method, ensuring they’re ready for printing and cutting.
-
Searching for specific themes or styles using keywords like “mermaid,” “lion,” or “floral” to narrow down your options.
By exploring these categories and filters, you’ll be able to find the perfect design for your temporary tattoo project in Cricut Design Space.
-
Check out tattooat.com for even more inspiration and design ideas!
 Cricut Temporary Tattoos Tattoo No Unattached Cut Lines
4. How To Prepare Your Design In Cricut Design Space For Tattoos?
Preparing your design in Cricut Design Space is crucial for achieving a professional-looking temporary tattoo. Here’s how to ensure your design is ready:
-
Upload or Select Your Design: Begin by either uploading your own design or choosing one from the Cricut Design Space library.
-
Convert to Print Then Cut: Ensure that your design is set to “Print Then Cut.” Select your design, go to the “Operation” dropdown menu, and choose “Print Then Cut.” This setting tells the Cricut to print the design first and then cut around it.
-
Mirror Your Image: This step is crucial! Since the tattoo will be applied to your skin face down, you need to mirror the image so it appears correctly. Select your design and click the “Flip” button, then choose “Flip Horizontal.”
-
Resize Your Design: Adjust the size of your design to fit your desired tattoo size. Consider where you plan to place the tattoo and measure the area to ensure it fits comfortably.
-
Add a Contour or Offset (If Needed): If your design has multiple parts or intricate details, consider adding a contour or offset. This creates a solid background that makes the tattoo easier to apply and ensures all the small elements stay together.
-
Flatten Your Design: Once you’re happy with the design, select all the layers and click “Flatten.” This combines all the elements into a single printable layer.
-
Create a Guide: Use a guide to ensure your designs fit within the printable area. Create a rectangle the size of your printable area (6.75″ x 9.25″), set it to “Guide” under “Operation,” and arrange your designs within this boundary.
-
Save Your Project: Before moving on, save your project to ensure you don’t lose your work.
By following these steps, your design will be perfectly prepared for printing and cutting, resulting in a high-quality temporary tattoo.
5. How To Use Print Then Cut For Cricut Temporary Tattoos?
The Print Then Cut feature on your Cricut is what makes creating detailed temporary tattoos possible. Here’s a step-by-step guide to using it effectively:
-
Load Your Design: Open Cricut Design Space and load the design you’ve prepared, ensuring it is set to “Print Then Cut.”
-
Click “Make It”: Once your design is ready, click the “Make It” button in the upper-right corner of the screen.
-
Mirror the Design: On the left-hand side of the screen, toggle the “Mirror” option to “On.” This is essential for temporary tattoos, as the design will be applied face down on the skin.
-
Continue to Print: Click the “Continue” button. Cricut Design Space will now prepare your design for printing.
-
Send to Printer: Click the “Send to Printer” button. Ensure the “Add Bleed” option is toggled “On” to slightly expand the colors beyond the cut lines, preventing white edges. Also, toggle “Use System Dialog” on; this allows you to adjust printer settings.
-
Adjust Printer Settings: In the system dialog, select your printer preferences. Change the paper type to “Glossy Photo Paper” and set the print quality to “High.” This ensures the best possible print quality for your temporary tattoo.
-
Load Tattoo Paper: Place the temporary tattoo paper in your printer, ensuring it prints on the glossy side. Refer to your printer’s manual if you’re unsure which way to load the paper.
-
Print Your Design: Print the design onto the temporary tattoo paper.
-
Select Material: Back in Cricut Design Space, click “Browse All Materials” and search for “Tattoo Paper.” Select the appropriate setting for your tattoo paper.
-
Load Mat: Place the printed tattoo paper on a Cricut LightGrip mat with the printed side up.
-
Cut the Design: Load the mat into your Cricut machine and press the “Go” button. The Cricut will now scan the registration marks and precisely cut around your design.
-
Unload and Weed: Once the cutting is complete, unload the mat. Carefully peel away the excess tattoo paper, leaving only your cut design on the backing.
By following these steps, you’ll be able to create professional-looking temporary tattoos with crisp, clean edges using the Print Then Cut feature on your Cricut.
6. How To Properly Apply The Adhesive Sheet?
Applying the adhesive sheet correctly is vital for transferring the tattoo design from the paper to your skin. Here’s a step-by-step guide:
-
Prepare the Adhesive Sheet: Start by removing the strip across the top of the adhesive sheet to expose the sticky side.
-
Position the Sheet: Carefully align the adhesive sheet with the printed tattoo paper. Make sure the adhesive side is facing down and positioned straight across the top of the tattoo paper.
-
Smooth the Adhesive: Using a scraper tool, gently begin to peel back the backing of the adhesive paper. As you peel, smooth the adhesive onto the tattoo paper, working from top to bottom. This ensures there are no bubbles or wrinkles.
-
Apply Even Pressure: Continue smoothing the adhesive sheet with the scraper, applying even pressure to ensure it adheres completely to the tattoo paper.
-
Trim Excess (Optional): If there’s any excess adhesive sheet hanging over the edges of the tattoo paper, you can trim it off with scissors for a cleaner look.
By following these steps carefully, you’ll create a smooth, bubble-free surface that’s ready for cutting with your Cricut.
7. How To Cut The Temporary Tattoos With Your Cricut?
Once you’ve printed your designs and applied the adhesive sheet, it’s time to cut the temporary tattoos with your Cricut:
- Place Tattoo Paper on Mat: Position the Silhouette tattoo paper, adhesive side up, on a sticky Cricut LightGrip mat. Ensure it’s firmly pressed down to avoid any shifting during the cutting process.
- Load the Mat: Insert the LightGrip mat into your Cricut machine. Press the blinking arrow button to load the mat.
- Start Cutting: Press the “Go” button when it blinks. The Cricut will scan the registration marks (the bold lines around the design) and begin cutting.
- Check the Cut: Once the cut is complete, lift a small corner of one of the tattoos to check if it has cut through completely. If it hasn’t, don’t unload the mat. Press the “Go” button again to run the cut a second time.
- Unload the Mat: If the tattoos have cut through completely, press the arrow button to unload the mat.
- Remove Tattoos: Gently peel the LightGrip mat away from the Silhouette tattoo paper.
- Use a Spatula: Use a spatula to carefully remove the Cricut temporary tattoos from the mat without bending or tearing them.
If your Cricut has trouble reading the registration marks due to the glossiness of the adhesive sheet, try placing matte Scotch tape over the registration lines to reduce the shine. You can also try dimming the lights in the room.
8. How To Apply Your Cricut Temporary Tattoos To Your Skin?
Applying your Cricut temporary tattoos is a simple process:
- Peel off the Clear Layer: Remove the clear plastic layer from the tattoo, exposing the adhesive underneath.
- Place on Skin: Position the adhesive side of the tattoo against your skin, pressing it firmly into place.
- Apply Water: Take a wet cloth and press it against the outside of the tattoo for about 10-15 seconds. Make sure the cloth is damp but not dripping.
- Slide off the Backing: After 10-15 seconds, gently try to slide the backing paper off. If it doesn’t slide easily, apply the wet cloth for a few more seconds.
- Reveal the Tattoo: Once the backing paper is removed, your temporary tattoo is applied! Gently pat the area dry with a soft cloth.
- Show it Off: Enjoy your new temporary tattoo! It should last for a day or two, depending on how well you care for it.
9. What Are Some Additional Tips For Cricut Temporary Tattoos?
Here are some additional tips to enhance your experience with Cricut temporary tattoos:
- Cutting by Hand:
- Temporary tattoos don’t always need a cutting machine. However, cutting with a Cricut gives a cleaner look by limiting shininess to the tattoo area.
- If cutting by hand, remember that any program that prints graphics can be used, and you aren’t limited to the Cricut’s print size.
- Designs with Unattached Cuts:
- For designs with unattached cuts in the middle, hand-cutting is necessary to avoid losing those elements. Note that this might leave white tattoo paper in the cutout areas.
- Troubleshooting Registration Marks:
- If your Cricut struggles with registration marks after applying the adhesive, use matte Scotch tape on the lines to reduce glossiness.
- Selecting Designs:
- Choose designs where all lines are connected to avoid issues with unattached cuts.
- Using Cricut Access:
- Consider Cricut Access for a wide range of images, phrases, and projects.
- Maintaining Image Ratio:
- Ensure the image ratio is locked when resizing to maintain proportions.
10. Where Can I Find More Inspiration And Designs For Tattoos?
Looking for more inspiration and designs for your tattoos? Look no further than tattooat.com! We offer a vast library of designs, connect you with talented artists, and provide all the information you need to bring your tattoo ideas to life. Plus, our studio directory helps you find reputable artists and studios, ensuring a safe and professional experience.
At tattooat.com, you can explore countless designs, connect with amazing artists, and get all the knowledge you need to make your tattoo dreams a reality. We can help you find the perfect design, artist, and studio for your needs.
FAQ About Cricut Temporary Tattoos
1. Can I use any printer for Cricut temporary tattoos?
Yes, you can use any inkjet printer for Cricut temporary tattoos. However, for the best results, use a printer that can handle glossy photo paper and has high-quality print settings.
2. How long do Cricut temporary tattoos last?
Cricut temporary tattoos typically last for a day or two, depending on how well they are cared for and where they are placed on the body. Areas that experience a lot of friction, such as hands or wrists, may see the tattoo fade more quickly.
3. Are Cricut temporary tattoos waterproof?
While Cricut temporary tattoos are somewhat water-resistant, they are not fully waterproof. Exposure to water can cause the tattoo to fade or peel off more quickly. It’s best to avoid prolonged exposure to water, such as swimming or showering, while wearing a temporary tattoo.
4. Can I use Cricut temporary tattoos on sensitive skin?
If you have sensitive skin, it’s always a good idea to test the temporary tattoo on a small, inconspicuous area of your skin before applying it to a larger area. This can help you determine if you have any adverse reactions to the adhesive or ink.
5. How do I remove a Cricut temporary tattoo?**
To remove a Cricut temporary tattoo, you can use baby oil, rubbing alcohol, or adhesive remover. Apply the product to the tattoo and let it sit for a few minutes, then gently rub the tattoo with a cloth or cotton ball until it comes off.
6. Can I create multi-colored designs for Cricut temporary tattoos?**
Yes, you can create multi-colored designs for Cricut temporary tattoos. The Cricut Print Then Cut feature allows you to print full-color designs onto the tattoo paper.
7. Do I need a special Cricut machine to make temporary tattoos?**
No, you don’t need a special Cricut machine to make temporary tattoos. Any Cricut Maker, Cricut Explore, or Cricut Joy Xtra series machine will work.
8. Can I sell Cricut temporary tattoos?**
Yes, you can sell Cricut temporary tattoos, but be sure to check the licensing terms for any designs you use from Cricut Design Space or other sources.
9. Are Cricut temporary tattoos safe for children?**
Cricut temporary tattoos are generally safe for children, but adult supervision is recommended. Avoid applying tattoos to areas around the eyes or mouth, and do not use on children with sensitive skin or known allergies to adhesives or inks.
10. Can I upload my own designs to Cricut Design Space for temporary tattoos?**
Yes, you can upload your own designs to Cricut Design Space for temporary tattoos. Simply upload your image, set it to “Print Then Cut,” and follow the steps outlined in this article.
Ready To Get Started?
Cricut temporary tattoos are a fantastic way to express your creativity and experiment with different designs without the long-term commitment. Whether you’re creating tattoos for a party, a special event, or just for fun, the possibilities are endless.
Explore the world of tattoo art and find endless inspiration at tattooat.com. Discover unique designs, connect with talented artists, and learn everything you need to know about tattoos. Visit tattooat.com today and start your tattoo journey!
Address: 1825 SW Broadway, Portland, OR 97201, United States
Phone: +1 (503) 725-3000
Website: tattooat.com