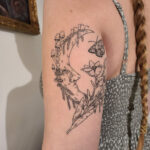
Getting a new tattoo is an exciting experience, marking your skin with art that lasts a lifetime. However, the journey doesn’t end once the needle stops buzzing. Proper aftercare is paramount to ensure your tattoo heals beautifully, retaining its vibrancy and crisp lines. One of the most crucial aspects of tattoo aftercare is moisturizing, and what better way to nourish your inked skin than with a homemade Tattoo Balm? If you’re passionate about natural skincare and eager to give your new ink the best possible start, crafting your own tattoo balm is a rewarding and effective solution.
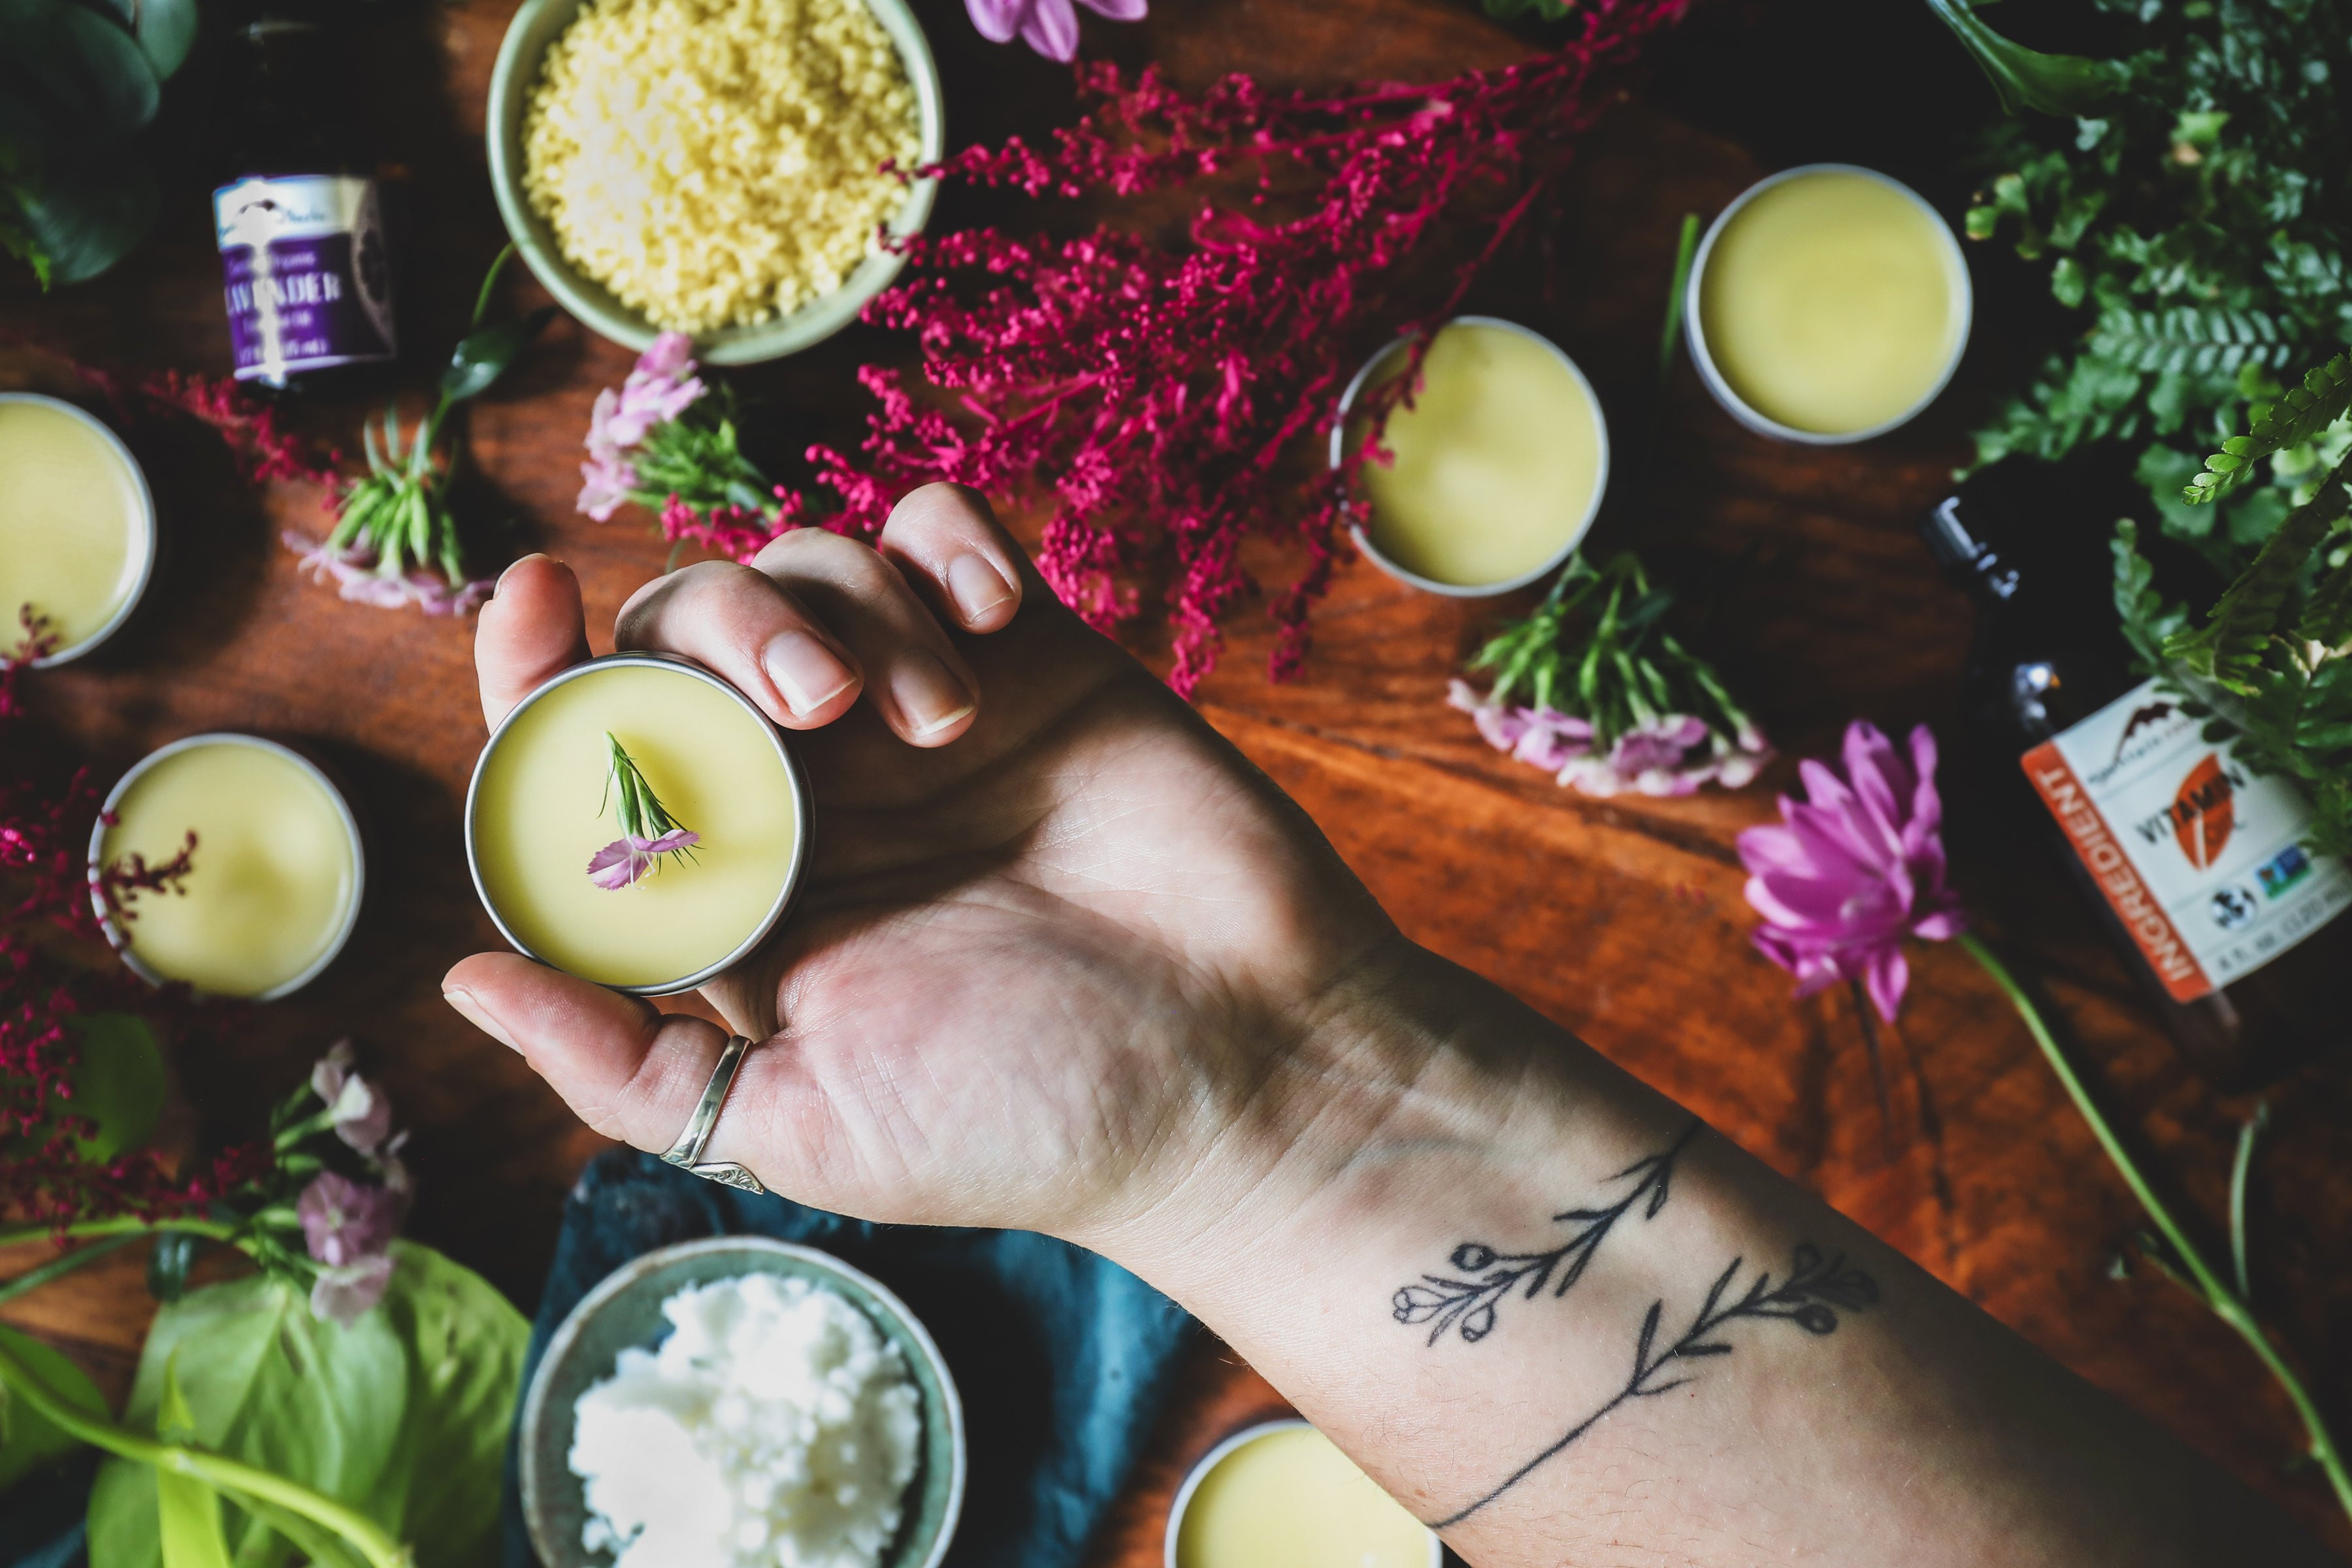 A hand hold a tin of homemade tattoo balm above a table that is strewn with ingredients and flowers
Why Choose Tattoo Balm for Aftercare?
Freshly tattooed skin is essentially an open wound, making it vulnerable to irritation, dryness, and potential infection. A high-quality tattoo balm is specifically designed to address these concerns. Unlike সাধারণ lotions or petroleum-based products, a good tattoo balm is formulated with ingredients that promote healing, soothe inflammation, and keep the skin moisturized without clogging pores. This is crucial because allowing the skin to breathe is vital for proper healing and preventing ink fallout.
Moreover, many commercially available tattoo aftercare products contain synthetic ingredients and harsh chemicals. For those seeking a more natural and gentle approach, DIY tattoo balm offers a fantastic alternative. By creating your own balm, you have complete control over the ingredients, ensuring you’re using only the purest and most beneficial components for your skin. This is particularly advantageous for individuals with sensitive skin or allergies.
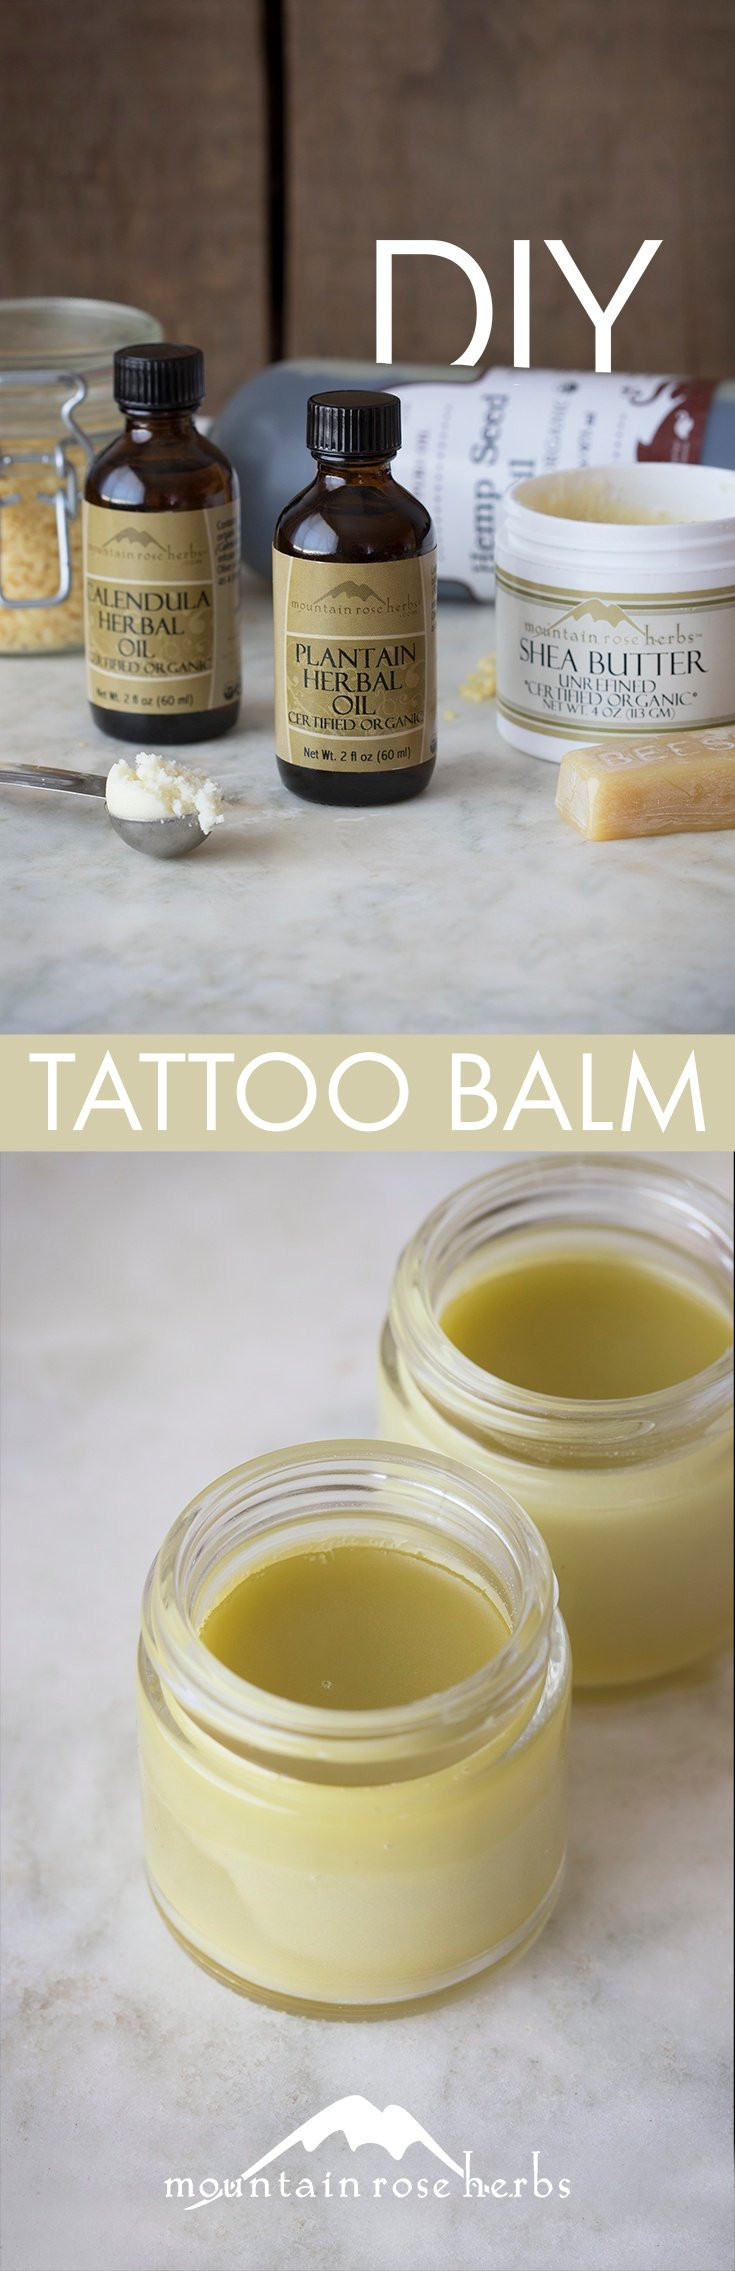
Craft Your Own Natural Tattoo Balm: A Simple Recipe
This recipe focuses on simplicity and effectiveness, utilizing easily absorbable and skin-loving ingredients known for their healing and moisturizing properties. You’ll be amazed at how easy it is to whip up a batch of your own homemade tattoo balm.
Ingredients You’ll Need:
- Shea Butter (3 oz): Renowned for its rich moisturizing and anti-inflammatory properties, shea butter helps to soothe irritated skin and create a protective barrier.
- Unrefined Coconut Oil (2 oz): A powerhouse of antimicrobial and antifungal properties, unrefined coconut oil aids in keeping the tattooed area clean and promotes healing. It also provides excellent moisturization.
- Jojoba Oil (1 oz): Mimicking the skin’s natural sebum, jojoba oil is easily absorbed, non-comedogenic (won’t clog pores), and deeply hydrating, ensuring the skin remains supple during the healing process.
- Beeswax (0.5 oz): Beeswax acts as a natural sealant, locking in moisture and creating a breathable protective layer over the tattoo. It also adds a lovely texture to the balm.
- Calendula Infused Oil (0.75 oz): Calendula is celebrated for its exceptional wound-healing and skin-soothing abilities. Infusing oil with calendula flowers extracts these beneficial properties, making it a perfect addition to tattoo balm.
- Vitamin E Oil (1 tsp): A potent antioxidant, Vitamin E oil helps to protect the skin from damage and promotes healing. It also extends the shelf life of your balm.
- Lavender Essential Oil (20 drops): Lavender essential oil offers a gentle and calming scent while providing antiseptic and anti-inflammatory benefits, further supporting the healing process. (Approximately 0.5% dilution rate for safety and gentleness).
Equipment:
- Double boiler or heat-safe bowl and saucepan
- Spoon or spatula for stirring
- Glass jars or tins with screw-top lids for storage
Step-by-Step Balm Creation:
-
Combine Base Ingredients: In your double boiler or heat-safe bowl set over a simmering saucepan of water, gently melt together the shea butter, coconut oil, jojoba oil, and beeswax. Stir occasionally until everything is fully melted and smoothly combined.
-
Remove from Heat & Incorporate Actives: Once melted, remove the mixture from the heat. Allow it to cool slightly for a minute or two, then add the calendula oil, vitamin E oil, and lavender essential oil. Stir well to ensure all ingredients are thoroughly mixed.
-
Pour and Cool: Carefully pour the liquid balm into your chosen glass jars or tins.
-
Set and Store: Leave the containers uncovered at room temperature to cool and solidify completely. This may take a few hours. Once solid, secure the lids tightly and store your tattoo balm in a cool, dark place.
 YogaMatCleanerPinterest
How to Best Utilize Your Tattoo Balm
Always follow the specific aftercare instructions provided by your tattoo artist, as their guidance is tailored to your individual tattoo and skin. Generally, for tattoo balm application:
- Clean Hands are Key: Before applying balm, ensure your hands are thoroughly clean to prevent introducing bacteria to your healing tattoo.
- Apply Thinly and Gently: Using clean fingertips, gently spread a very thin layer of the balm over your freshly tattooed skin. Avoid applying thick layers, as this can hinder airflow and potentially impede healing. The goal is to moisturize, not suffocate the skin.
- Frequency of Application: Apply the balm throughout the day as needed to keep the tattoo moisturized, especially after cleaning your tattoo. Your tattoo artist will advise on the optimal frequency, but typically 2-3 times daily is sufficient.
- Listen to Your Skin: Pay attention to how your skin feels. If it feels overly greasy or sticky, you may be using too much balm. Adjust the amount accordingly.
By crafting and using your own DIY tattoo balm, you’re providing your new tattoo with natural, nourishing care that supports optimal healing and enhances the vibrancy of your ink for years to come. Enjoy the process and the beautiful results!