Getting a new tattoo is an exciting experience, marking a personal milestone or artistic expression on your skin. However, the journey doesn’t end once the ink is laid. Proper aftercare is paramount to ensure your tattoo heals beautifully, preserving the vibrancy and detail you envisioned. Traditional tattoo aftercare methods often involve plastic wrap and petroleum-based ointments, but a modern solution has emerged, offering a superior healing environment: Saniderm Tattoo Wrap.
This comprehensive guide dives deep into the world of Saniderm, exploring why it’s become a favorite among tattoo artists and enthusiasts alike. We’ll cover everything you need to know about Saniderm tattoo wraps, from understanding how they work to step-by-step application and essential aftercare tips, ensuring your new ink heals flawlessly.
Why Choose Saniderm Tattoo Wrap Over Traditional Methods?
Traditional tattoo aftercare, typically involving household plastic wrap and petroleum jelly, aims to protect the fresh tattoo from the environment. However, this method presents several drawbacks that can hinder the healing process and potentially compromise the final look of your tattoo.
One major issue with plastic wrap is its lack of breathability. When a fresh tattoo is wrapped in plastic, it creates a moisture-rich environment that can trap bacteria and prevent the skin from breathing. This can lead to:
- Prolonged Healing Time: Skin needs oxygen to heal effectively. Plastic wrap restricts oxygen flow, potentially extending the healing period beyond the typical 2-4 weeks.
- Skin Irritation and Rashes: Trapped moisture and lack of breathability can irritate the skin, leading to rashes and inflammation, especially around hair follicles.
- Increased Risk of Infection: Plastic wrap can trap impurities and bacteria against the skin, raising the risk of infection in the open wound of a new tattoo.
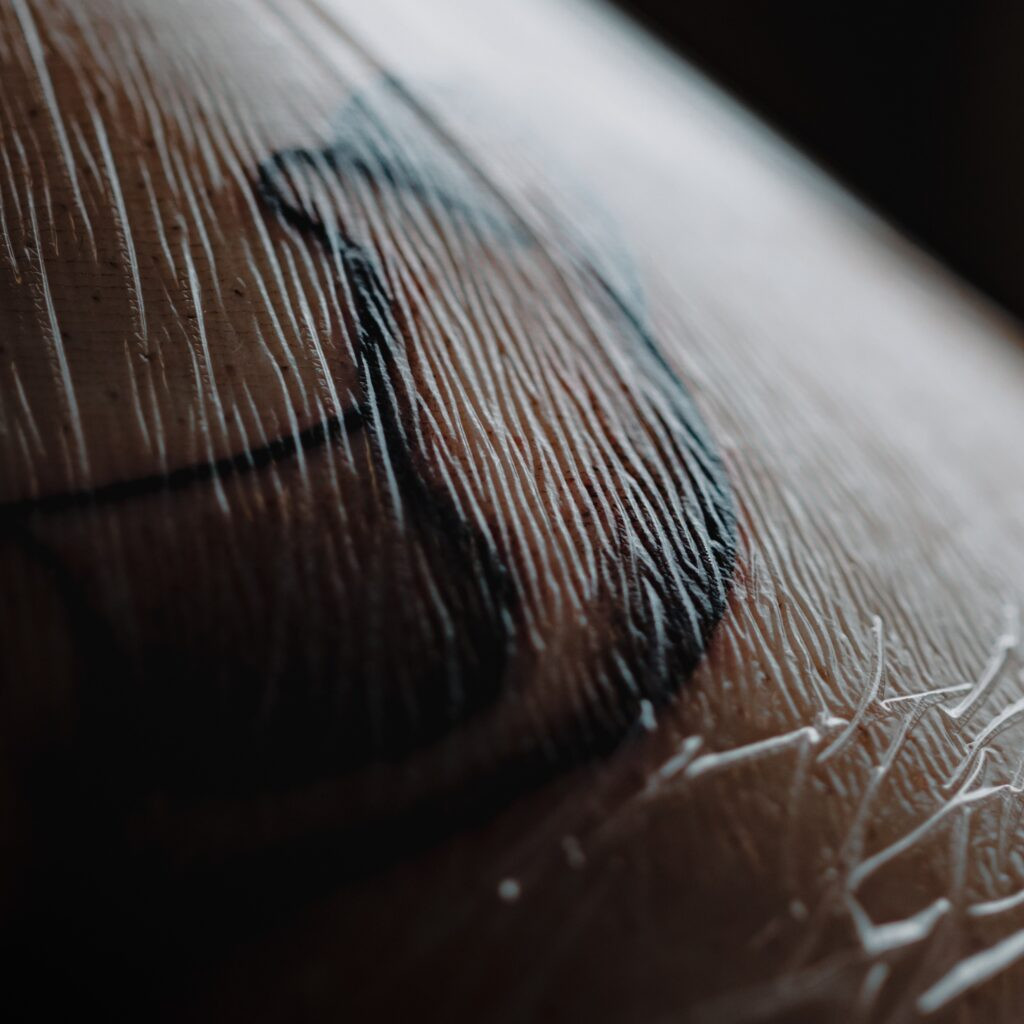
- Scabbing and Ink Loss: Plastic wrap and heavy ointments don’t effectively manage the blood and plasma weeping from the tattoo. This often leads to the formation of thick scabs. Picking or scratching scabs can pull out ink, causing pigment loss and uneven healing.
Petroleum-based ointments, while intended to moisturize, can further exacerbate these problems. They can be too occlusive, suffocating the pores and trapping moisture, similar to plastic wrap.
Saniderm tattoo wrap offers a revolutionary alternative by addressing these shortcomings.
The Science-Backed Benefits of Saniderm Tattoo Wrap
Saniderm is a game-changer in tattoo aftercare due to its unique properties and scientifically engineered design. Unlike basic plastic wrap, Saniderm is:
- Medical-Grade and Sterile: Saniderm bandages are manufactured in a sterile environment, minimizing the risk of introducing contaminants to your fresh tattoo.
- Breathable: This is a key advantage. Saniderm is oxygen-permeable, allowing the skin to breathe and promoting natural healing processes. Oxygen is crucial for cell regeneration and reducing the risk of anaerobic bacterial growth.
- Waterproof: Saniderm provides a waterproof barrier, protecting your tattoo from water and external contaminants while allowing you to shower normally.
- Occlusive Wound Healing: Saniderm creates a moist wound healing environment by locking in the body’s natural fluids (blood and plasma). This is crucial because these fluids contain essential growth factors and enzymes that accelerate healing and prevent scabbing.
Here’s how Saniderm tattoo wrap elevates your tattoo healing experience:
- Scab Prevention: By maintaining a moist environment and preventing the tattoo from drying out and forming thick scabs, Saniderm significantly reduces scabbing. This means smoother healing and less risk of ink loss.
- Faster Healing: The breathable and occlusive properties of Saniderm work synergistically to speed up the healing process. Clients often experience noticeably faster healing times compared to traditional methods.
- Reduced Risk of Infection: Saniderm acts as a robust barrier against bacteria, germs, dirt, and other environmental contaminants, dramatically minimizing the risk of tattoo infections.
- Simplified Aftercare: Saniderm eliminates the need for frequent washing and ointment application during the initial healing days. Once applied, it provides continuous protection, simplifying the aftercare routine.
- Enhanced Tattoo Appearance: By preventing scabbing and promoting optimal healing conditions, Saniderm helps preserve the vibrancy, sharpness, and detail of your tattoo, ensuring the healed artwork looks its best.
 Saniderm tattoo wrap product
Image: A close-up product shot of a roll of Saniderm tattoo wrap, showcasing its transparent and flexible nature.
Preparing Your Skin for Saniderm Tattoo Wrap Application
Before applying Saniderm, proper preparation is essential to ensure optimal adhesion and healing. Follow these steps to get your skin ready:
- Hair Removal: Your tattoo artist will typically shave the area around your new tattoo (about 1-2 inches radius). This is crucial for Saniderm to adhere properly and for painless removal later.
- Thorough Cleaning: After your tattoo session and once you are home (or as instructed by your artist), gently wash the tattoo with a mild, antibacterial, fragrance-free soap. Ensure you remove all traces of soap residue and excess ink. Saniderm Tattoo Foam Soap is an excellent choice for this step.
- Complete Drying: Pat the tattooed area completely dry using a clean paper towel. Avoid cloth towels as they can harbor bacteria. The skin must be fully dry for Saniderm to adhere effectively. Allow the area to air dry for a few minutes to ensure complete dryness.
 Preparing skin for Saniderm application
Image: A person gently patting dry a freshly tattooed arm with a paper towel, preparing the skin for Saniderm application.
Step-by-Step Guide to Applying Saniderm Tattoo Wrap
Now that your skin is prepped, it’s time to apply the Saniderm tattoo wrap. Follow these detailed instructions for proper application:
- Cut the Saniderm: Cut a piece of Saniderm bandage that is slightly larger than your tattoo, ensuring you have an extra 1-2 inches of overlap on all sides of the tattoo. This extra margin is crucial for secure adhesion to the surrounding skin.
- Remove the Backing: Peel off the white paper backing to expose the adhesive side of the Saniderm bandage. Try to minimize touching the adhesive surface to maintain its sterility.
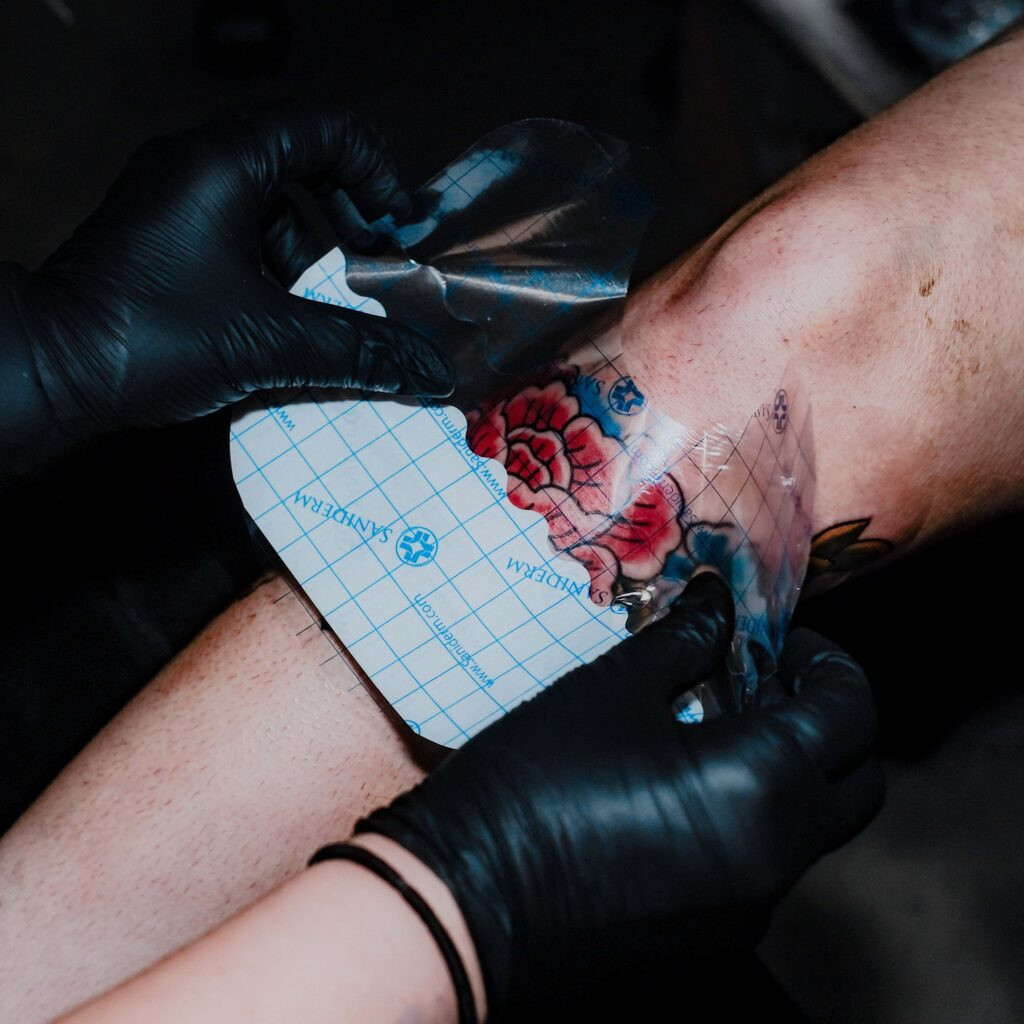
- Apply Centrally: Carefully center the adhesive side of the Saniderm over your tattoo. Gently apply it to the skin, starting from the middle and smoothing outwards towards the edges. This technique helps prevent air bubbles and ensures even adhesion.
- Massage for Adhesion: Once the bandage is in place, firmly massage it onto your skin, working from the center outwards. This activates the adhesive and ensures a strong, waterproof seal.
- Remove Patterned Layer: After the bandage is securely adhered, peel off the remaining clear, patterned top layer. Saniderm includes a “wavy” crease to make separating this layer easier. Only the thin, transparent Saniderm film should remain on your skin.
- Initial Application Duration: Leave the first Saniderm bandage on for up to 24 hours. During this period, you’ll likely notice fluid (plasma, blood, and ink) pooling under the bandage. This is normal and part of the occlusive healing process. However, if excessive fluid accumulation compromises the bandage’s adhesion, remove and reapply a fresh bandage sooner.
 Applying Saniderm tattoo wrap
Image: A close-up shot of hands applying a Saniderm bandage to a tattooed arm, demonstrating the smoothing out process.
Removing and Reapplying Saniderm for Continued Healing
After the initial 24-hour period, it’s time to remove the first Saniderm bandage and apply a second one for the next phase of healing:
- Shower Removal: The easiest and most comfortable way to remove Saniderm is in a warm shower. The warm water helps to loosen the adhesive.
- Peel Gently: Find an upper corner of the bandage and slowly peel it back, pulling it back over itself, similar to peeling a banana from top to bottom. Avoid pulling upwards and away from the skin, which can be painful.
- Cleanse the Tattoo: Once the bandage is removed, gently wash the tattoo again with warm water and a fragrance-free, antibacterial soap like Saniderm Foam Soap.
- Pat Dry and Air Dry: Pat the tattoo completely dry with a clean paper towel. Allow the tattoo to air dry for 5-10 minutes to ensure it’s fully dry before applying the new bandage.
- Reapply Saniderm: Apply a second Saniderm bandage following the same application steps as before.
- Second Application Duration: Keep the second Saniderm bandage on for an additional 3-5 days. During this time, monitor for any signs of irritation or discomfort. If you experience any adverse reactions, remove the bandage and switch to open healing with tattoo aftercare balms.
Post-Saniderm Tattoo Aftercare: Nurturing Your Healed Ink
After removing the final Saniderm bandage, your tattoo will be in the final stages of healing. While it may appear healed on the surface, deeper layers of skin continue to heal for up to 6 months. Consistent moisturizing is crucial during this period.
- Gentle Washing: Continue to gently wash your tattoo twice daily (morning and night) with a mild, antibacterial soap and pat dry with a paper towel.
- Moisturize Regularly: After washing and air drying, apply a thin layer of a high-quality tattoo aftercare balm or lotion. Saniderm Tattoo Aftercare Balm and Daily Tattoo Lotion are excellent choices, formulated with natural ingredients to nourish and hydrate the skin. Gently massage the moisturizer into the tattooed skin in small, circular motions.
- Avoid Over-Moisturizing: While moisturizing is essential, avoid applying excessive amounts of balm or lotion. Over-moisturizing can hinder healing, trap bacteria, and clog pores. Apply just a thin layer, ensuring it’s fully absorbed. Wipe away any excess product.
- Sun Protection: Once your tattoo is fully healed, protect it from direct sunlight by using a high-SPF sunscreen whenever it’s exposed. Sun exposure can fade tattoo ink over time.
Saniderm Tattoo Aftercare Balms
Showering, Swimming, and Exercising with Saniderm Tattoo Wrap
One of the significant advantages of Saniderm is its waterproof nature, allowing you to maintain your daily hygiene routine.
- Showering: You can shower normally with Saniderm on. However, avoid excessively hot water, as it can weaken the adhesive.
- Swimming and Baths: While Saniderm is waterproof, prolonged submersion in water (baths, pools, hot tubs, oceans) is not recommended for the first 2-4 weeks, even with a bandage. Submerging the tattoo for extended periods could compromise the bandage seal and increase the risk of infection.
- Exercising: Saniderm is durable enough to withstand light to moderate exercise. However, excessive sweating, friction, and prolonged movement can weaken the adhesion. If you notice the bandage lifting or fluid leaking, remove and replace it or switch to open healing.
Read More // Can I Exercise and Workout with Saniderm?
Saniderm Tattoo Wrap: Your Partner in Perfect Tattoo Healing
Saniderm tattoo wrap represents a significant advancement in tattoo aftercare, offering a safer, more efficient, and more comfortable healing experience. By understanding its benefits and following proper application and aftercare guidelines, you can ensure your new tattoo heals beautifully, maintaining its vibrancy and artistry for years to come. Ask your tattoo artist about Saniderm and experience the difference for yourself!
For more detailed information and tips on Saniderm product usage, explore the Saniderm Product Usage section in their comprehensive Knowledge Base.

