Creating your own henna paste at home is a fantastic way to ensure you’re using natural ingredients and achieving the perfect consistency for your Henna Tattoo art. As the weather warms up, it’s the ideal time to explore the beauty of henna and adorn your skin with intricate, temporary designs. This guide will walk you through a simple and effective natural henna tattoo paste recipe, allowing you to customize your henna experience for the best results and deepest stains.
What’s truly special about making henna paste yourself is the freedom to personalize the scent and texture to your exact liking. Think of this recipe as your starting point – feel empowered to experiment with the proportions of each ingredient. Just like baking, mastering henna paste takes a little practice. Embrace the process, relax, and enjoy crafting a henna paste that’s perfectly tailored to you and your artistic vision.
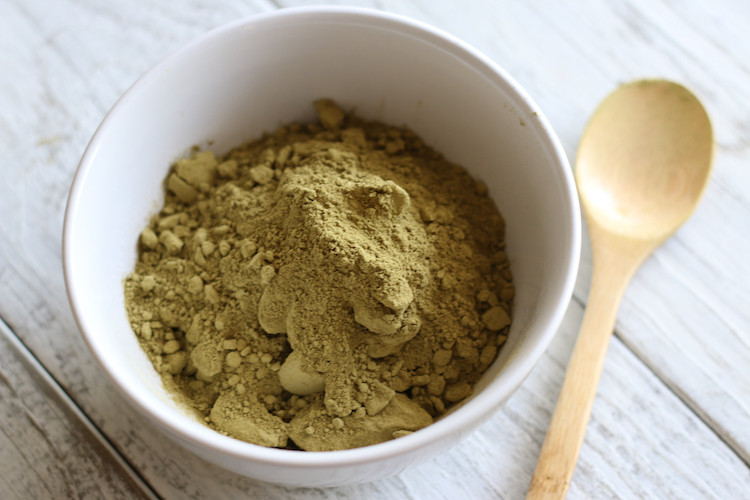
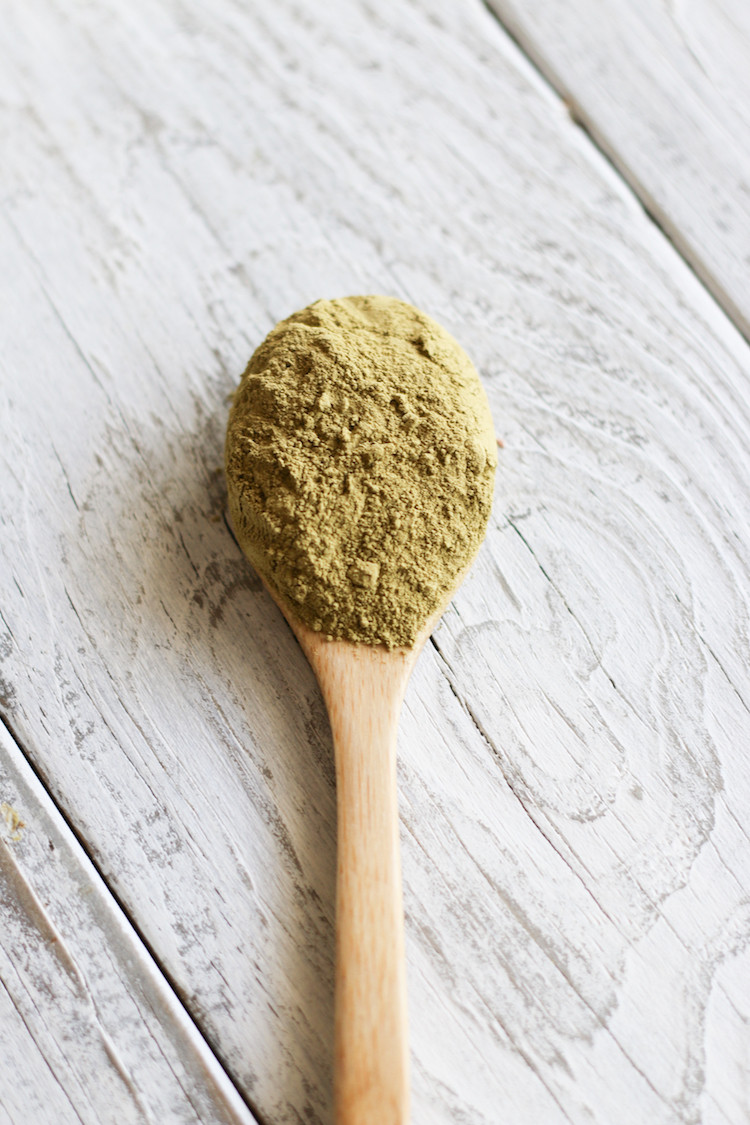 Natural Henna Tattoo Paste Recipe Ingredients
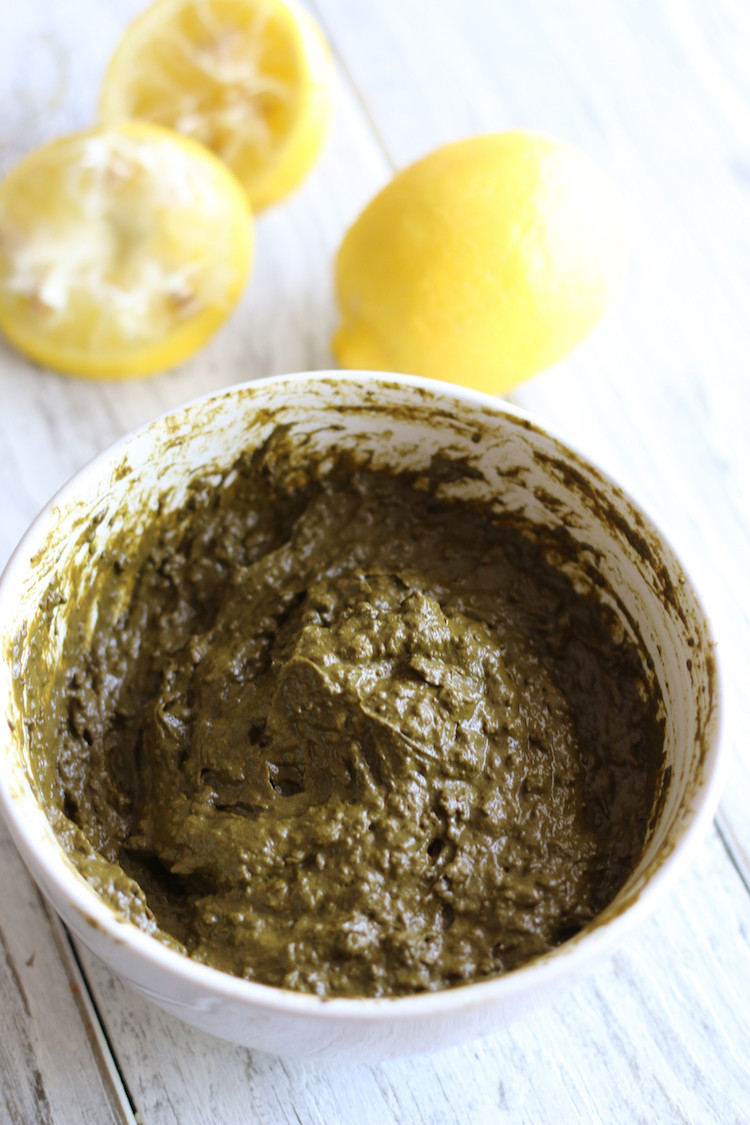
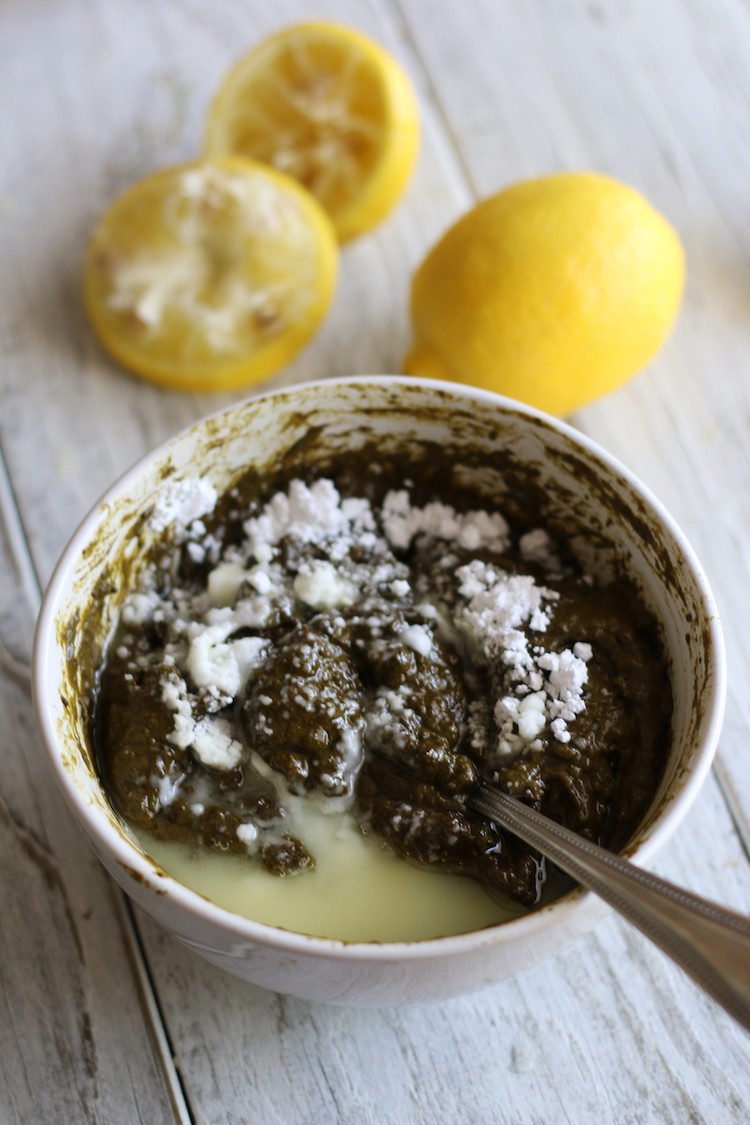
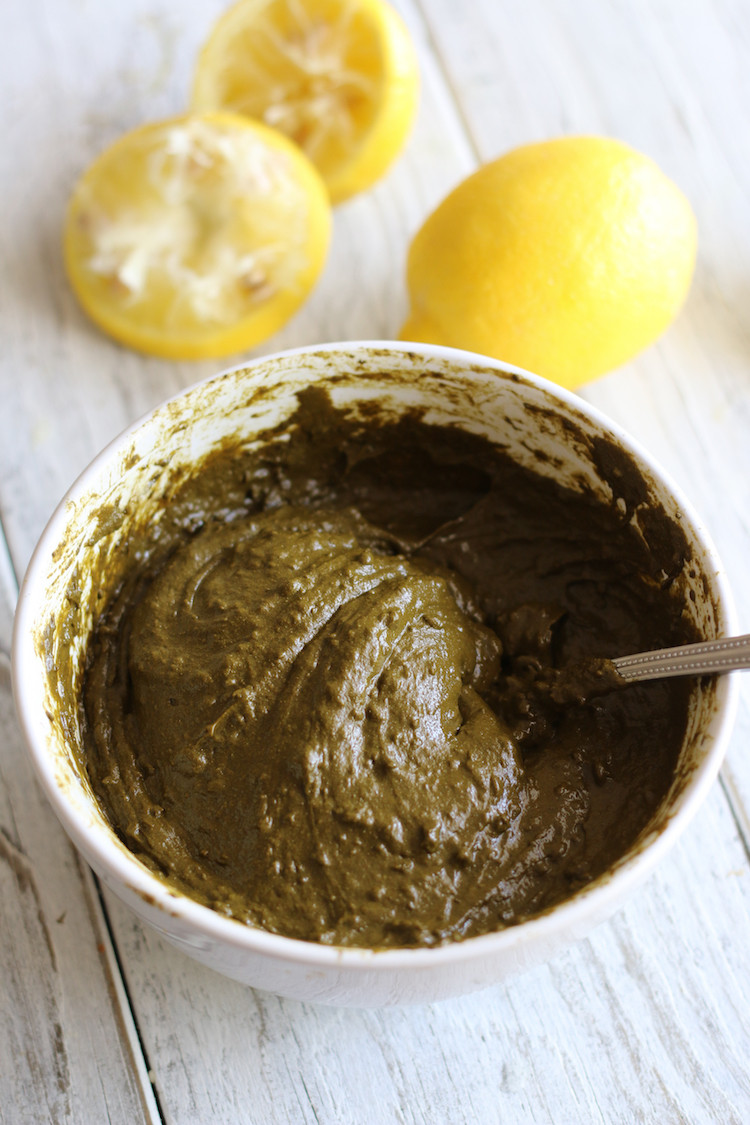
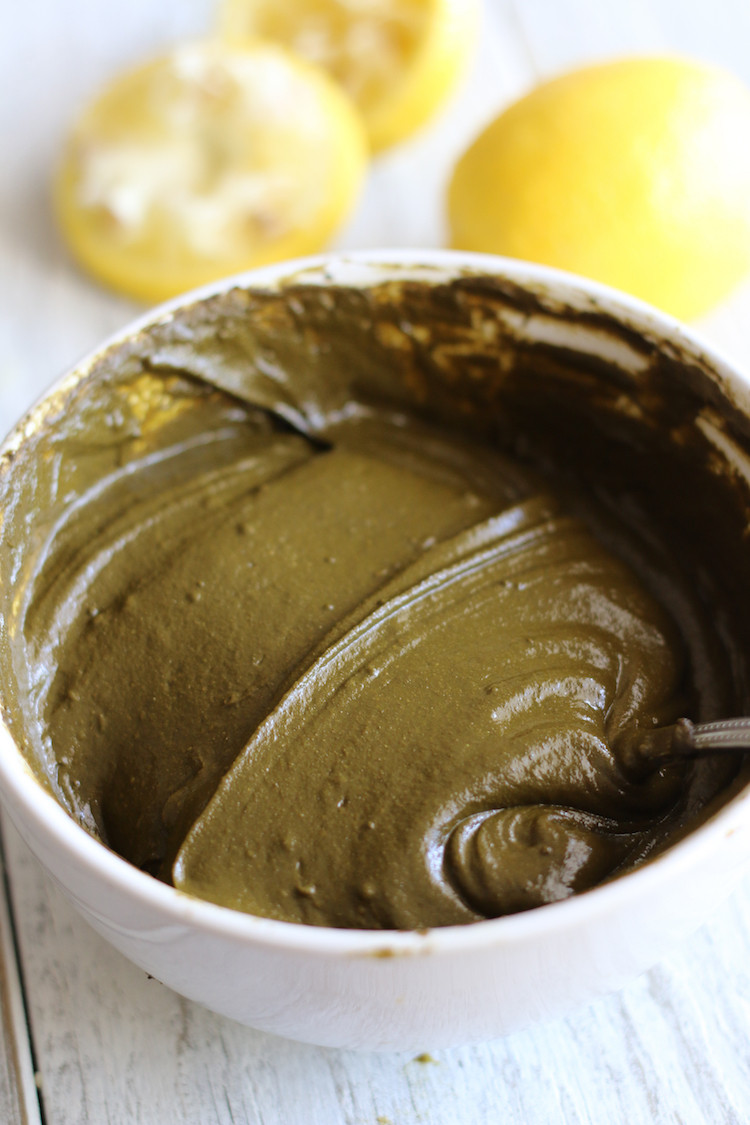
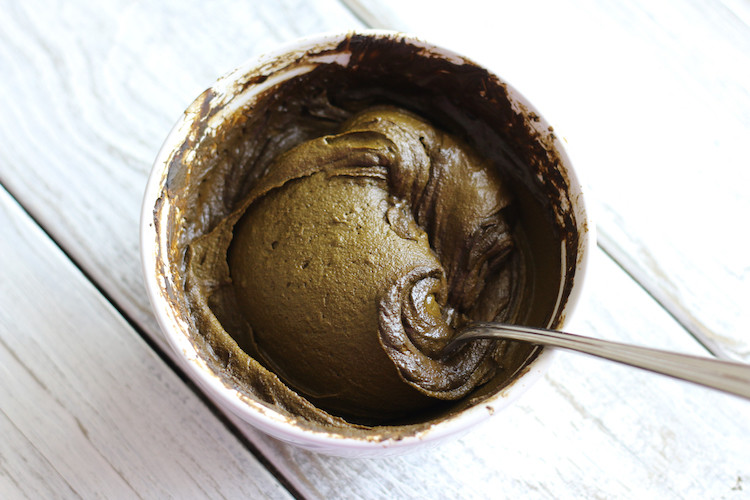
 Mixing Natural Henna Tattoo Paste
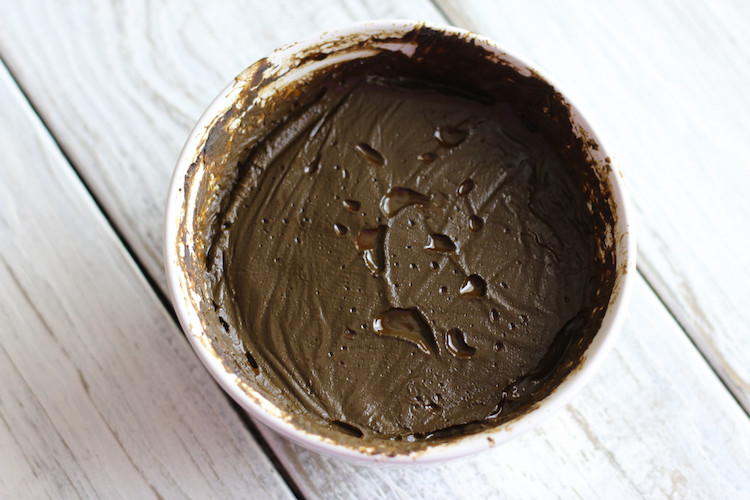
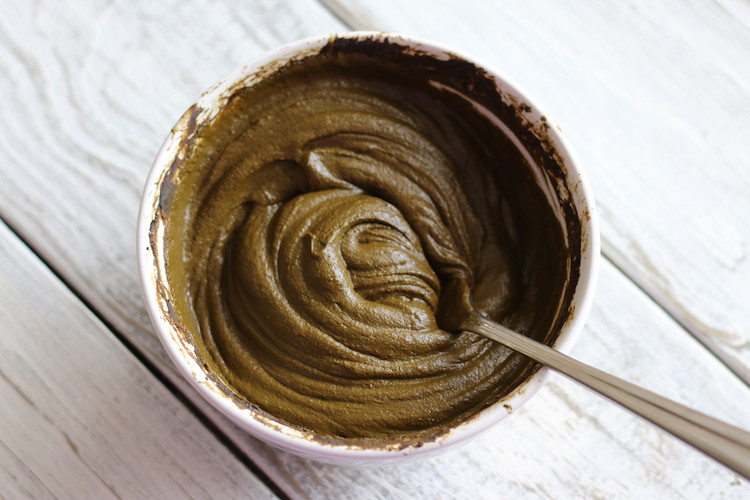
 Freshly Made Natural Henna Tattoo Paste
 Applying Natural Henna Tattoo with Cone
 Intricate Natural Henna Tattoo Design
 Close-up of Natural Henna Tattoo Paste on Skin
 Various Tools for Natural Henna Tattoo Application
 Completed Natural Henna Tattoo on Hand
 Different Stages of Natural Henna Tattoo Stain Development
 Examples of Beautiful Natural Henna Tattoo Art
 Aftercare for Long-lasting Natural Henna Tattoo
One of the most enjoyable aspects of henna artistry is the practice and experimentation with various designs and application techniques. However, before diving into elaborate patterns, understanding how to create the ideal henna paste is crucial. Let’s explore the essential ingredients for a superior henna mix and why each component plays a vital role in achieving stunning henna tattoos.
Key Ingredients for Your Henna Tattoo Paste
To make the best henna paste, it’s essential to understand the purpose of each ingredient. This knowledge empowers you to adjust the recipe and troubleshoot if needed.
High-Quality Henna Powder
The foundation of any great henna tattoo is, of course, henna powder. For body art, it’s imperative to use fresh, high-quality henna powder specifically designed for skin application. Avoid using generic henna powder often found in grocery stores, as these may be old and intended for hair dyeing, which is often a lower grade. Using quality henna powder ensures a smooth paste and a rich, dark stain for your temporary tattoos. Reputable suppliers online specialize in body art quality henna powder.
Lemon Juice: The Dye Activator
Lemon juice is the traditional liquid activator for henna powder. Its acidity is crucial for releasing the dye molecules within the henna powder. This process, known as dye release, is essential for achieving a strong, dark henna stain on the skin. While alternative liquids have been tried, lemon juice consistently provides the most reliable and effective dye release for vibrant henna tattoos. Freshly squeezed lemon juice is generally preferred.
Sugar: For Smoothness and Darker Stains
Adding sugar to your henna paste is an optional but highly recommended step. Sugar, specifically powdered sugar or dextrose, plays several key roles. Firstly, it helps the henna paste stay moist on the skin for a longer period, which is vital for deeper dye penetration and thus, a darker stain. Secondly, sugar improves the consistency of the paste, making it smoother and easier to apply intricate henna designs. Experiment with the amount of sugar to find the perfect balance for your preferred henna powder and application style.
Essential Oils: Enhancing Color and Aroma
Certain essential oils are not just for fragrance; they play a crucial role in enhancing the darkness of your henna stain. Lavender and tea tree essential oils are particularly favored in henna recipes. These oils contain monoterpene alcohols, which assist in releasing more dye from the henna powder, leading to a richer, darker color on the skin. Additionally, they impart a pleasant, spa-like aroma to your henna paste. Peppermint essential oil is sometimes added for its potential to improve circulation in the skin, further aiding dye uptake. Essential oils are potent, so use them sparingly and adjust as needed.
Natural Henna Tattoo Paste Recipe
This recipe provides a balanced starting point for creating your own henna paste. Feel free to adjust ingredient quantities based on your experience and desired consistency.
Yields: Enough paste for several small to medium henna tattoos.
Prep time: 10 minutes
Cook time (dye release): 24 hours
Total time: 24 hours 10 minutes
Ingredients:
- ½ cup Body Art Quality Henna Powder
- 3 teaspoons Powdered Sugar (or Dextrose)
- ½ cup Lemon Juice, freshly squeezed and strained
- 3 teaspoons Essential Oil (Lavender, Tea Tree, or a blend)
Equipment:
- Small mixing bowl
- Fork or spoon
- Plastic wrap
- Applicator cones or bottles
Instructions:
- Combine Ingredients: In a small mixing bowl, add the henna powder and powdered sugar. Gradually pour in the lemon juice while stirring continuously with a fork or spoon.
- Mix to Paste Consistency: Continue mixing until you achieve a smooth paste with a consistency similar to toothpaste or thick yogurt. Ensure there are no lumps.
- Add Essential Oils: Incorporate the essential oils into the paste and stir thoroughly to distribute them evenly.
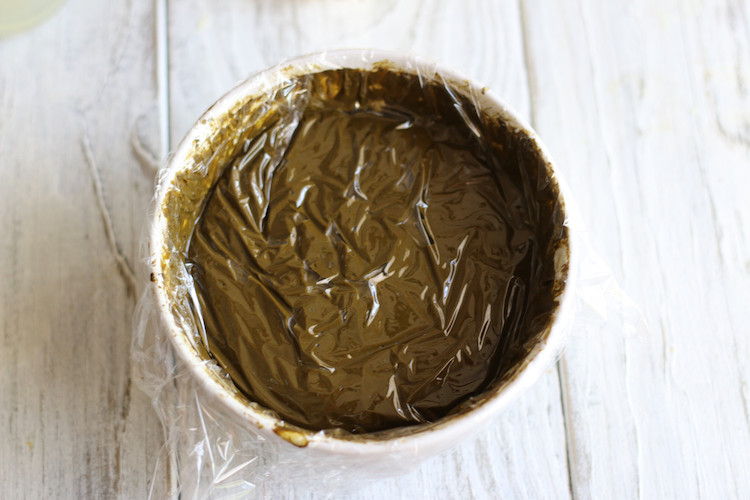
- Dye Release (Cover and Rest): Cover the bowl tightly with plastic wrap, pressing it down to eliminate air pockets and ensure it touches the surface of the paste.
- Rest in Warm Place: Place the covered henna paste in a warm location (around 75°F or 24°C) for approximately 24 hours. This resting period allows the dye to release fully.
- Check and Adjust Consistency: After 24 hours, remove the plastic wrap and stir the henna paste. Check the consistency. If it’s too thick, add lemon juice, ¼ teaspoon at a time, until you reach your desired consistency. If it’s too thin, add a pinch of henna powder.
- Strain (Optional but Recommended): For a smoother paste, especially if your henna powder is not ultra-fine, you can strain the paste through a nylon stocking or fine mesh sieve.
- Fill Applicator: Transfer the henna paste into your applicator cones or bottles, ready for creating beautiful henna tattoos!
Tips for Perfect Henna Tattoos
- Storage: Leftover henna paste can be stored in the freezer for 6-12 months. Thaw it completely before use.
- Consistency is Key: The ideal henna paste consistency is crucial for detailed designs. Practice adjusting the liquid and powder ratios to find what works best for you.
- Freshness Matters: Always use fresh, high-quality henna powder for the darkest and most vibrant stains.
- Aftercare Enhances Stain: After applying henna, keep the paste moist with a sugar-lemon sealant, and allow it to stay on the skin for as long as possible (6-12 hours). Avoid washing with water immediately after paste removal; instead, scrape off the dried paste and avoid water contact for several hours to allow the stain to oxidize and darken.
Unleash your creativity and try this natural henna tattoo paste recipe. Experiment with designs and enjoy the process of creating beautiful, temporary body art right in your own home! Share your henna creations and experiences – we’d love to see your stunning henna tattoos!