Hello creative souls!
Are you looking to infuse your footwear with a touch of nature-inspired art? If you adore the delicate beauty of floral tattoos and want to bring that aesthetic into your everyday style, you’ve come to the perfect place. Today, we’re diving into a fun and easy DIY project: decorating canvas shoes with beautiful floral designs, drawing inspiration from the popular trend of Female Floral Tattoos. This step-by-step guide will show you how to transform ordinary sneakers into wearable art that reflects your personal style and love for botanical elegance, much like the intricate details found in popular female floral tattoos.
Materials You’ll Need
Before we begin our creative journey, let’s gather all the necessary supplies. Having everything at hand will make the process smooth and enjoyable.
Essential Supplies
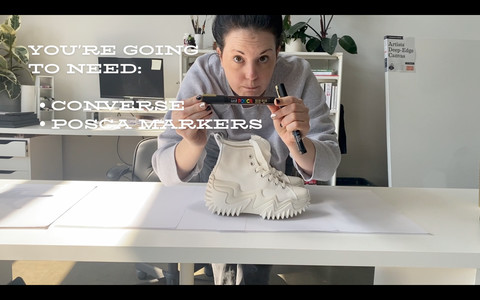
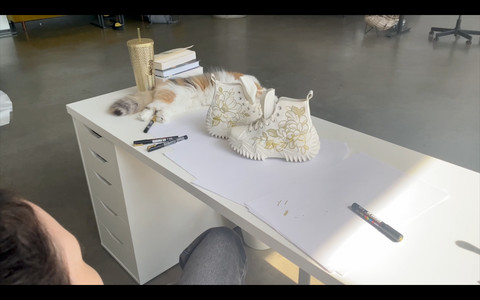
 Selection of materials for decorating shoes including white canvas shoes, paint markers, scrap paper, representing DIY shoe customization
-
Canvas Shoes: The foundation of our floral masterpiece! White canvas sneakers are ideal as they provide a clean and vibrant backdrop for colors to pop, but any light-colored canvas shoes will work wonderfully. Think of these shoes as your blank canvas, ready to be adorned with your artistic vision, much like skin prepared for a detailed floral tattoo.
-
POSCA Paint Markers: These are your magic wands for this project. POSCA paint markers are known for their vibrant colors, ease of use, and excellent coverage on canvas. While gold was chosen in the original example, explore the wide spectrum of colors available to match your personal style and the floral tattoo designs that inspire you. These markers offer the precision and control needed to create delicate floral details, similar to the fine lines in elegant female floral tattoos.
 Variety of POSCA paint markers in different colors, showcasing tools for creating floral designs on shoes
- These markers are quick-drying, water-based acrylic, and importantly, odorless. They can be easily cleaned up with water while wet and become water-resistant once dried, ensuring your floral shoe art is durable and long-lasting.
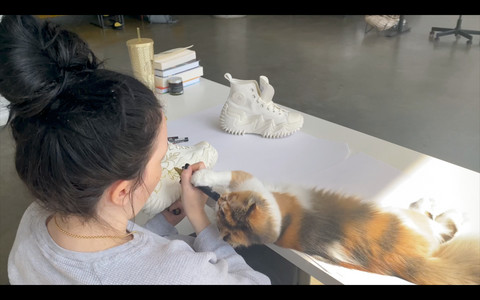
Optional but Helpful
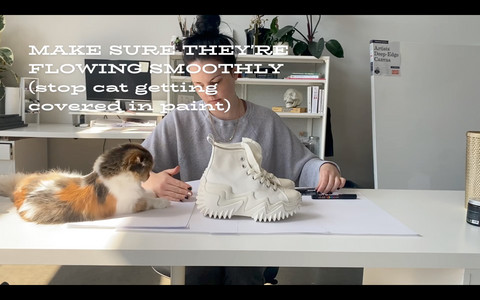
- (Optional) A Furry Friend: Moral support can come in many forms! While not essential for the shoe decoration process, a pet companion can certainly make the creative time more enjoyable.
 A dog lying beside crafting materials, suggesting a pleasant and relaxed creative atmosphere
- Scrap Paper: Always good to have on hand for testing markers and practicing designs before applying them to your shoes.
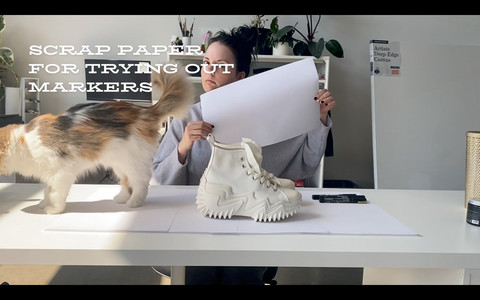 Scrap paper sheets, emphasizing preparation and practice before decorating shoes directly
The Shoe Decoration Process: Step-by-Step
Now that we have our materials ready, let’s walk through the process of transforming your plain canvas shoes into personalized floral masterpieces. Think of this as applying the artistry of female floral tattoos to a different canvas.
Step 1: Prepare Your Markers
 Testing paint markers on scrap paper before decorating shoes, ensuring ink flow and color vibrancy
Before you start decorating directly on your shoes, it’s crucial to ensure your paint markers are working perfectly. Shake each marker well according to the manufacturer’s instructions and test them on a piece of scrap paper. This step helps to get the ink flowing smoothly and allows you to get a feel for the marker and the color intensity.
Step 2: Test in a Discreet Area
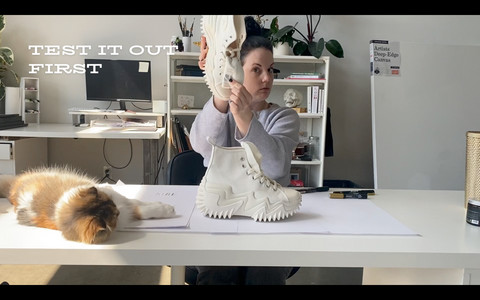 Testing marker color on an inconspicuous part of the shoe, checking for color and paint adherence on canvas
Once your markers are flowing, choose a small, inconspicuous area on your shoe – perhaps the inside of the tongue or heel – to test the marker on the canvas material itself. Apply a small mark and observe how the paint adheres to the fabric.
Step 3: Check for Drying and Color
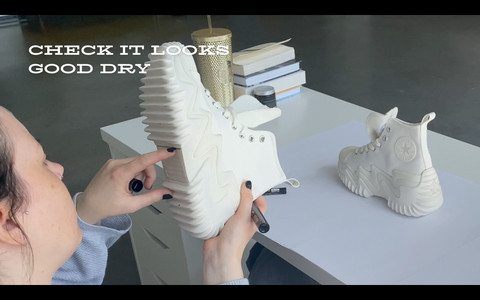 Waiting for paint to dry on test area of shoe, observing drying time and final color appearance
Allow the tested paint mark to dry completely. This step is important to ensure you are happy with the color on the canvas and to check the drying time. Make sure the color is what you envisioned and that the paint dries as expected on the shoe material.
Step 4: Unleash Your Floral Artistry!
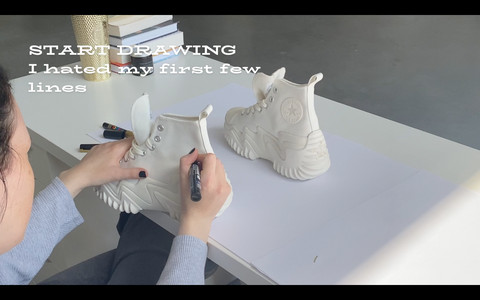 Starting to decorate shoes with floral designs using paint markers, beginning the creative process
If everything looks good after testing, it’s time for the most exciting part: decorating! Let your creativity flow and start painting your floral designs onto your shoes. Consider drawing inspiration from popular female floral tattoo styles – think delicate roses, vibrant peonies, or intricate botanical patterns.
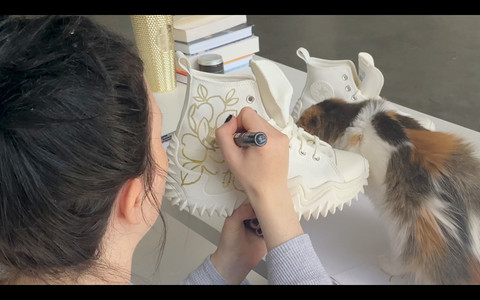
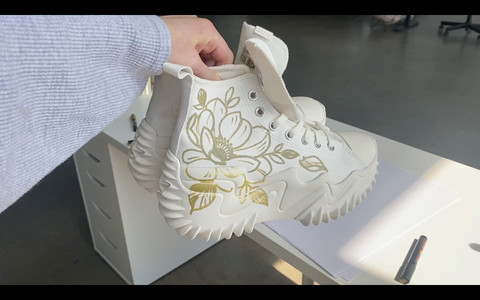
 Drawing floral patterns on canvas shoes with gold paint marker, illustrating detailed artwork
Remember, there’s no right or wrong way to create your designs. You can opt for a symmetrical design on both shoes or create unique patterns on each, just like how floral tattoos can be customized and unique to each individual.
Step 5: Stay Focused and Creative
 Close-up of floral design in progress on shoe, emphasizing detail and artistic focus
While working on your design, try to stay focused and let your creative instincts guide you. It’s easy to get distracted, but immersing yourself in the process is key to creating a design you’ll truly love.
 Continuing to add details to floral shoe design, showcasing ongoing creative process
Step 6: Choose Your Floral Theme
 Selecting different floral motifs for each shoe, demonstrating design variation and personal choice
For a touch of botanical variety, consider choosing different flowers for each shoe. In this example, an anemone and a peony were selected, offering a beautiful contrast and showcasing the diversity within floral designs.
 Anemone flower design on shoe, highlighting specific floral choice and detail
An anemone, with its delicate petals and dark center, offers a touch of whimsical elegance.
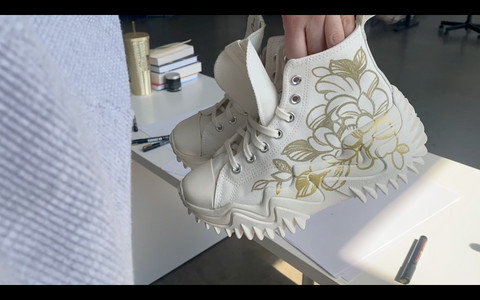 Peony flower design on shoe, showcasing another distinct floral choice and style
And a peony, known for its lush, full blooms, brings a classic and romantic feel. Combining different floral elements can add depth and interest to your shoe art, mirroring the artistry found in complex female floral tattoos.
Step 7: Admire Your Finished Floral Sneakers
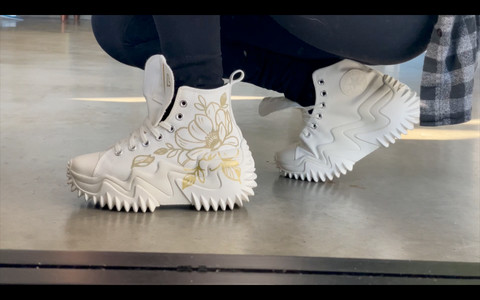 Finished pair of floral decorated shoes, displaying completed DIY project and artistic outcome
The fast-drying nature of POSCA markers means you won’t have to wait long to see your finished product. Once you’ve completed your designs, let them dry fully, and just like that – you’re all done!
 Close-up of finished floral designs on shoes, emphasizing detail and beauty of customized footwear
Here’s a look at the beautifully finished floral sneakers. These custom shoes are not just footwear; they are a statement of your creativity and personal style, echoing the beauty and individuality of female floral tattoos.
Showcase Your Unique Style
Congratulations, you’ve successfully transformed a pair of ordinary canvas shoes into a unique piece of wearable art! Decorating your own accessories is a wonderfully fulfilling way to express your creativity and showcase your personal style. Inspired by the elegance of female floral tattoos, these custom sneakers are sure to turn heads and spark conversations.
We hope you enjoyed this step-by-step guide. Don’t hesitate to experiment with different floral designs, color combinations, and even add elements that further reflect the female floral tattoo aesthetic, such as delicate vines or leaf patterns.
If you decide to try this DIY project, please feel free to share your results! We’d love to see your unique floral shoe creations and celebrate your artistic flair.
Thanks for exploring your creativity with us!
Cheers,
Lu
(Created by an AI Content Creator for tattooat.com)