Looking to add a unique and playful touch to your Easter celebrations? Forget traditional dyes and stickers! This year, we’re taking egg decorating to a whole new level with Bunny Tattoos. Yes, you read that right! We’re using temporary tattoo paper to create adorable bunny designs on Easter eggs. It’s a fun, simple, and surprisingly stylish way to decorate, and the results are undeniably cute.
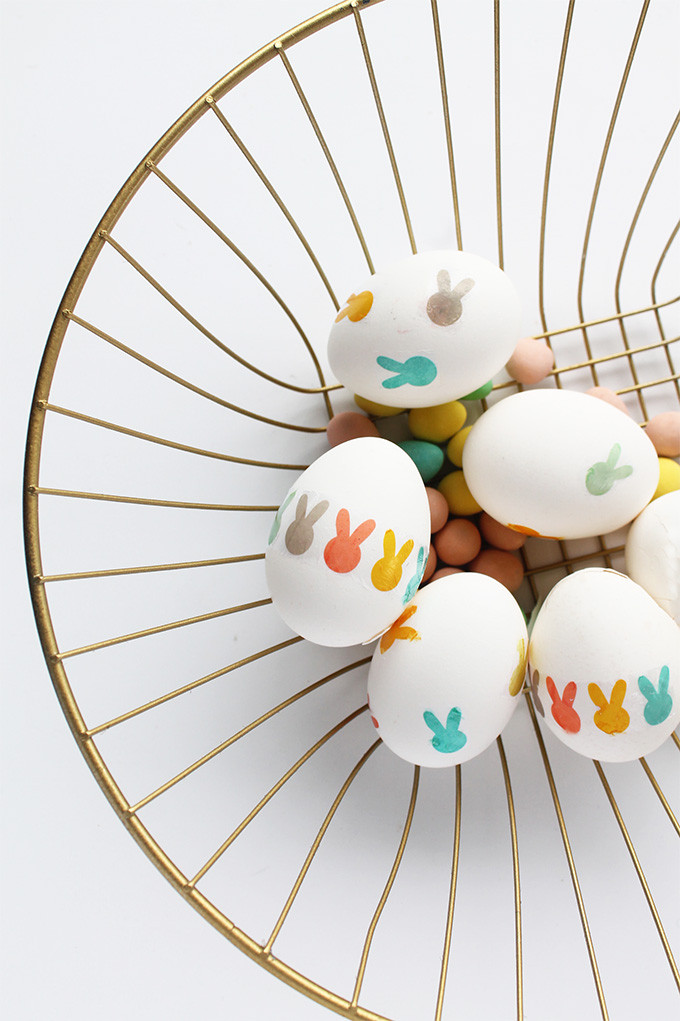 Close-up of bunny tattoo Easter eggs showing detail and clarity of bunny designs.
This DIY project is perfect for anyone who loves a touch of whimsy and wants to impress their guests. Imagine these charming bunny tattoo Easter eggs nestled in a basket or adorning your Easter table. They’re guaranteed to be a conversation starter! Inspired by the clever idea from The Crafted Life, we’ve put together a simple guide to help you create your own bunny tattoo Easter egg masterpieces. So, gather your supplies and let’s hop to it!
Materials You’ll Need
Before you begin, make sure you have everything ready. Here’s what you’ll need to bring your bunny tattoo Easter eggs to life:
- Printable Tattoo Paper: This is the magic ingredient! You can find printable temporary tattoo paper online or at craft stores. A recommended brand is readily available online.
- Color Printer: To print your bunny designs in vibrant color.
- Scissors: For carefully cutting out the bunny tattoos.
- Eggs: Hard-boiled or blown-out eggs are recommended for decorating, to avoid any raw egg mishaps!
- Damp Cloth: To apply the tattoos smoothly onto the eggs.
 Horizontal arrangement of bunny tattoo Easter eggs showcasing various bunny designs and egg colors.
Step-by-Step Guide to Bunny Tattoo Easter Eggs
Ready to get started? Follow these easy steps to apply your bunny tattoos to Easter eggs:
- Print Your Bunny Designs: Download a free printable bunny template (like the one used for bunny napkins) and print it in full color onto the tattoo paper. Make sure to follow the manufacturer’s instructions for printing on tattoo paper to ensure the best results.
- Cut Out the Bunny Tattoos: Carefully cut out the individual bunny designs or strips of bunnies using scissors. Cutting them into strips can sometimes be easier for applying to the curved surface of an egg.
- Apply the Tattoo to the Egg: Ensure your egg is dry and clean. Place the bunny tattoo image-side down onto the egg. Take a damp cloth, place it over the tattoo paper, and apply gentle pressure for about 45 seconds. This allows the tattoo to transfer onto the egg surface.
- Peel and Dry: Gently peel off the tattoo paper backing. Let the bunny tattoo dry completely on the egg. If you notice any wrinkles or air bubbles, gently smooth them out with a soft paper towel. Use a sweeping motion from the center outwards to avoid damaging the delicate tattoo.
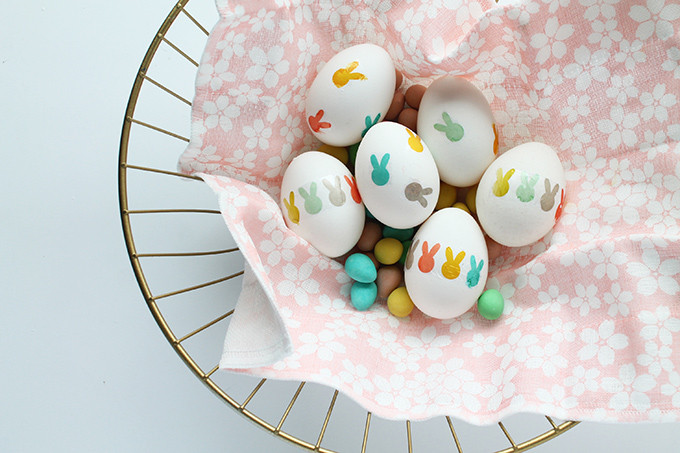
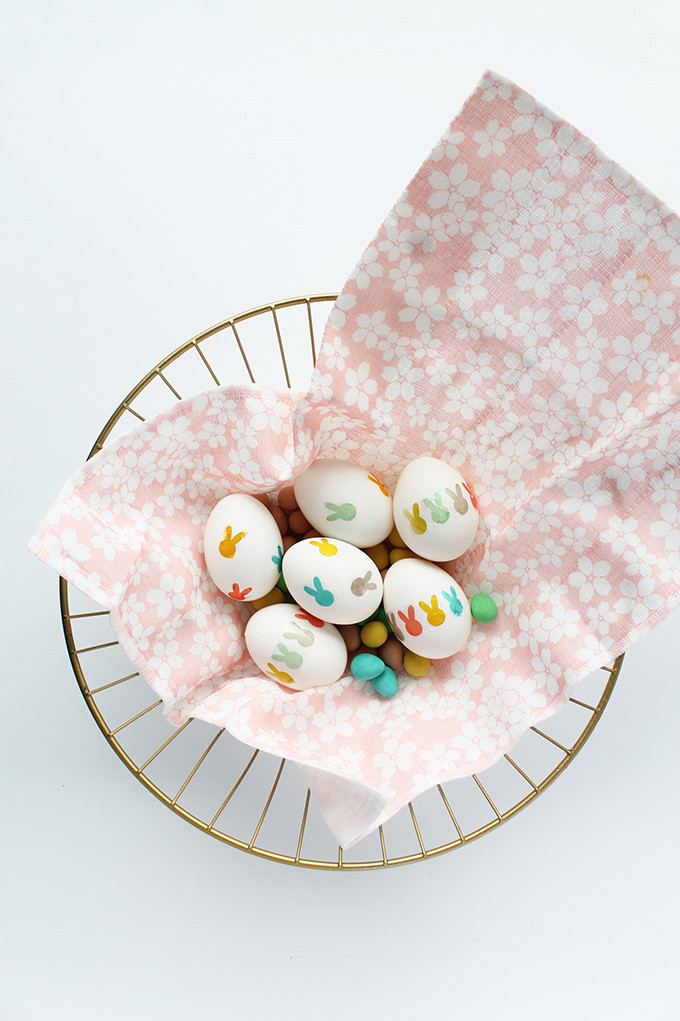
 Basket of bunny tattoo Easter eggs, highlighting the festive and decorative appeal of the craft.
Tips for Tattooing Your Easter Eggs Like a Pro
While it’s a straightforward process, here are a few tips to ensure your bunny tattoo Easter eggs look their absolute best:
- Smooth Application is Key: Take your time when applying the tattoos. Ensure the egg surface is smooth and dry for the best adhesion.
- Dealing with Curves: Applying tattoos to curved surfaces like eggs can be a little tricky. Strips of bunny designs tend to adhere more easily than individual bunnies. If using individual bunnies, be extra careful to smooth out any edges as you apply.
- Gentle Smoothing: If you encounter any curling edges or wrinkles after peeling off the backing, immediately and gently press down on the plastic film with a dry paper towel. Use a soft sweeping motion from the middle to the edges to smooth it out without tearing the tattoo.
- Egg Prep Matters: For purely decorative purposes, blown-out eggs are ideal as they won’t spoil. If you plan to eat the eggs, make sure they are hard-boiled and properly refrigerated after decorating.
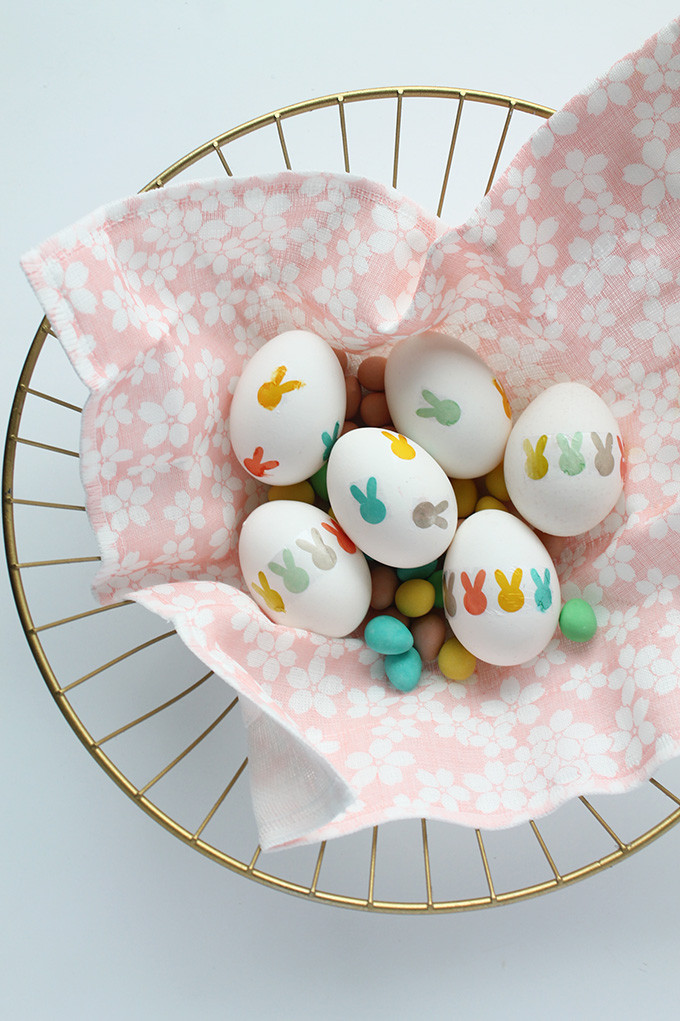
 Bunny tattoo Easter eggs displayed on a table setting, suggesting their use as part of Easter decorations.
Embrace the Imperfectly Cute
Don’t worry if your first few attempts aren’t perfect. As with any DIY project, practice makes perfect. And even if they’re a little quirky, those bunny tattoo Easter eggs will still be charming and unique. Remember, the goal is to have fun and create something special for Easter.
And a little behind-the-scenes truth – using raw eggs for this project? Not recommended! Cleaning up raw egg is definitely not part of the fun. Stick to hard-boiled or blown-out eggs for a cleaner and more enjoyable crafting experience.
So, this Easter, why not try something different and create these adorable bunny tattoo Easter eggs? They are a delightful blend of creativity and Easter cheer, perfect for adding a unique touch to your celebrations. Get creative, have fun, and share your bunny tattoo Easter egg creations with us!