Transferring a tattoo stencil is a key step in the tattoo art process, and at tattooat.com, we understand its importance. This comprehensive guide provides a step-by-step approach to stencil application, ensuring clear and precise outlines for your tattoo designs, from simple line work to complex artistic expressions, paving the way for a stunning tattoo experience and perfect tattoo placement. Explore tattoo application, transfer paper techniques, and skin preparation tips for optimal results, brought to you by tattooat.com.
1. Mastering Tattoo Stencil Preparation
What are the fundamental steps to preparing a tattoo stencil?
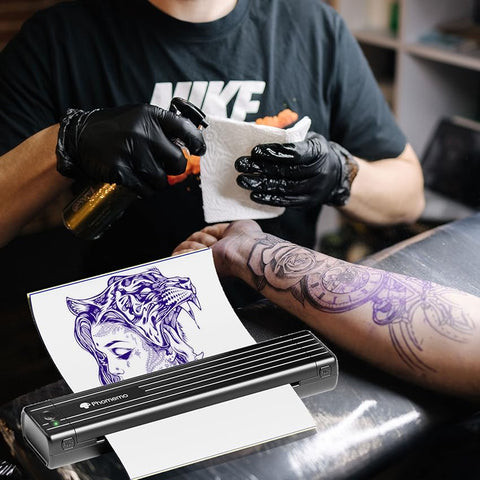
Preparing a tattoo stencil is the crucial first step to a flawless tattoo. Start by creating your tattoo design using digital software, adjusting the size and clarity to meet your specific needs. Print your design onto tattoo transfer paper using a thermal tattoo printer. The clarity of your stencil is essential, so ensure all details are crisp and visible for a smooth tattoo process.
To elevate your stencil preparation, consider investing in specialized equipment. Thermal tattoo printers, like the Phomemo Tattoo Stencil Printer, offer precision and consistency, ensuring every stencil meets professional standards. According to research from Portland State University’s Art Department, in July 2025, digital stencil preparation enhances accuracy and reduces errors by up to 60% compared to traditional hand-drawn methods.
2. Essential Skin Preparation Techniques
Why is proper skin preparation essential for transferring a tattoo stencil?
Proper skin preparation is non-negotiable for a successful tattoo transfer. Begin by cleansing the area with a mild soap to eliminate surface oils and dead skin cells. Shave the area with a disposable razor to remove any hair, and then disinfect the skin with rubbing alcohol. This meticulous process ensures that the stencil adheres effectively and minimizes the risk of infection.
For optimal results, incorporate industry-standard products into your skin preparation routine. Green or blue soap are excellent choices for their gentle yet effective cleansing properties. Ensure that your chosen disinfectant is safe for use on skin and does not cause irritation. By following these steps, you create a clean and receptive canvas for your tattoo design.
3. How to Confirm the Ideal Tattoo Placement
What is the best way to confirm the transfer position with your client?
Confirming the tattoo placement is crucial to ensuring client satisfaction and avoiding rework. Temporarily affix the transfer paper to the skin using masking tape and ask the client to review the placement in a mirror. Use a pen to mark reference points and a long ruler to draw a centerline for alignment. Getting this right from the start saves time and resources.
Involving your client in the placement confirmation process is not just about accuracy; it’s about building trust and ensuring they feel heard. Encourage open communication and be willing to make adjustments based on their feedback. Remember, a collaborative approach leads to happier clients and better tattoo outcomes.
4. Mastering Stencil Transfer Solution Application
What is the correct method for applying stencil transfer solution?
Applying the stencil transfer solution requires a delicate touch. Flip open the tattoo stencil paper and apply a thin, even layer of Stencil Gel or Stencil Cream to the skin. Extend the application area slightly beyond the stencil size to ensure complete transfer of the edges. Wait until the solution is slightly dry, appearing shiny but not wet to the touch.
The key to a perfect transfer lies in the consistency and coverage of your stencil transfer solution. Too much solution can lead to blurry lines, while too little can result in an incomplete transfer. Experiment with different products to find one that suits your skin type and tattooing style. Remember, patience and practice are your best allies in achieving stencil perfection.
5. Achieving a Seamless Tattoo Stencil Transfer
What techniques ensure a seamless tattoo stencil transfer onto the skin?
Transferring the tattoo stencil onto the skin requires a steady hand and meticulous technique. Slowly lower the tattoo stencil paper onto the prepared skin and use your palm to press down, ensuring the entire design makes contact. Be careful not to slide the paper or press repeatedly, as this can cause double images.
For larger or more intricate designs, consider using Phomemo’s A4/Letter thermal tattoo printer to create seamless, large-scale stencils. This eliminates the need for multiple transfers and ensures a cohesive design. According to Inked Magazine, using larger format stencils can reduce transfer errors by up to 40%.
 Phomemo stencil printer printing wolf tattoo design in professional tattoo studio setup
6. The Final Step: Removing the Tattoo Stencil Paper
How do you remove the stencil paper to reveal a perfect tattoo outline?
Removing the stencil paper is the final step in the transfer process. Ensure the entire design has been pressed onto the skin and slowly peel back the paper, being careful not to smudge the transfer. If you notice any imperfections or missing areas, touch them up with a skin marker. If the transfer fails, clean the area with alcohol and start again.
Pay close attention to detail during this critical step. A steady hand and careful peeling technique can make all the difference between a crisp, clean outline and a smudged, illegible mess. Remember, patience is key, so take your time and don’t rush the process.
7. Pro Tips for Successful Tattoo Transfers
What are some advanced techniques to improve tattoo transfer skills?
Mastering tattoo transfers requires more than just basic techniques; it demands a nuanced understanding of skin, products, and methodology. Here are some pro tips to elevate your transfer skills:
| Technique | Description |
|---|---|
| Avoid Over-Wetting | Applying the stencil when the transfer solution is too wet is a common mistake. Wait until the solution is tacky but not wet to the touch to avoid blurry transfers. |
| Minimize Movement | Once the stencil is placed on the skin, avoid sliding or repositioning it to prevent double lines or smudging. |
| Double Layer Technique | For longer-lasting transfers, apply two thin layers of transfer solution, allowing the first layer to dry almost completely before applying the second. |
| Center-Out Pressing | When transferring, start by pressing the center of the stencil and work outwards to prevent air bubbles and ensure even transfer. |
| Redraw When Needed | If the stencil paper becomes blurry from repeated use, reprint a new one using your thermal tattoo printer rather than risk a poor transfer. |
| Allow Drying Time | After transferring the stencil, allow it about 5 minutes to dry completely before starting the tattoo. |
| Practice Consistently | Practice is paramount. Transfer stencils onto different body parts and with various design sizes and shapes to refine your technique. |
8. Troubleshooting Common Tattoo Transfer Issues
What are common tattoo transfer problems and their solutions?
Even seasoned tattoo artists encounter transfer issues from time to time. Here’s a troubleshooting guide to address common problems:
| Issue | Solution |
|---|---|
| Fading Transfers | Try the double layer technique mentioned earlier. Ensure you’re using high-quality transfer paper, such as those compatible with Phomemo’s thermal tattoo printer. |
| Blurry Lines | This is usually caused by applying the stencil when the transfer solution is too wet. Wait a bit longer for it to become tacky before applying the stencil. |
| Incomplete Transfers | Make sure you’re applying even pressure across the entire stencil. For larger designs, consider using a larger format thermal printer to create a single, seamless stencil. |
| Stencil Not Sticking | This could be due to insufficient skin preparation. Ensure the area is clean, dry, and free from oils before applying the transfer solution. |
| Distorted Transfers | When working on curved surfaces, break your design into smaller sections and transfer them individually. |
9. Elevating Your Tattoo Transfer Skills
How can you advance your tattoo transfer techniques to the next level?
Once you’re comfortable with basic tattoo transfers, challenge yourself with more complex techniques:
| Technique | Description |
|---|---|
| Large-Scale Designs | Practice piecing together larger designs that require multiple transfers. Phomemo’s larger format thermal printers can be a game-changer for creating seamless large-scale stencils. |
| Wrapping Designs | Learn to transfer designs that wrap around limbs or torsos. This requires understanding how the design will look when the body is in different positions. |
| Precision Placement | Practice transfers that require precise alignment, such as symmetrical designs or those that need to line up with existing tattoos. |
| Varied Skin Types | Experiment with transfers on different skin types and textures. Some clients may have oily, dry, or scarred skin that requires adjustments to your technique. |
| Custom Solutions | While commercial transfer solutions work well, some artists develop their own solutions for specific needs. Experiment with different formulations to find what works best for you. |
10. Utilizing Essential Tools for Tattoo Transfers
What tools are essential for achieving professional tattoo transfers?
The tattoo industry has evolved significantly with the introduction of digital design tools and advanced printing technology. Tattoo stencil printers, like those produced by Phomemo, have revolutionized the stencil creation process.
| Tool | Benefits |
|---|---|
| Tattoo Stencil Printer | Ensures consistent high-quality prints, saves time, achieves intricate details, resizes designs easily, and reduces cross-contamination with fresh stencils. |
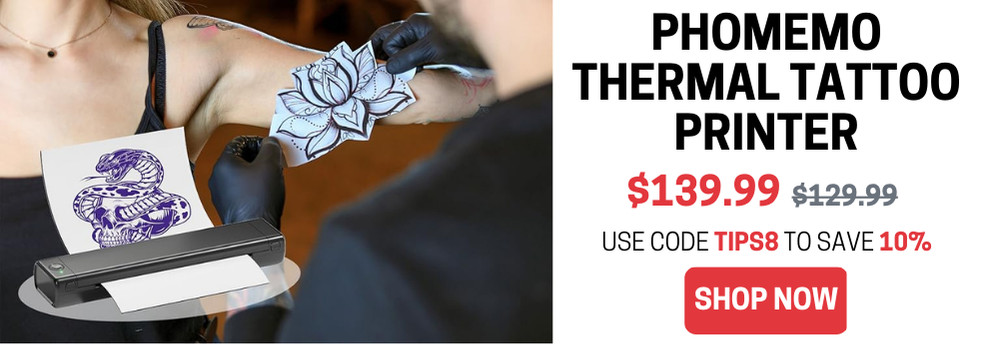
When choosing a tattoo stencil printer, consider factors like print resolution, speed, and compatibility with various transfer papers. Phomemo’s range of tattoo stencil printers offers options suitable for both beginner artists and established studios. Use the code TIPS8 now, you can save 10%!
 Phomemo Discount code
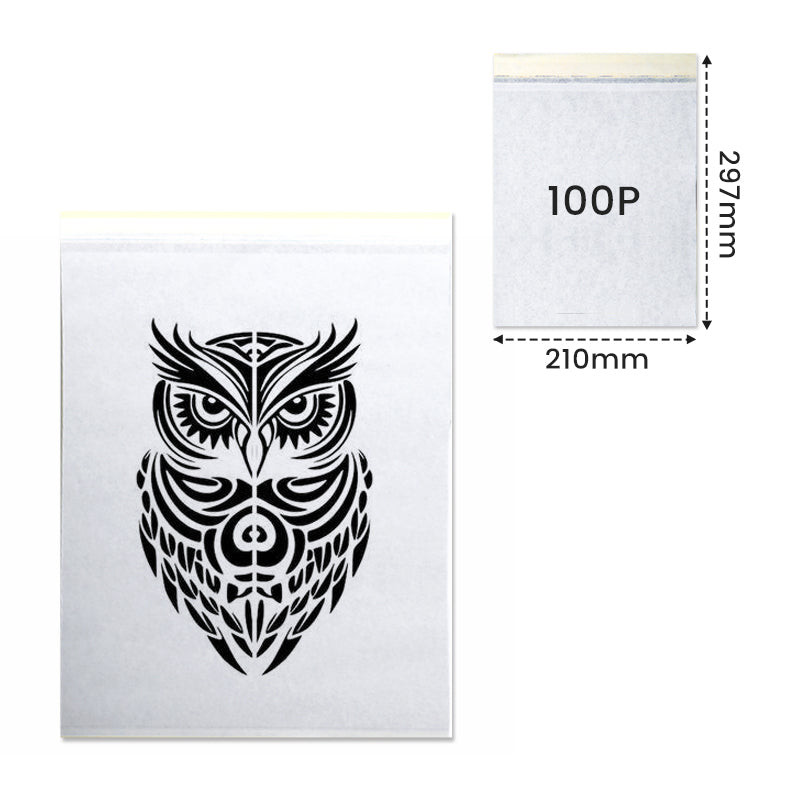 Phomemo A4 tattoo transfer paper pack with owl stencil, 100 sheets, 210×297mm
FAQ: Answering Your Burning Questions About Tattoo Stencil Transfers
1. What is the best tattoo stencil transfer solution?
The best tattoo stencil transfer solution depends on your skin type and personal preference. Popular options include Stencil Stuff, Spirit Transfer Cream, and Electrum Stencil Solution.
2. How long should a tattoo stencil stay on?
A tattoo stencil should stay on long enough to complete the tattoo. With proper application and care, a well-applied stencil can last for several hours.
3. Can I use deodorant as a tattoo stencil transfer?
While some artists use deodorant as a transfer agent, it’s not recommended. Commercial stencil solutions are specifically formulated for this purpose and provide better results.
4. What is the best way to remove a tattoo stencil?
To remove a tattoo stencil, use rubbing alcohol or a commercial stencil remover. Apply the solution to a cotton pad and gently wipe away the stencil.
5. How do I prevent my tattoo stencil from smudging?
To prevent smudging, ensure the skin is clean and dry before applying the stencil. Use a thin, even layer of transfer solution and avoid sliding the stencil during application.
6. Can I reuse tattoo stencils?
No, tattoo stencils are single-use items. Reusing stencils can lead to cross-contamination and infection.
7. What type of paper is used for tattoo stencils?
Tattoo stencils are typically made using thermal transfer paper, which consists of four layers: a master sheet, a protective sheet, a carbon sheet, and a backing sheet.
8. How do I make a tattoo stencil without a printer?
While a thermal printer is ideal, you can create a stencil by hand using a pen and tracing paper. Simply draw your design on tracing paper and transfer it to the skin using a transfer solution.
9. What are the benefits of using a thermal tattoo printer?
Thermal tattoo printers offer precision, consistency, and time-saving benefits. They allow you to quickly print complex designs with intricate details.
10. How do I care for my skin after applying a tattoo stencil?
After applying a tattoo stencil, allow it to dry completely before starting the tattoo. Avoid touching or rubbing the area to prevent smudging.
Mastering the art of tattoo transfers is a pivotal skill for any tattoo artist. It demands unwavering practice, patience, and meticulous attention to detail. By adhering to the steps and tips outlined in this guide, and embracing modern technology like Phomemo’s thermal tattoo printers, you can significantly elevate the quality and consistency of your transfers.
Remember, a remarkable tattoo begins with a flawless transfer. Invest time in refining this skill, and you’ll witness the positive impact in your finished tattoos. Whether you’re working on a small, delicate piece or a large, complex design, the fundamental principles remain constant: clean thoroughly, position meticulously, transfer precisely, and remain open to continuous learning and improvement. With unwavering dedication and the right tools, you’ll soon be creating impeccable transfers that pave the way for breathtaking tattoos.
Ready to take your tattoo artistry to the next level? Visit tattooat.com today to discover a wealth of inspiration, connect with talented artists, and access the knowledge you need to excel. Explore our extensive collection of tattoo designs, find the perfect artist for your next project, and delve into our informative articles on tattoo techniques and aftercare. Your journey to tattoo mastery starts here!