Valentine’s Day is the perfect time to get creative and show your loved ones you care. This year, skip the generic store-bought cards and embrace a truly unique and personal touch: DIY temporary tattoos! If you’re searching for “Temporary Tattoo Near Me,” you might be thinking of tattoo parlors or party supply stores. But what if you could create custom, adorable temporary tattoos right in your own home? Let’s dive into how you can make personalized temporary tattoo Valentines using your child’s own artwork – a heartwarming craft that’s surprisingly easy and fun.
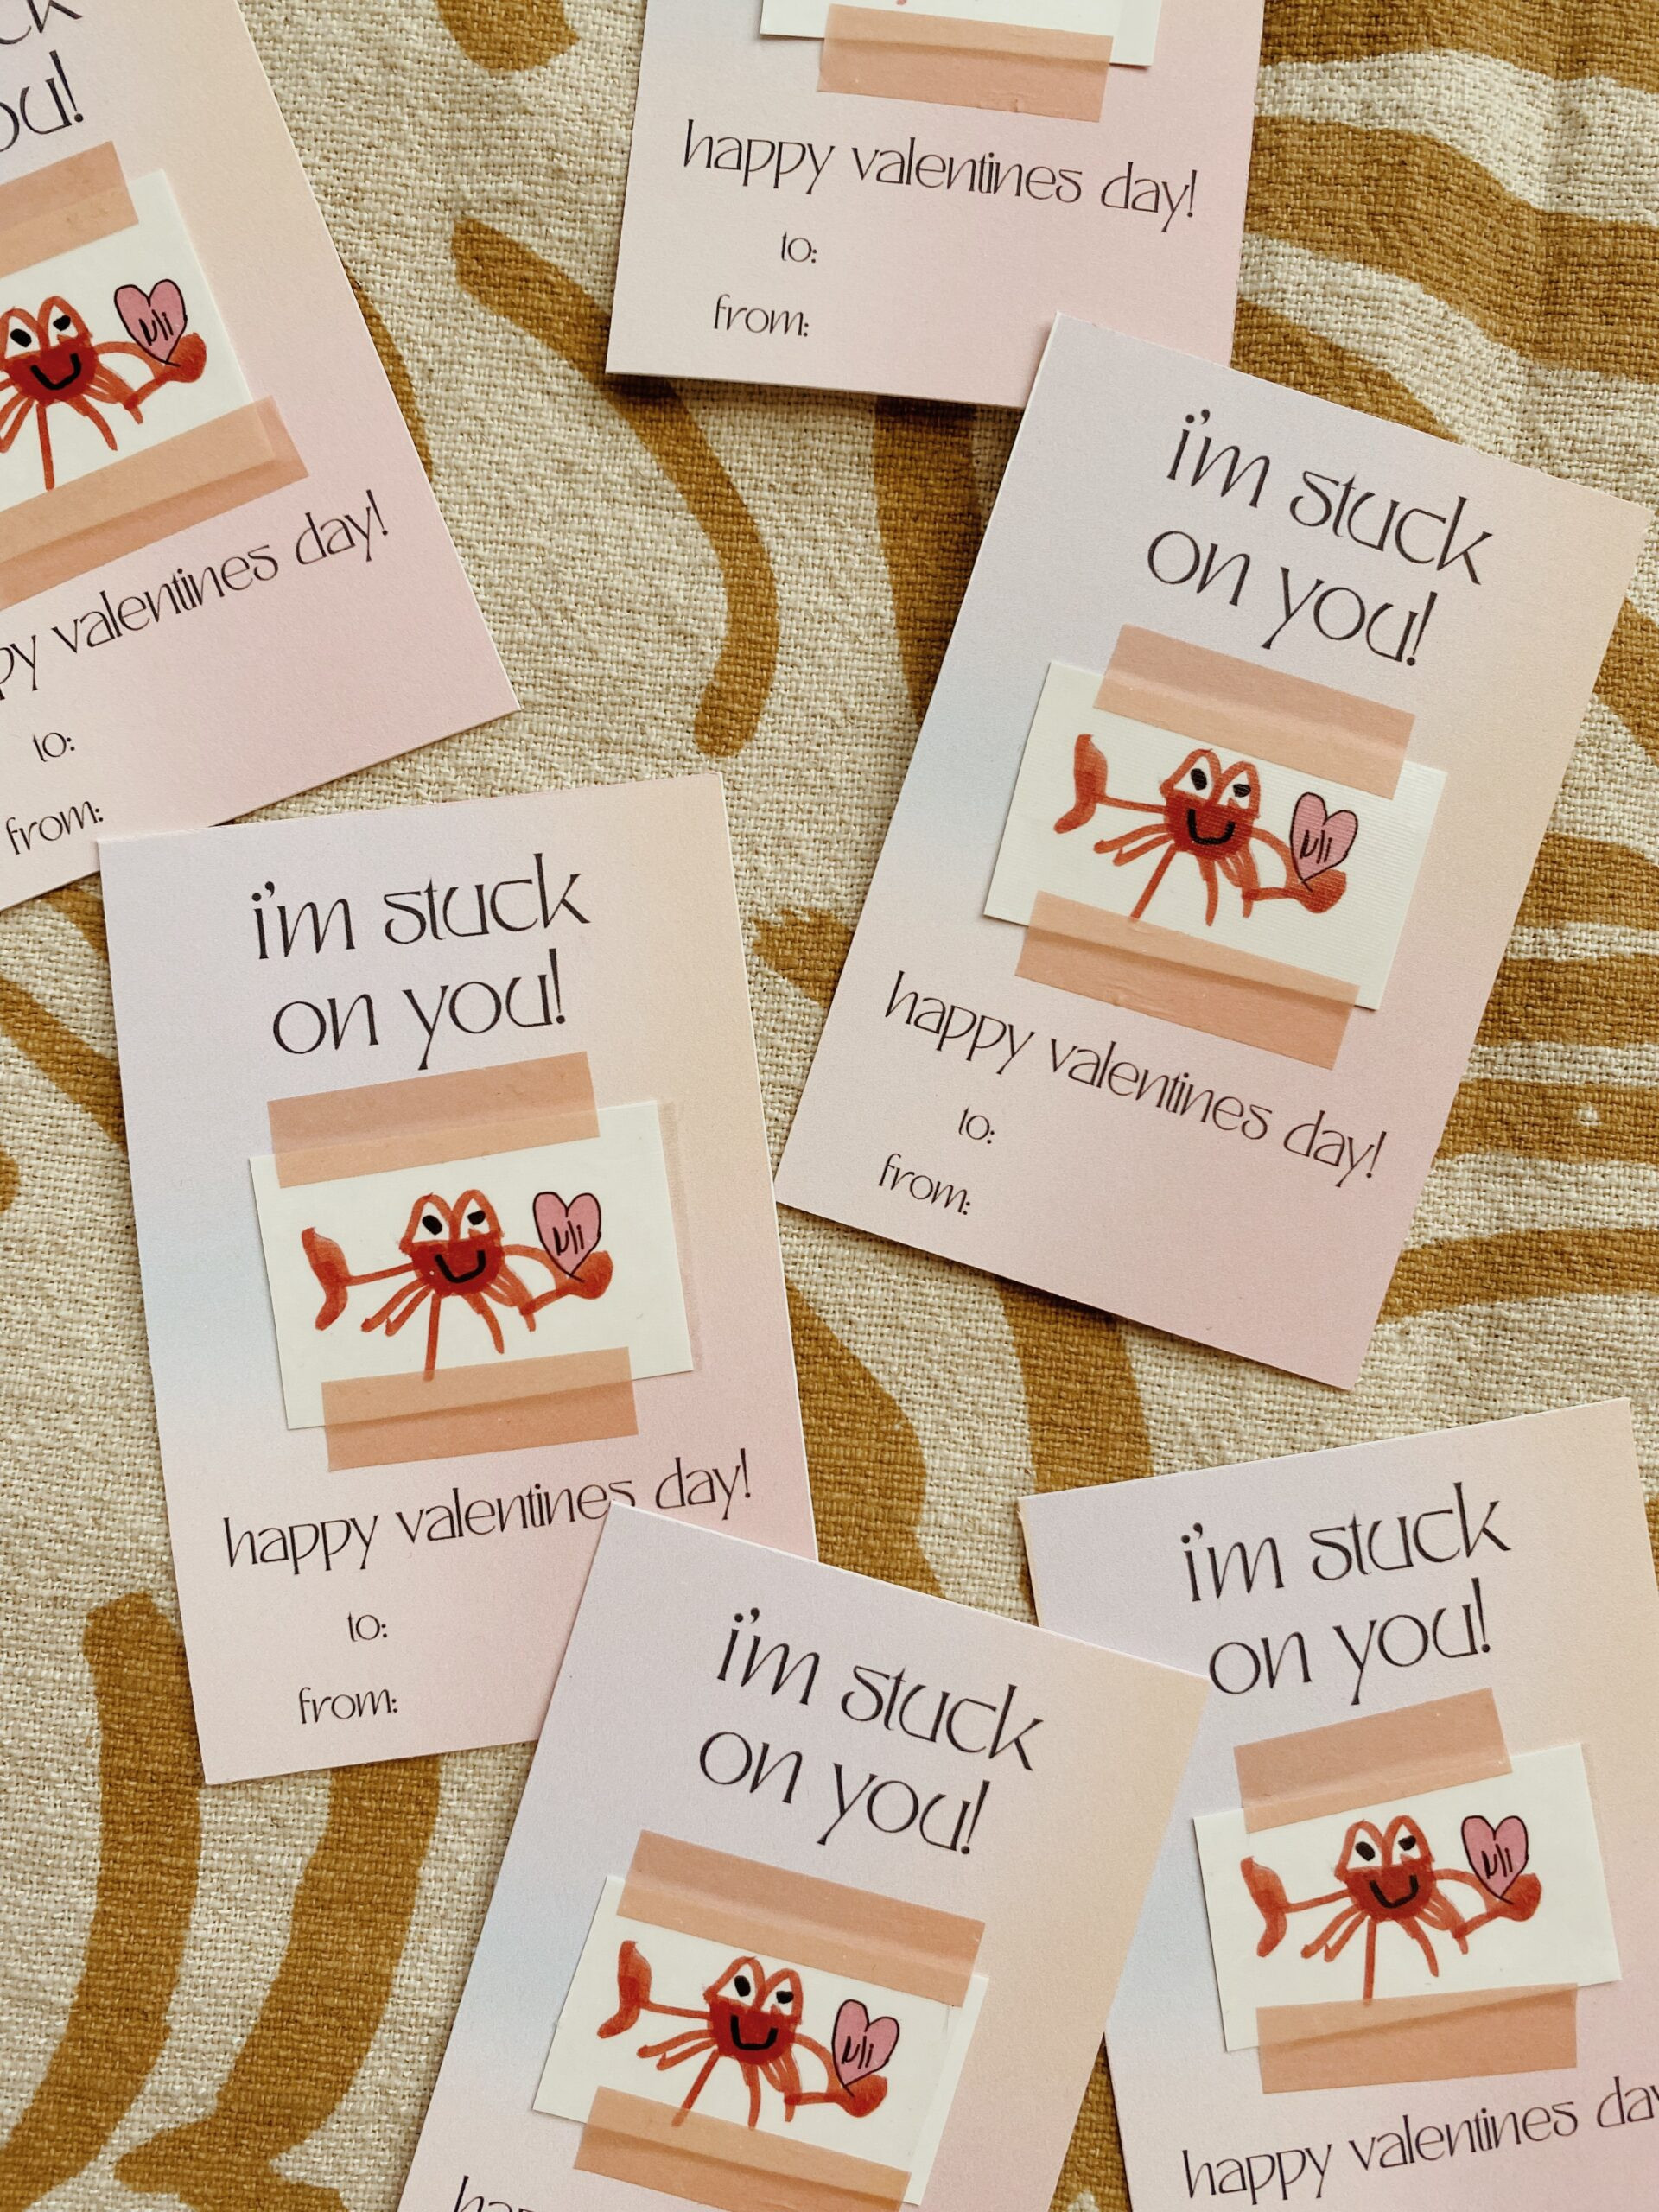 Arlo's handmade temporary tattoo Valentines featuring his crab drawing, showcasing the personal and unique touch of DIY crafts.
This project started when a follower suggested using temporary tattoo paper for kids’ art. The idea sparked instant inspiration, leading to these charming temporary tattoo Valentines. And trust me, the process is much simpler than you might think! These custom tattoos aren’t just for Valentine’s Day; they’d also make fantastic, personalized party favors for birthdays or any special occasion. Imagine the delight of party guests sporting temporary tattoos designed by the birthday kid!
DIY Temporary Tattoo Valentines: A Step-by-Step Guide
Ready to create your own temporary tattoo magic? Here’s what you’ll need and how to do it:
Materials
- Temporary Tattoo Paper: This is the star of the show! High-quality tattoo paper makes a big difference. While testing two types, a pricier option proved far superior in terms of look and application. You can find temporary tattoo paper online (like this one) or potentially at craft stores near you.
- Scanner or Scanning App: To digitize your child’s artwork. A scanner works perfectly, or use a phone scanning app like Evernote Scannable.
- Printer: An inkjet printer is typically required for tattoo paper (check your paper’s instructions). This printer is a reliable option.
- Scissors or Paper Cutter: For cutting out the tattoos and Valentine cards. Scissors are essential, and a paper cutter is optional for straight edges.
- Scraper Tool or Credit Card: To smooth out air bubbles when applying the adhesive sheet. A scraper tool is ideal, but a credit card works in a pinch.
- Printable Valentine Cards: You can use pre-designed cards or create your own. Printable Valentine cards are available for personal use here.
- Washi Tape: To attach the tattoos to the Valentine cards neatly. Washi tape is perfect for its decorative and gentle adhesive qualities.
Instructions
-
Scan Your Child’s Artwork: Have your child draw their favorite thing. Scan the drawing using a scanner or a scanning app on your phone.
 Scanning a child's crab drawing using a mobile scanning app, demonstrating the first step in digitizing artwork for temporary tattoos.
 -
Prepare the Digital File: Use photo editing software (like Photoshop) to size, duplicate, and mirror the image. Mirroring is crucial because temporary tattoos apply image-down. Fit as many designs as possible on one sheet of tattoo paper to maximize your materials.
 Digital layout of mirrored crab drawings ready for printing on temporary tattoo paper, showcasing the image preparation step for creating multiple tattoos efficiently.
 -
Print the Tattoos: Follow the instructions that come with your specific temporary tattoo paper. Print your designs on the glossy white sheet. Allow the ink to dry completely before proceeding.
-
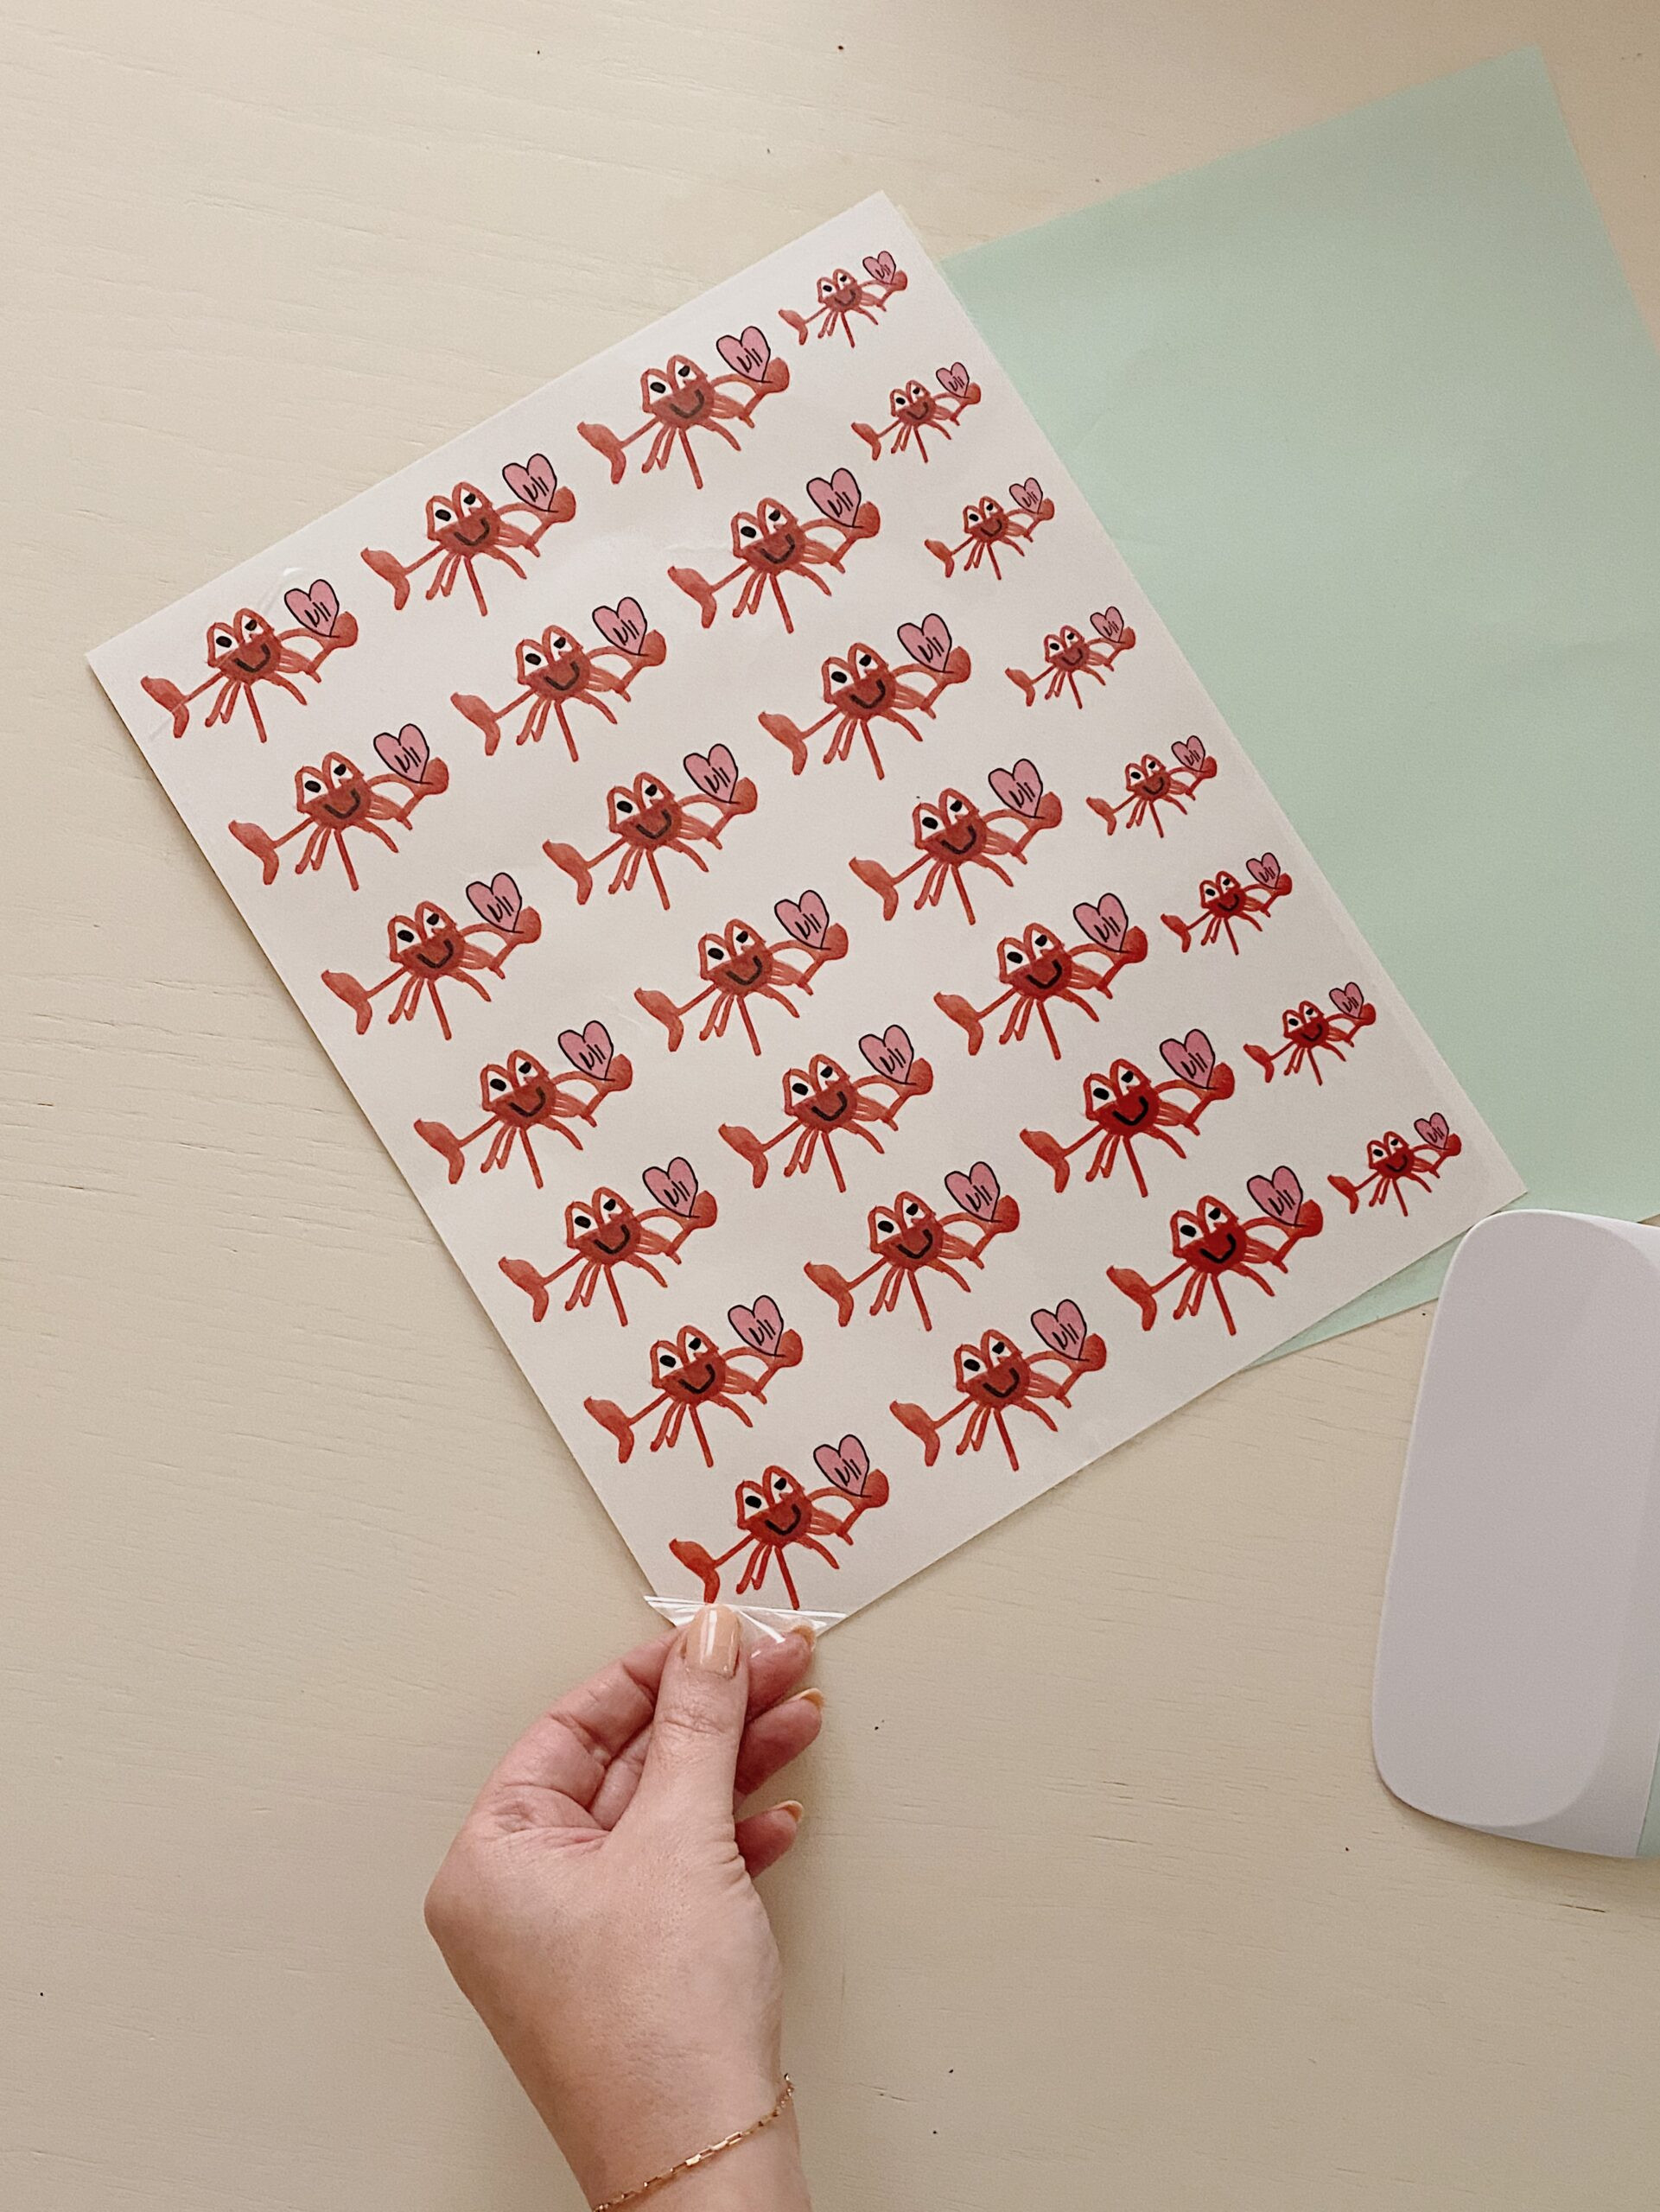
Apply Adhesive Sheet: Carefully apply the clear adhesive sheet that comes with the tattoo paper over the printed designs. Use a scraper tool or credit card to firmly smooth out any air bubbles, ensuring a clear and even transfer.
 Applying the clear adhesive sheet to the printed tattoo designs and smoothing out air bubbles with a scraper tool, demonstrating the lamination process for temporary tattoos.
 -
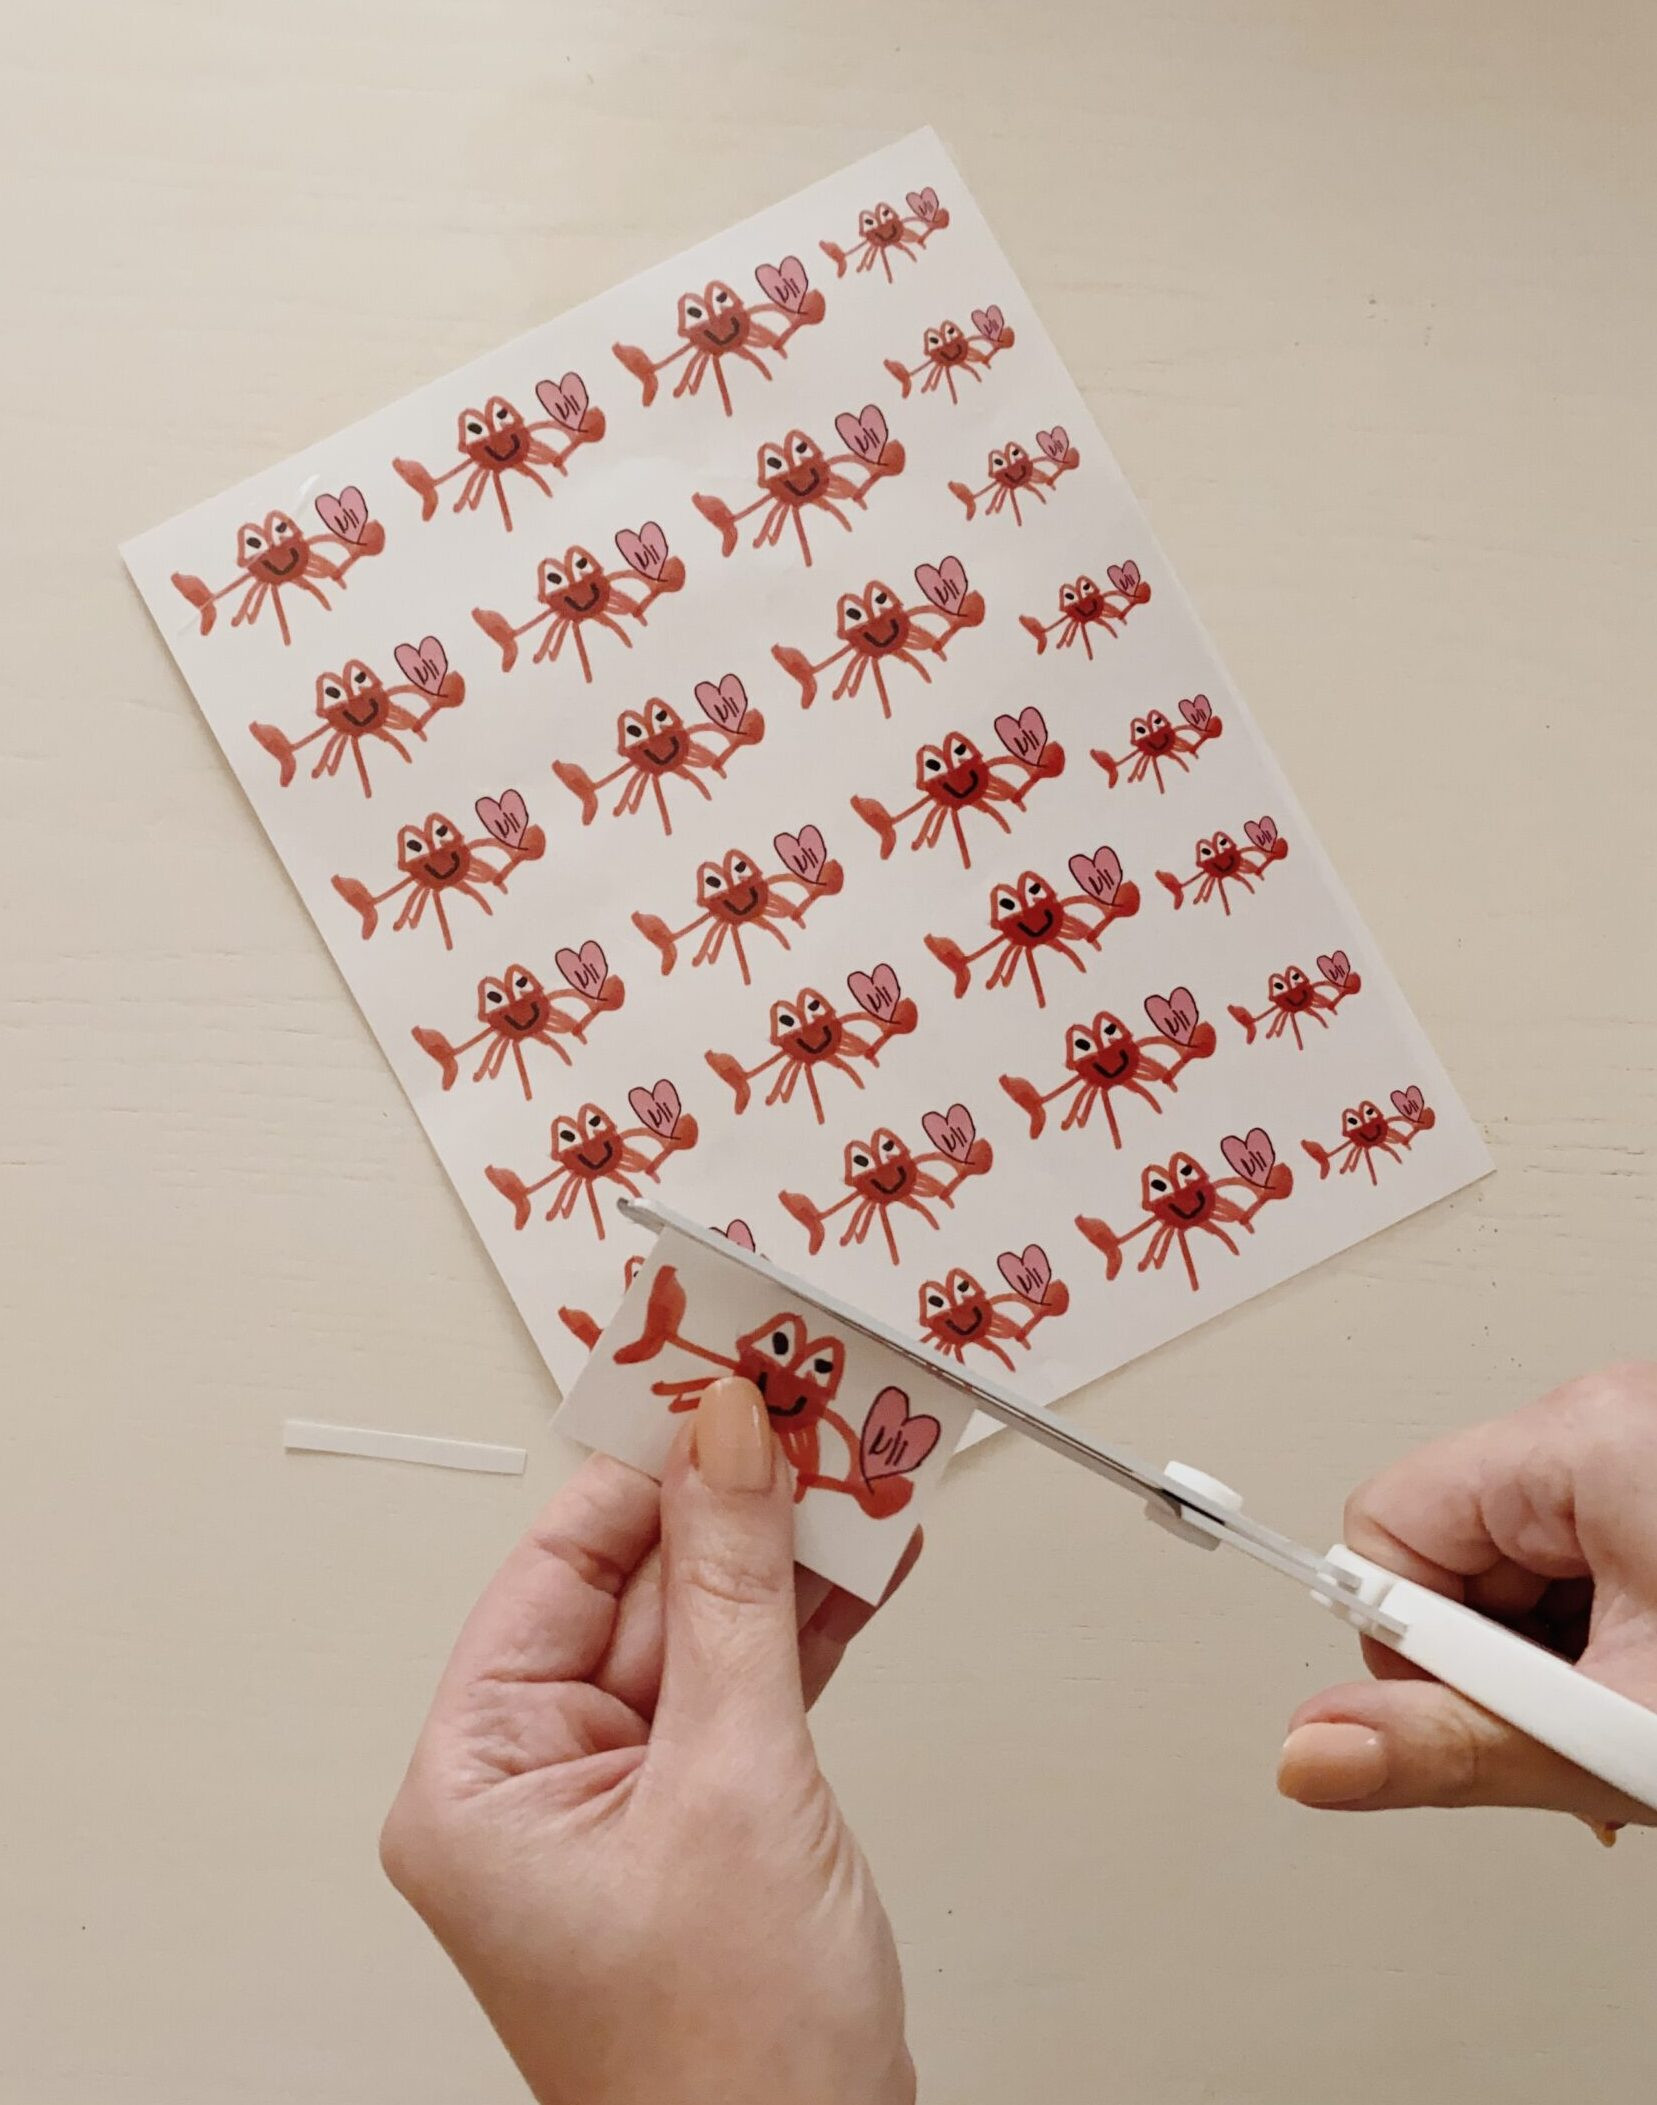
Cut Out the Tattoos: Cut out each temporary tattoo design using scissors or a paper cutter.
-
Prepare Valentine Cards: Print and cut out your chosen Valentine cards.
-
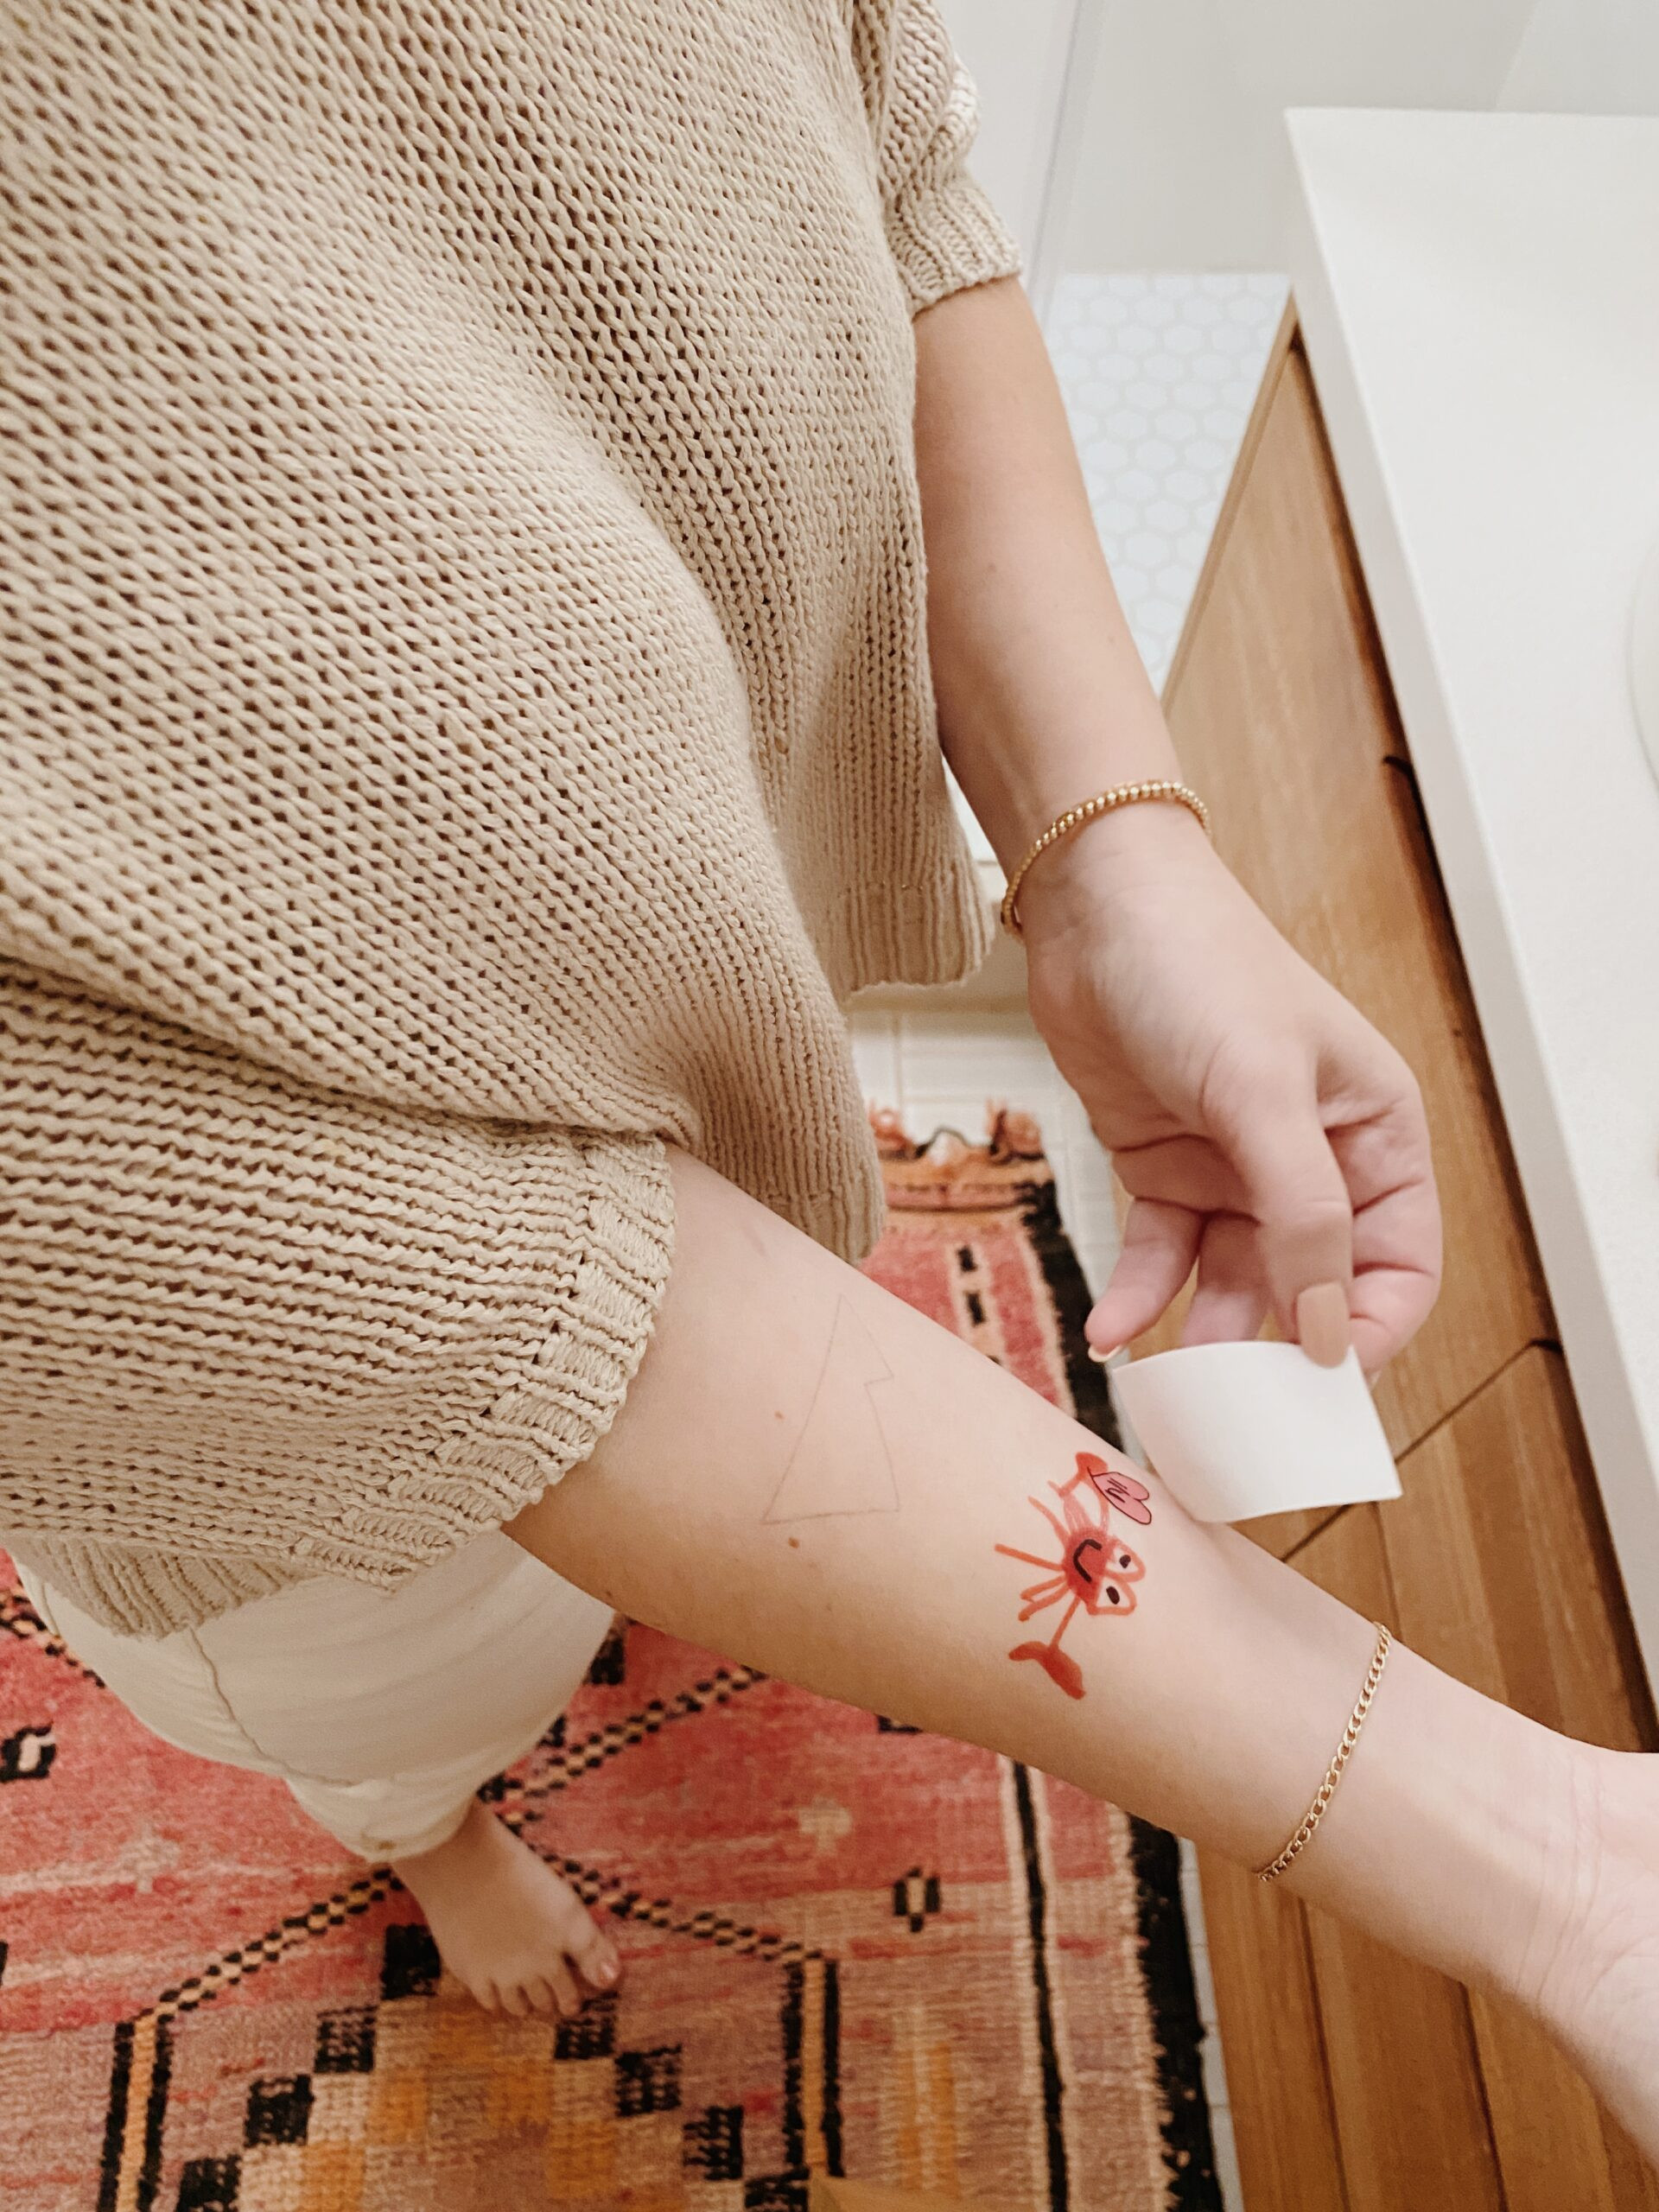
Assemble and Personalize: Attach a temporary tattoo to each Valentine card using a small piece of washi tape. Let your child personalize the cards by writing messages and their name to their friends.
 Display of finished DIY temporary tattoo Valentines, showing the variety and charm of homemade, personalized Valentine's Day gifts.
Beyond Valentine’s Day
The possibilities extend far beyond Valentine’s Day. Think birthday parties, school events, or just a fun afternoon activity. Creating DIY temporary tattoos is a delightful way to personalize celebrations and unleash creativity. Instead of constantly searching for “temporary tattoo near me,” empower yourself to make unique, custom designs at home!
We’d love to see your DIY temporary tattoo creations! Share your projects and spread the homemade love.