Glitter Tattoos have emerged as a sparkling trend in temporary body art, offering a fun, flamboyant alternative to traditional temporary tattoos. Perfect for festivals, parties, or just adding a bit of sparkle to your everyday look, glitter tattoos are surprisingly easy to create at home. As your trusted source for all things body art, tattooat.com is excited to guide you through the process of creating your own dazzling glitter tattoos. Forget the commitment of permanent ink and dive into the shimmering world of temporary glitter designs!
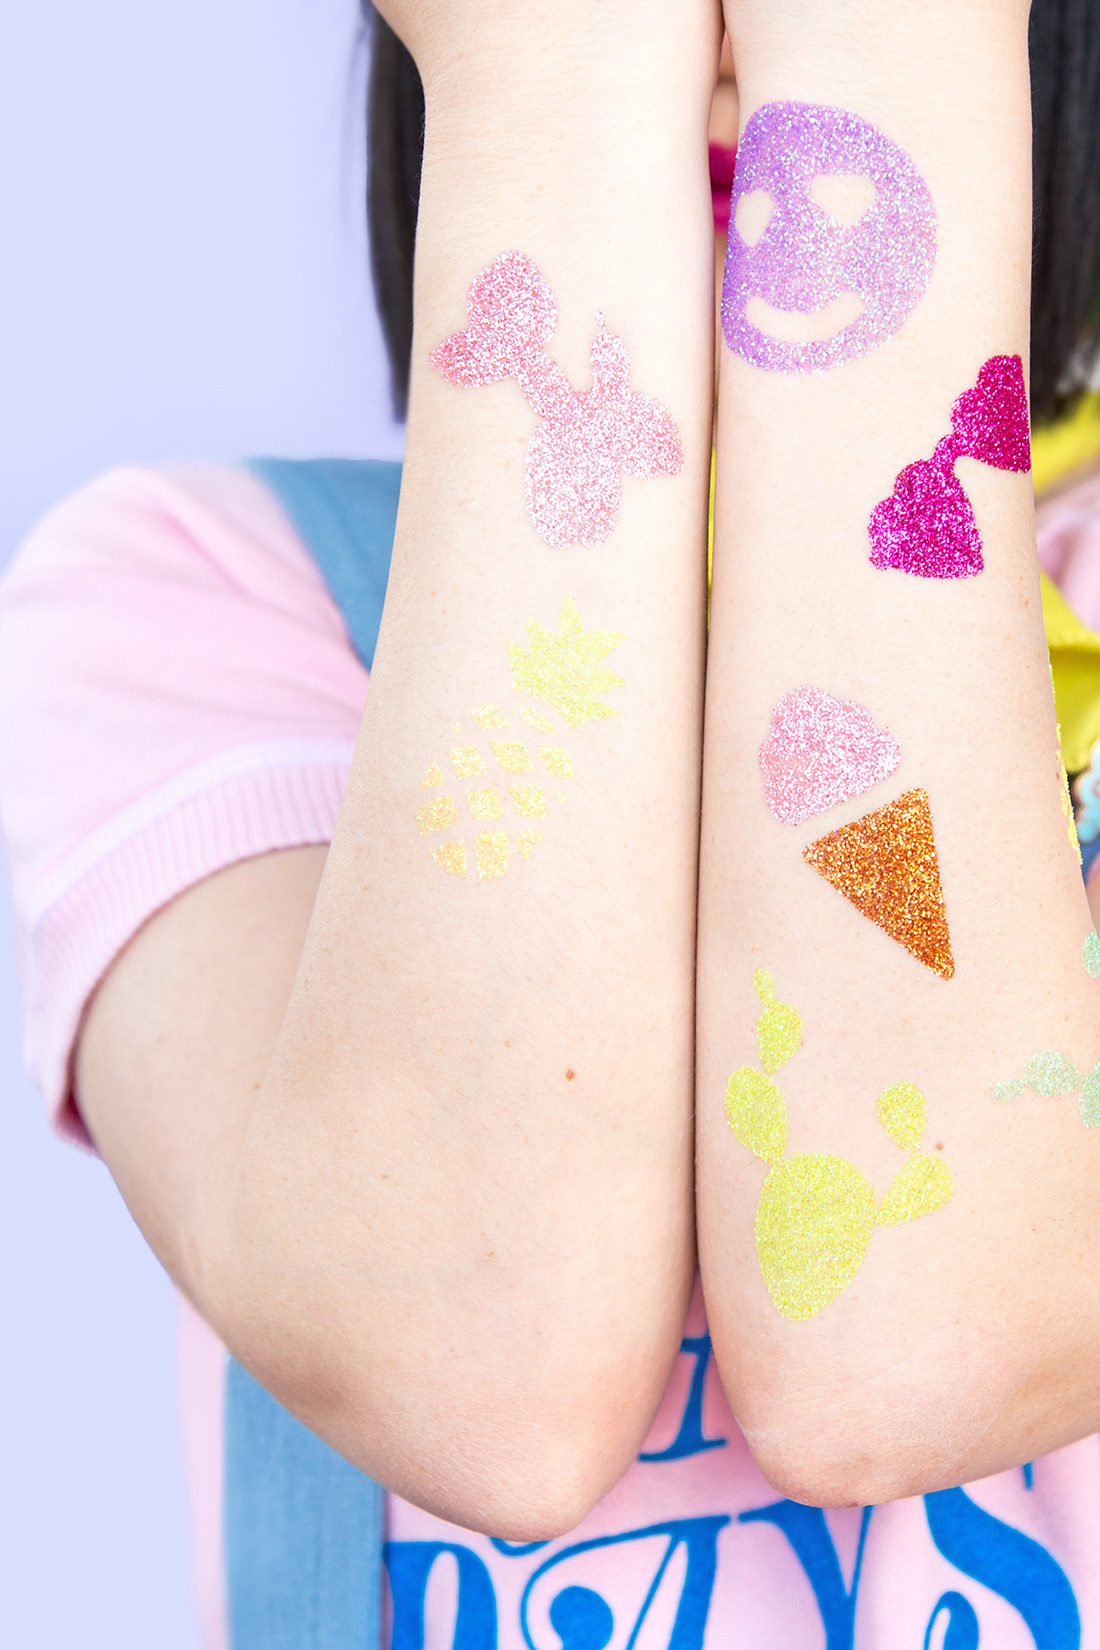
 Close up of various glitter tattoo designs on arms, showcasing different colors and patterns.
These eye-catching creations use cosmetic glitter and skin-safe adhesive to produce designs that last for days but wash off easily when you’re ready for a change. Whether you’re aiming for intricate patterns or bold, simple shapes, mastering the glitter tattoo is a fantastic addition to your DIY beauty repertoire. Let’s explore how you can bring this sparkle into your life with a simple step-by-step guide.
 Selection of colorful glitter tattoo designs including a star, heart, and floral pattern.
What You’ll Need to Sparkle
Creating your own glitter tattoos requires just a few readily available supplies. Gather these materials to set up your DIY glitter tattoo station:
- Adhesive Vinyl: White adhesive vinyl acts as your stencil. You can find this at craft stores or online (here).
- Craft Knife: An Exacto knife or similar precision cutting tool is essential for creating detailed stencil shapes.
- Temporary Tattoo Glue: Specifically formulated temporary tattoo glue is skin-safe and designed to hold glitter. Find it online (here).
- Fine Craft Glitter: Choose cosmetic-grade fine glitter in your favorite colors. The finer the glitter, the smoother your tattoo will look.
- Makeup Brush: A soft makeup brush is perfect for applying glitter evenly and gently.
 Example of a shiny silver glitter tattoo on an arm.
Step-by-Step Glitter Tattoo Application
Now, let’s get into the fun part – creating your glitter tattoo! Follow these simple steps for a flawless, sparkling result:
-
Design and Cut Your Stencil: On the backing of your adhesive vinyl, draw or trace your desired design. For beginners, simpler shapes with larger areas work best. Intricate designs can be trickier to apply glitter to initially. Using your craft knife, carefully cut out your design, creating a stencil.
-
Apply the Stencil: Peel off the backing from your vinyl stencil, revealing the adhesive side. Position the stencil carefully onto clean, dry skin where you want your glitter tattoo. Press firmly to ensure all edges are sealed to the skin.
-
Apply Tattoo Glue: Using the applicator from your temporary tattoo glue, apply a thin, even layer of glue within the open areas of your stencil. Avoid applying too much glue, as a thin layer is sufficient. Allow the glue to dry slightly until it becomes tacky and just barely turns clear. This is crucial for the glitter to adhere properly.
-
Glitter Application: Now for the sparkle! Hold your chosen glitter over a trash can or tray to catch excess. Using your makeup brush, scoop up a generous amount of glitter and gently pat it onto the glued area. Ensure you completely cover the glue. Let the glue and glitter set for about 30 seconds more.
-
Reveal Your Glitter Tattoo: Slowly and carefully peel away the vinyl stencil from your skin. This will reveal your dazzling new glitter tattoo! Gently brush away any loose glitter with your makeup brush.
 Group of different glitter tattoo designs in gold, pink, and silver.
Tips for Glitter Tattoo Perfection
- Skin Prep: Ensure your skin is clean, dry, and free of oils or lotions before applying the stencil. This will help the stencil adhere better and prolong the life of your tattoo.
- Glitter Containment: Glitter can be messy! Work over a tray or surface that’s easy to clean. Consider using a small container to pour glitter into for easier brushing and less spillage.
- Design Simplicity: Start with simpler designs as you get accustomed to the process. Larger shapes and less intricate patterns are easier to fill with glitter.
- Gentle Application: When applying glitter, pat it gently rather than rubbing to avoid disturbing the glue layer and stencil edges.
- Longevity & Removal: Glitter tattoos typically last for 3-4 days. To remove, gently scrub with soap and warm water. You can also use baby oil or makeup remover for easier removal.
 Step-by-step guide for creating glitter tattoos at home.
Glitter tattoos are a fantastic way to express yourself, add some sparkle to an event, or simply enjoy a bit of creative fun. With a few basic supplies and these easy steps, you can create stunning, temporary body art right at home. Experiment with different colors, designs, and glitter types to truly personalize your glitter tattoo experience. Show off your dazzling creations and let your inner sparkle shine!
 Close up view of a vibrant blue glitter tattoo in a geometric design.
 Sparkling gold glitter tattoo in a delicate pattern on skin.