For many brides, tattoos are a beautiful form of self-expression and a part of their identity. However, there might be times, especially on your wedding day, when you desire a more uniform look, particularly if your dream dress beautifully showcases some skin. If you have a tattoo that you’d prefer to conceal for your big day, don’t worry! Achieving a flawless, tattoo-free appearance is absolutely possible with the right techniques.
As makeup professionals at tattooat.com, we understand the art of skin transformation. We’re here to share expert secrets on how to effectively cover up tattoos, ensuring you feel completely confident and radiant as you walk down the aisle. While professional makeup artists are masters of this craft, this guide will empower you with the knowledge to attempt a DIY tattoo cover-up if you’re feeling adventurous.
Here’s your step-by-step guide to achieving a seamless tattoo cover-up:
STEP ONE: Prepare and Prime the Skin
Begin with a clean canvas. Gently cleanse the area you intend to cover using micellar water and a cotton pad to remove any oils, lotions, or residue. Allow the skin to air dry completely. If you’ve recently showered, ensure the skin is thoroughly dry before proceeding.
Just like prepping your face for makeup, hydration and priming are key for longevity and a smooth application. Apply a lightweight, non-comedogenic moisturizer to ensure the area is hydrated. Follow with a makeup primer specifically designed for long wear or for oily skin, which will create a barrier and help the cover-up products adhere effectively.
 Applying primer to the skin before tattoo cover-up
STEP TWO: Color Correction is Crucial
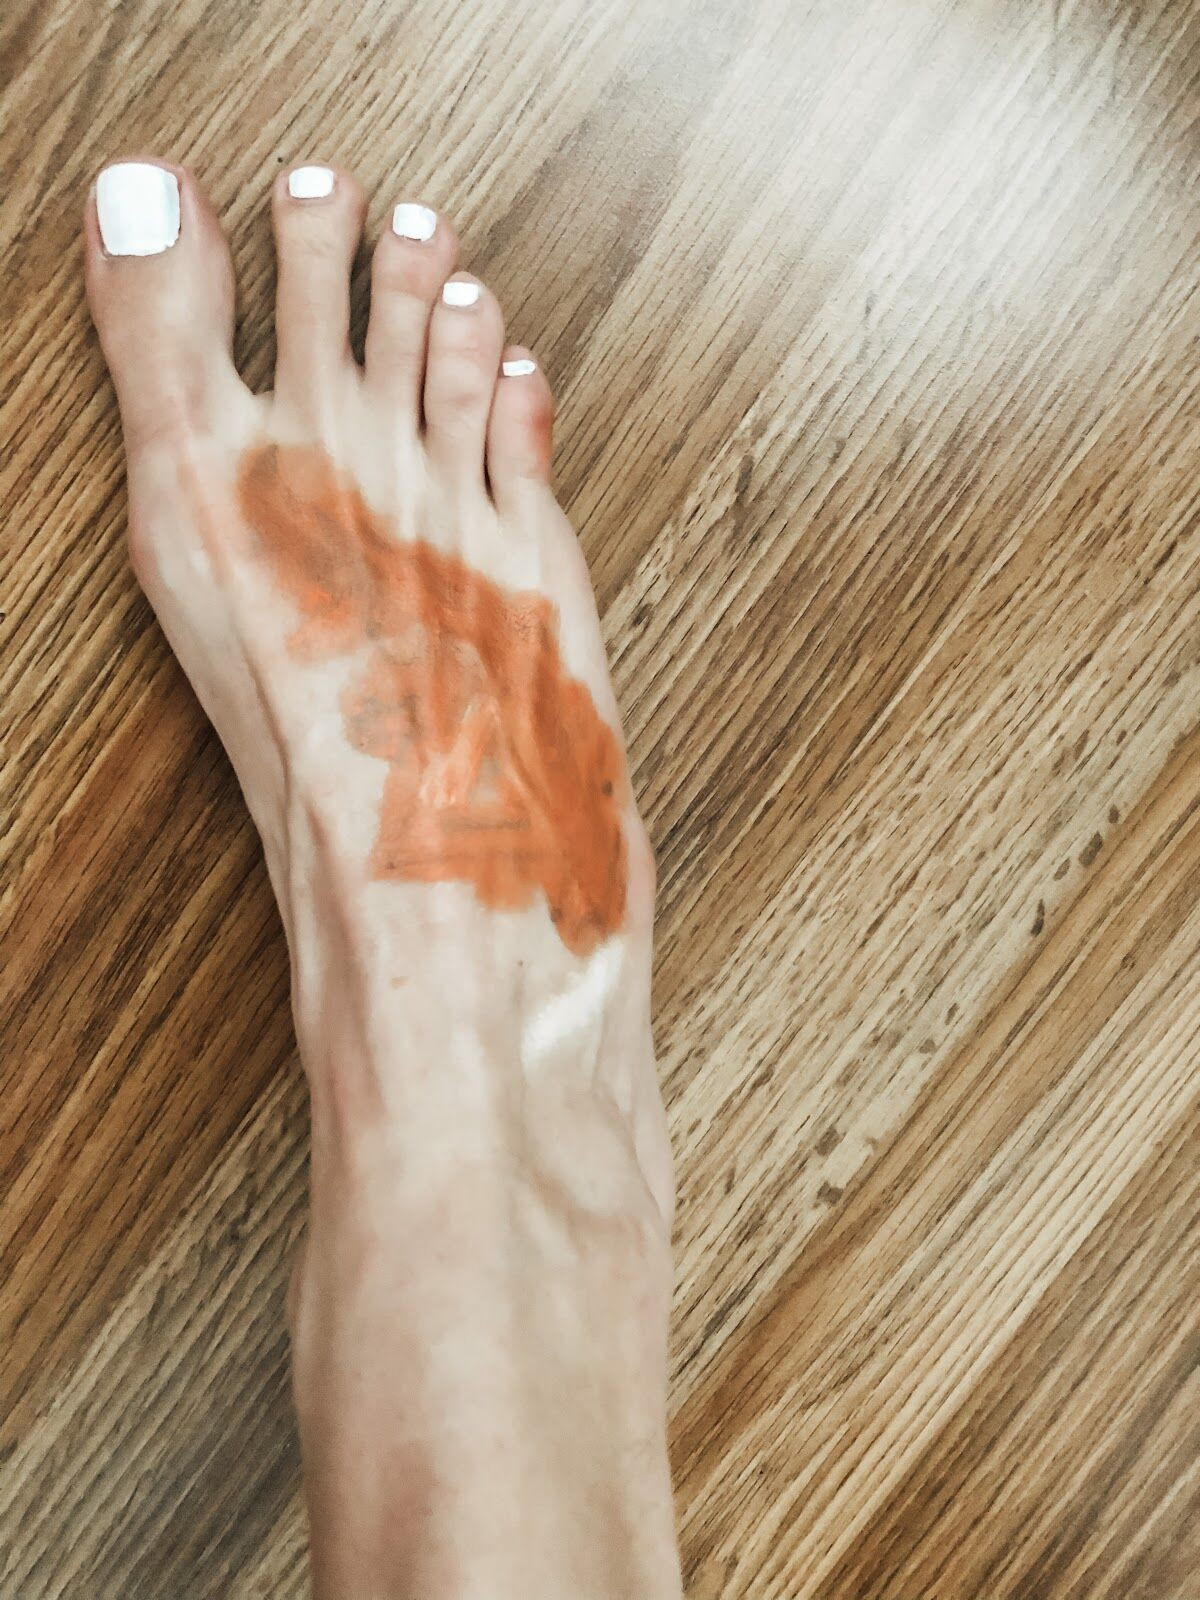
Color correction is the secret weapon in tattoo concealment. This step neutralizes the pigments in your tattoo, making it easier to completely cover. Understanding basic color theory is helpful here.
For most tattoos, especially those with black or grey ink, an orange color corrector is ideal. Orange sits opposite blue on the color wheel, and thus effectively counteracts cool tones like black and grey. Apply a thin layer of orange color corrector directly onto the tattoo.
- Pro Tip: If your tattoo features colors other than black or grey, you might need a different color corrector. Green can neutralize redness, and peach or yellow correctors work well for purple or blue hues in lighter skin tones. For darker skin tones, a deeper orange or red corrector might be more effective for black ink. If you don’t have a dedicated color corrector, an orange or red-toned lipstick can work in a pinch, especially for black ink!
STEP THREE: Set with Translucent Powder
Setting each layer is essential for preventing product movement and ensuring long-lasting coverage, especially important for a wedding day. After applying the color corrector, generously dust the area with a translucent, colorless finishing powder. Ensure the color corrector is completely “set” and dry to the touch before moving to the next step. This powder layer acts as a barrier and helps to lock in the color correction.
 Setting color correction with translucent powder for tattoo cover-up
STEP FOUR: Build Coverage with Foundation – Layer One
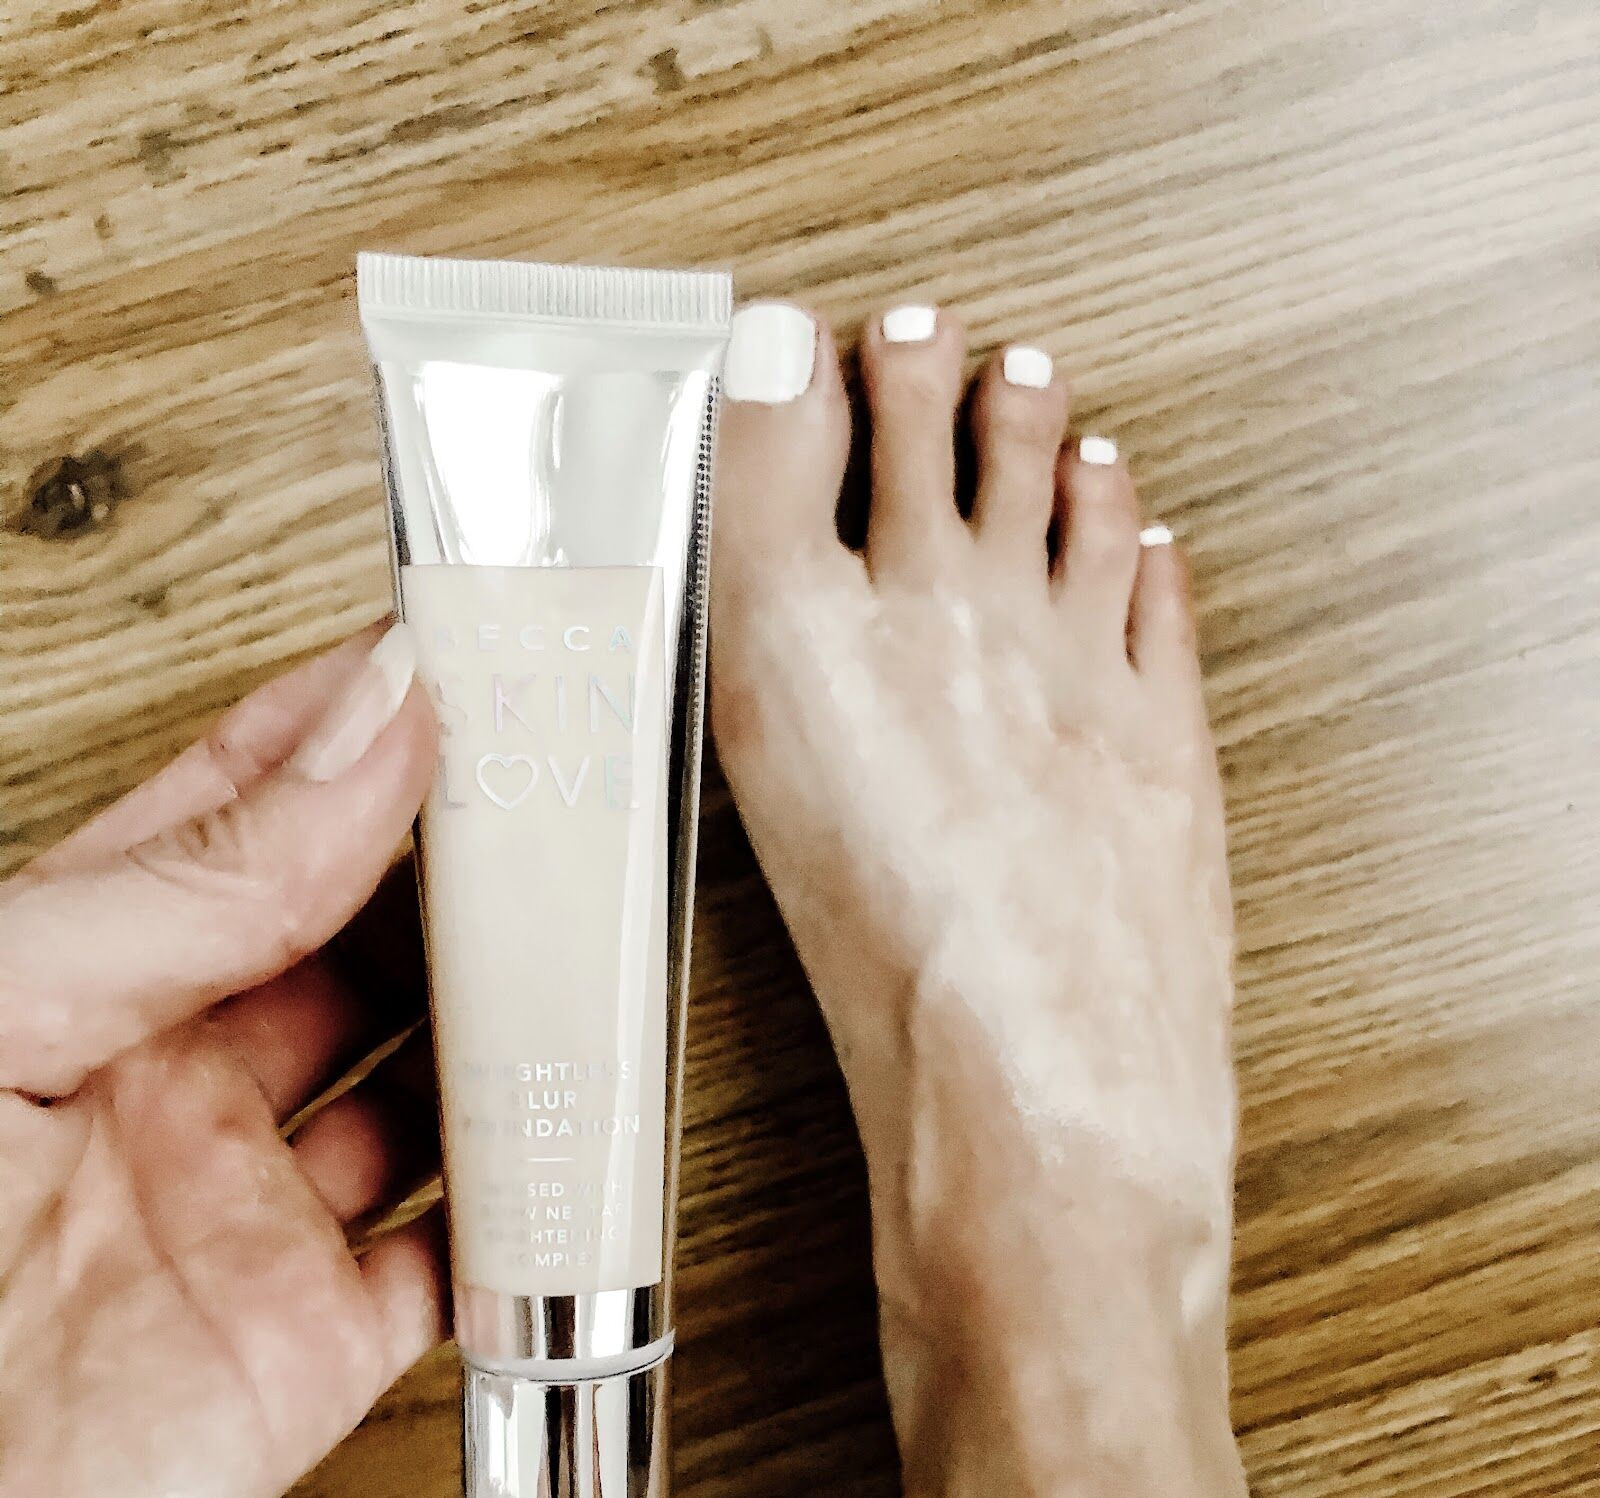
Now it’s time to start building coverage with foundation. Begin with a foundation shade that is slightly lighter than your natural skin tone. This initial lighter layer helps to further blur the tattoo and create a brighter base for your skin-matching shade.
Apply the foundation using a damp beauty blender or makeup sponge. Use a tapping or stippling motion over the tattoo area to build coverage without moving the color corrector underneath. Avoid swiping motions in this initial layer, as it can disrupt the color correction. Blend the edges of the foundation outwards into the surrounding skin to create a seamless transition. Set this layer generously with translucent powder and allow it to dry completely.
STEP FIVE: Achieve Flawless Finish with Skin-Matching Foundation – Layer Two
For the final layer of coverage, use a full-coverage foundation that perfectly matches your skin tone. Repeat the application technique from step four: tapping or stippling the foundation over the tattoo area to achieve your desired level of coverage. Blend the edges meticulously to ensure there are no visible lines of demarcation between the covered area and your natural skin.
Once you are satisfied with the coverage, set the entire area one last time with translucent powder.
STEP SIX: Lock it All in with Setting Spray
To guarantee your tattoo cover-up lasts throughout your wedding day, including dancing and potentially emotional moments, a makeup setting spray is indispensable. Choose a long-wear or waterproof setting spray and generously mist it over the covered area. Allow it to dry completely. This final step creates a protective seal, making your cover-up sweat-resistant and transfer-resistant.
Congratulations, your tattoo is now flawlessly concealed, and you are ready to confidently rock your beautiful wedding dress! Practice makes perfect, so we recommend doing a trial run before your big day. If you feel unsure or want guaranteed professional results, always consult with a professional makeup artist specializing in tattoo cover-ups. They possess the expertise and high-quality products to ensure your skin looks impeccable on your special day.
