Creating your own natural henna paste is a fantastic way to explore the art of temporary tattoos. As the weather warms up and skin becomes more exposed, it’s the perfect time to dive into the world of Henna And Tattoos, experimenting with designs right in the comfort of your home. This guide will walk you through a simple yet effective natural henna tattoo paste recipe, allowing you to customize your henna experience for the best and safest results.
What’s truly special about crafting your own henna paste is the ability to tailor it to your preferences. You control the scent, the consistency, and the quality of ingredients, ensuring a natural and enjoyable process. Think of this recipe as a starting point—a foundation to explore and refine until you achieve your ideal henna paste. Just like cooking, making henna paste is an art that improves with practice. Embrace the process, experiment, and most importantly, have fun creating!
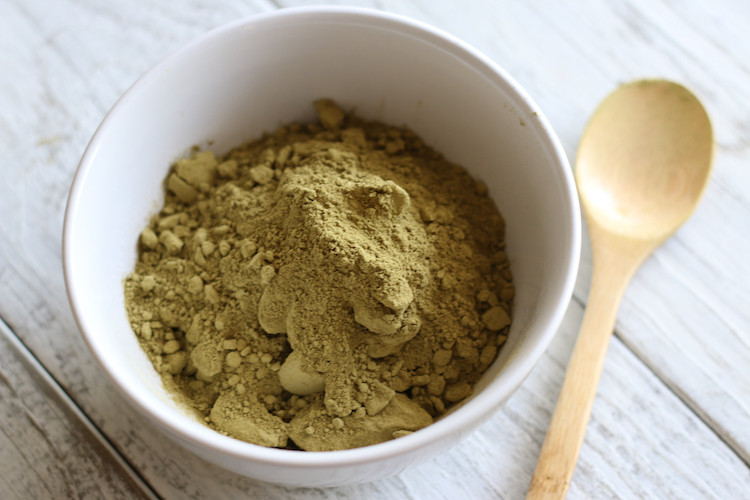
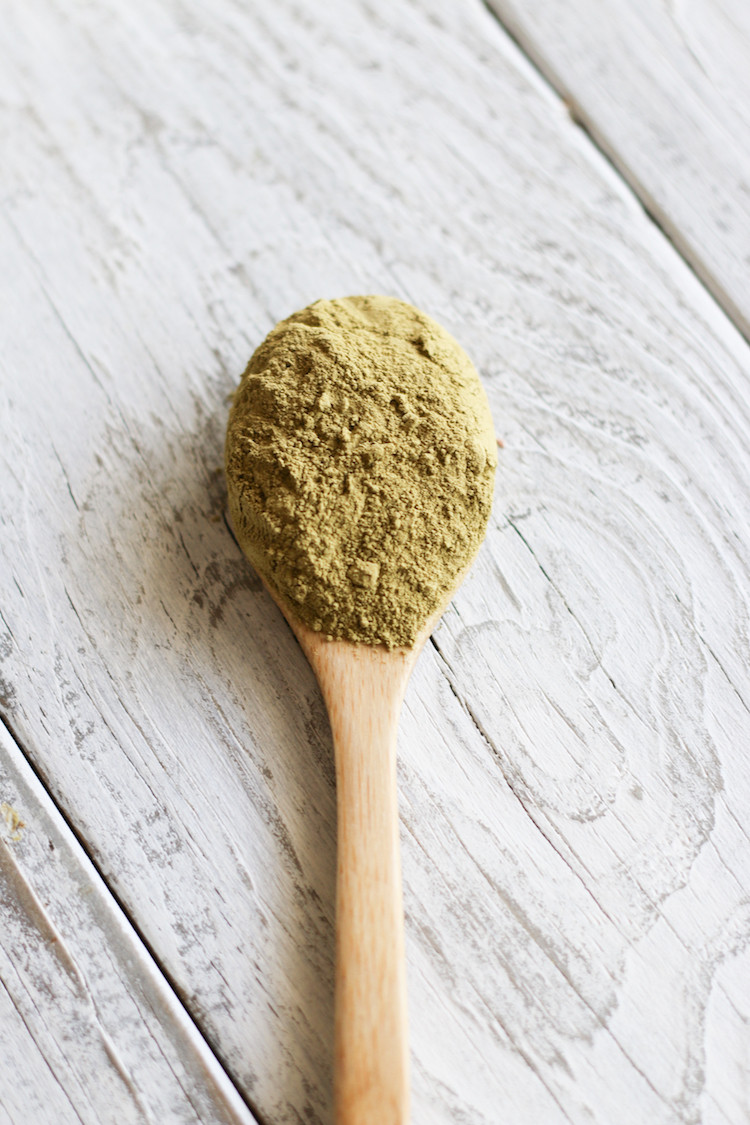 Close-up of henna powder in a bowl, an essential ingredient for natural henna tattoo paste.
One of the joys of working with henna is the journey of learning and refining your technique. From gathering art supplies to practicing with stencils, preparation is key. However, the most crucial step before you begin any henna artwork is understanding how to create a proper henna paste. The quality of your paste directly impacts the darkness and longevity of your henna tattoos. Below, we’ll explore the essential ingredients for a top-notch henna mix and why each one is important. Understanding the function of each ingredient is vital for achieving the best possible henna tattoos.
Key Ingredients for Perfect Henna Tattoo Paste
Let’s break down each component of our natural henna tattoo paste recipe, explaining its role and importance:
Fresh Henna Powder
 Lemon juice being squeezed into a bowl, a key ingredient to activate henna dye for tattoos.
The foundation of any henna tattoo is, of course, henna powder. However, not all henna powders are created equal. For safe and effective skin application, it’s crucial to use fresh, high-quality henna powder. Avoid generic henna powders often found in grocery stores, as these may be old and of lower quality, sometimes even intended for hair and not skin. Fresh henna powder ensures a potent and safe dye release. For reliable quality, consider reputable suppliers specializing in henna for body art, such as Henna Guys. They offer henna specifically designed for skin application, ensuring a richer and more consistent stain for your henna tattoos.
Lemon Juice: The Dye Activator
 Powdered sugar being added to henna paste, enhancing the texture and application for henna tattoos.
Liquid is essential to transform henna powder into a usable paste. Lemon juice is the traditional and most effective acidic liquid for henna paste. The acidity of lemon juice is key to facilitating dye release from the henna powder. This process is what makes henna tattoos possible. While alternative liquids like teas have been experimented with, lemon juice consistently provides the best and most predictable results. It ensures that the dye molecules in the henna are properly activated, leading to darker and longer-lasting henna tattoos.
Sugar: For Smooth Application and Darker Stains
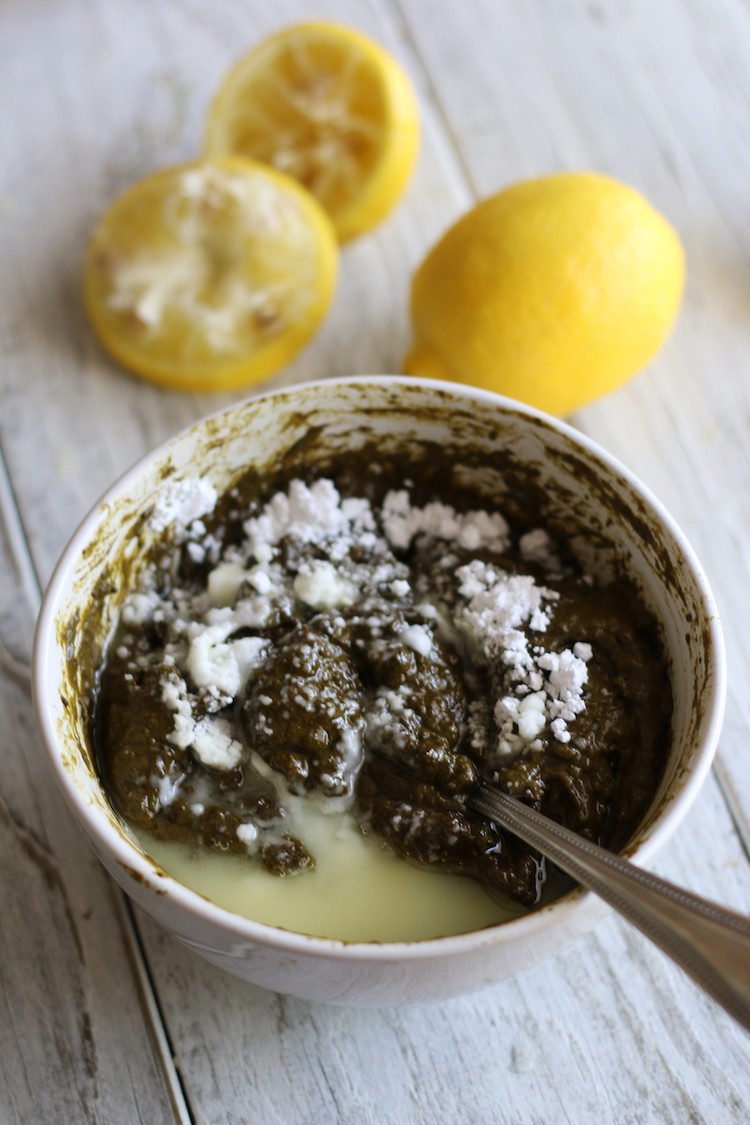
 Essential oils being poured into henna paste, adding fragrance and deepening the color of henna tattoos.
Adding sugar to your henna paste is optional, but highly recommended, especially for beginners. Sugar plays a crucial role in improving both the application and the final result of your henna tattoos. Firstly, sugar makes the henna paste stick better to the skin, ensuring intricate designs stay in place during application. Secondly, it helps keep the paste moist for longer, which is essential for maximizing dye absorption and achieving a darker henna stain. Sugar also contributes to a smoother paste consistency, making it easier to apply detailed henna patterns. Experimenting with the amount of sugar can help you find the perfect consistency for your preferred henna powder and application style.
Essential Oils: Enhancing Color and Aroma
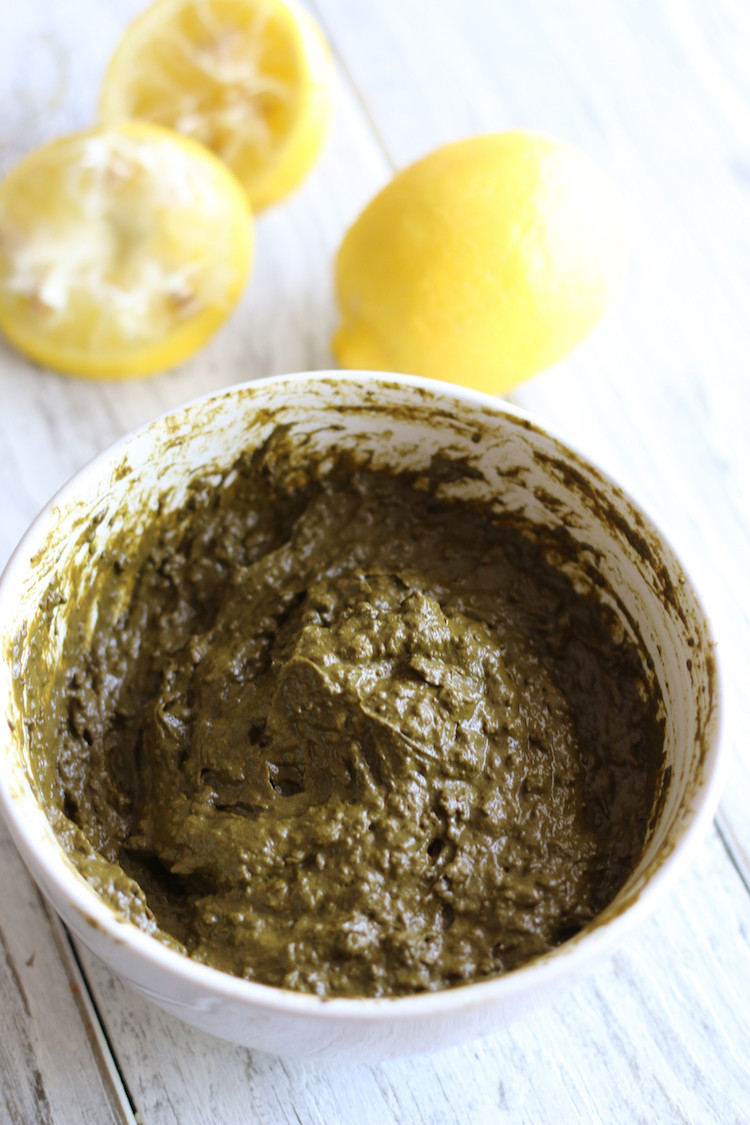
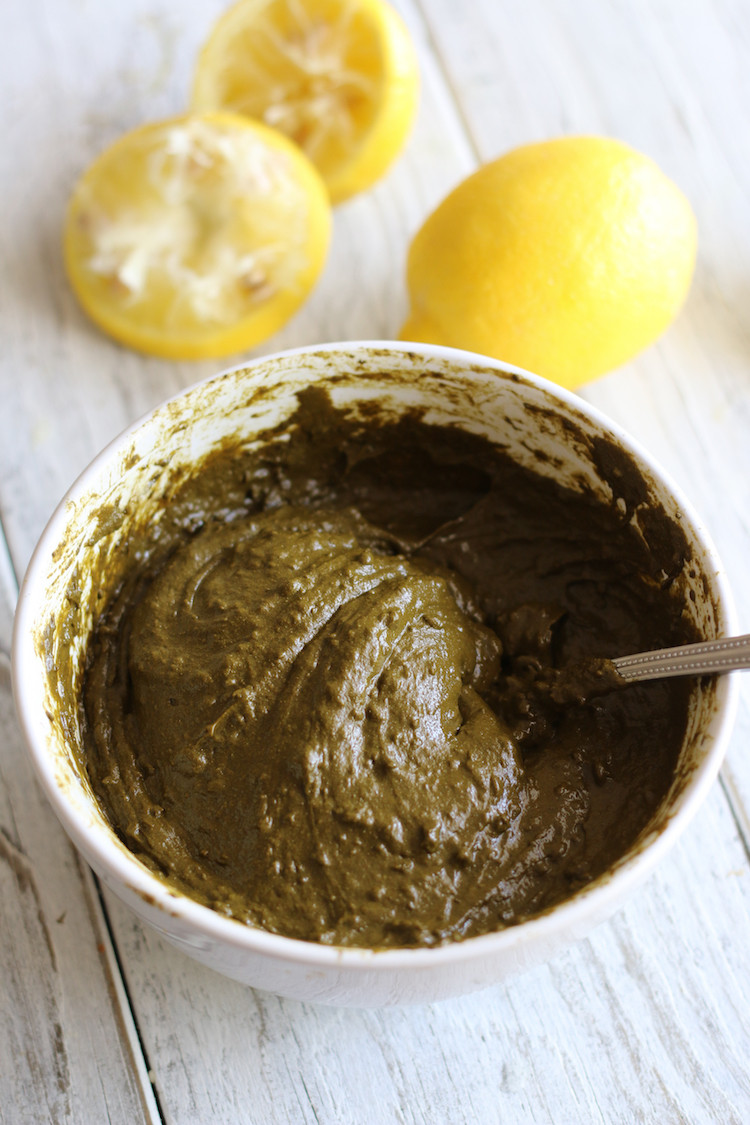
 Mixing henna powder and lemon juice to create a smooth paste for temporary henna tattoos.
Certain essential oils are not just for fragrance in henna paste; they are vital for enhancing the dye release and deepening the color of your henna tattoos. Lavender and tea tree essential oils are particularly effective due to their monoterpene alcohols. These compounds further aid in releasing dye from the henna powder, leading to significantly darker stains. Additionally, these oils impart a pleasant, spa-like aroma to your henna paste, making the application process more enjoyable. Peppermint essential oil is another beneficial addition, known for promoting circulation on the skin, which can also contribute to a richer henna stain. Remember, essential oils are potent, so use them sparingly. A few drops are usually sufficient; you can always add more if needed. High-quality lavender, tea tree oils, and peppermint oils are excellent choices for your henna paste.
Natural Henna Tattoo Paste Recipe: Step-by-Step Guide
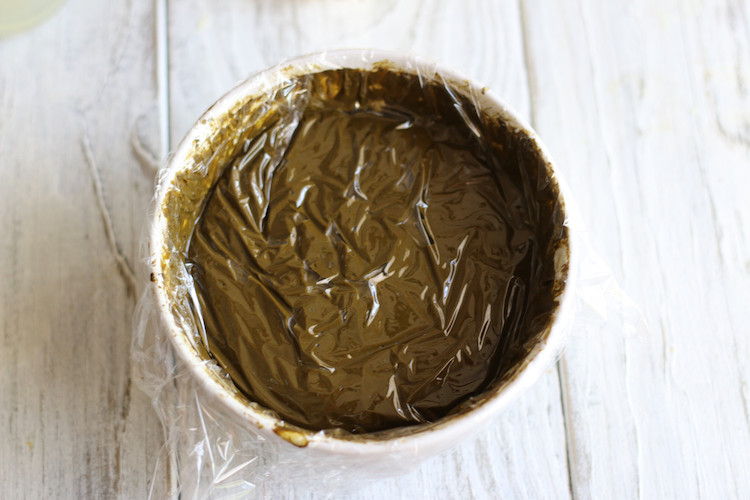
 Covering henna paste with plastic wrap to sit and develop dye for best henna tattoo results.
Ready to create your own henna tattoo paste? Follow this simple recipe:
Yields: Enough paste for several small to medium henna tattoos
Prep time: 10 minutes
Resting time: 24 hours
Total time: 24 hours and 10 minutes
Ingredients:
- ½ cup fresh, high-quality henna powder
- 3 teaspoons powdered sugar (adjust to preference)
- ½ cup lemon juice, freshly squeezed
- 3 teaspoons essential oil (lavender, tea tree, or a blend)
Equipment:
- Small mixing bowl
- Fork or spoon for stirring
- Plastic wrap
- Applicator cones or bottles
Instructions:
- Combine Ingredients: In a small mixing bowl, place the henna powder and powdered sugar.
- Add Lemon Juice and Essential Oils: Gradually pour in the lemon juice, stirring continuously with a fork or spoon. Add the essential oils.
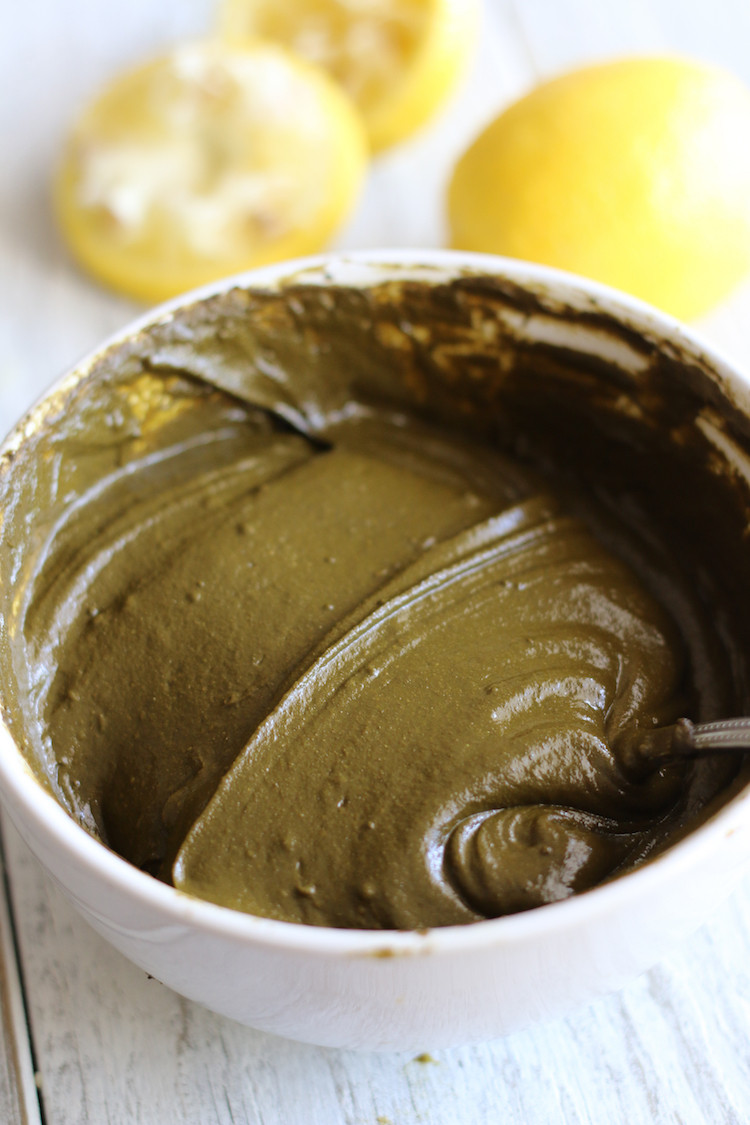
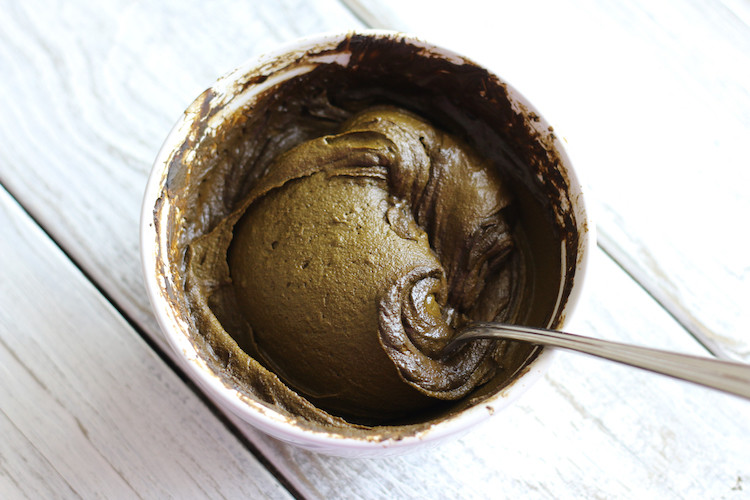
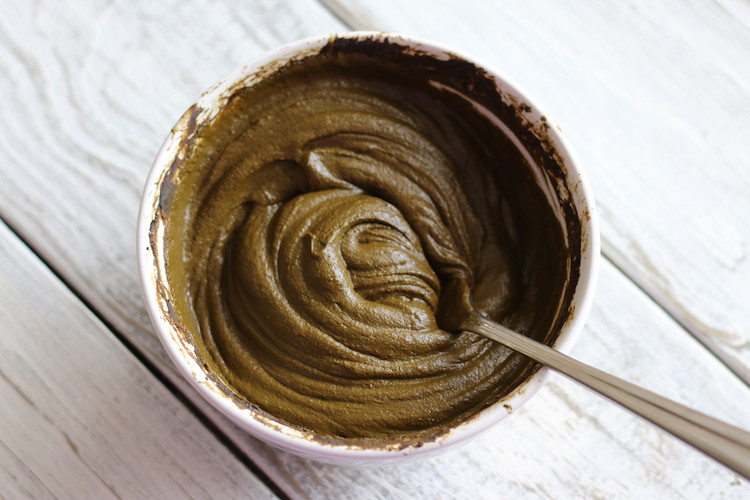
- Mix to Toothpaste Consistency: Continue stirring until you achieve a smooth paste with a consistency similar to toothpaste. Ensure there are no lumps.
- Cover and Rest: Cover the bowl tightly with plastic wrap, pressing it down so it touches the surface of the paste to minimize air contact.
- Let it Rest: Allow the covered henna paste to sit in a warm location (around 75 degrees Fahrenheit) for approximately 24 hours. This resting period is crucial for dye release.
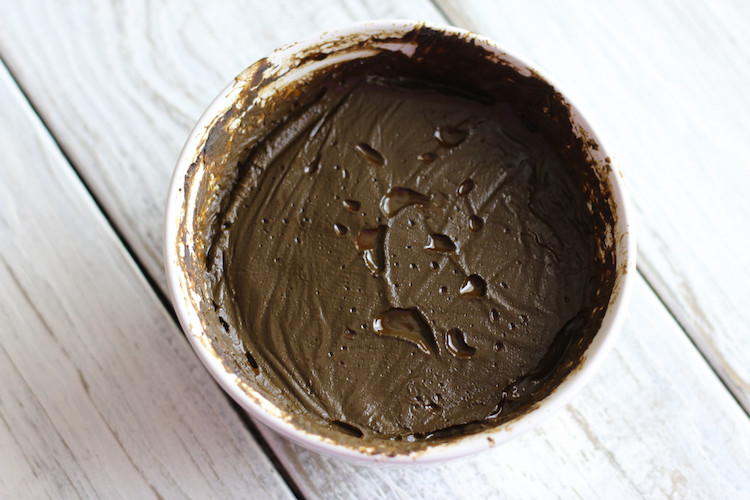
- Check and Adjust Consistency: After 24 hours, remove the plastic wrap and stir the paste well. Assess the consistency. If the paste is too thick, add lemon juice, ¼ teaspoon at a time, until you reach your desired consistency. If it’s too thin, add a pinch of henna powder.
- Fill Applicator: Transfer the henna paste into applicator cones or bottles. Now you are ready to create beautiful henna tattoo designs!
 Stirring henna paste after resting, checking consistency for perfect henna tattoo application.
Tips and Notes for Henna Tattoo Success:
- Consistency is Key: The ideal henna paste consistency should be smooth and easily extrudable from an applicator, similar to toothpaste or thick yogurt.
- Adjust Sugar for Climate: In humid climates, you might need slightly less sugar. In dry climates, a bit more sugar can help keep the paste moist.
- Warm Location is Important: A consistently warm environment during the resting period promotes better dye release.
- Storage: Leftover henna paste can be stored in the freezer for 6-12 months. Thaw it completely before use. Consider pre-filling cake decorating bags with henna for easy filling of applicator cones.
- Patch Test: Always perform a patch test on a small area of skin 24 hours before applying a full henna tattoo to check for any allergic reactions.
- Aftercare: For the darkest and longest-lasting henna tattoos, keep the paste on your skin as long as possible (ideally 6-12 hours), avoid washing with water immediately after removal (scrape off dried paste), and moisturize the area with natural oil.
 Filling a henna applicator cone with homemade henna paste for creating intricate henna tattoo designs.
 Drawing henna tattoo designs on skin with a cone filled with natural henna paste.
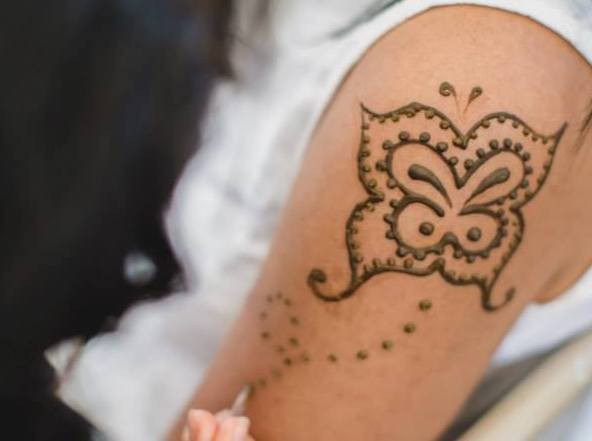
 Close-up of a completed natural henna tattoo design on hand showcasing temporary body art.
 Different stages of henna tattoo paste preparation, from ingredients to application cone.
Dive into the Art of Henna Tattoos
Creating your own natural henna paste opens up a world of creative expression through temporary tattoos. By following this recipe and understanding the role of each ingredient, you’re well-equipped to achieve stunning, dark, and long-lasting henna tattoos. Experiment with designs, share your creations, and enjoy the beautiful, natural art of henna!
 Elegant henna tattoo art on hand featuring floral and paisley designs.
 Detailed henna tattoo patterns covering hand and wrist, showcasing traditional henna artistry.